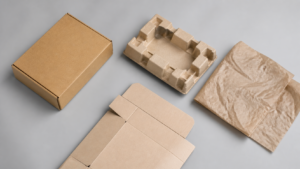
A custom mailer box specification should define the internal size, corrugated board, box style, artwork, insert, packing method, and approval checks before sampling. For most e-commerce brands, the safest route is to start with product dimensions and transit risks, then confirm the dieline and sample against the real product—not against a rendered mock-up alone.
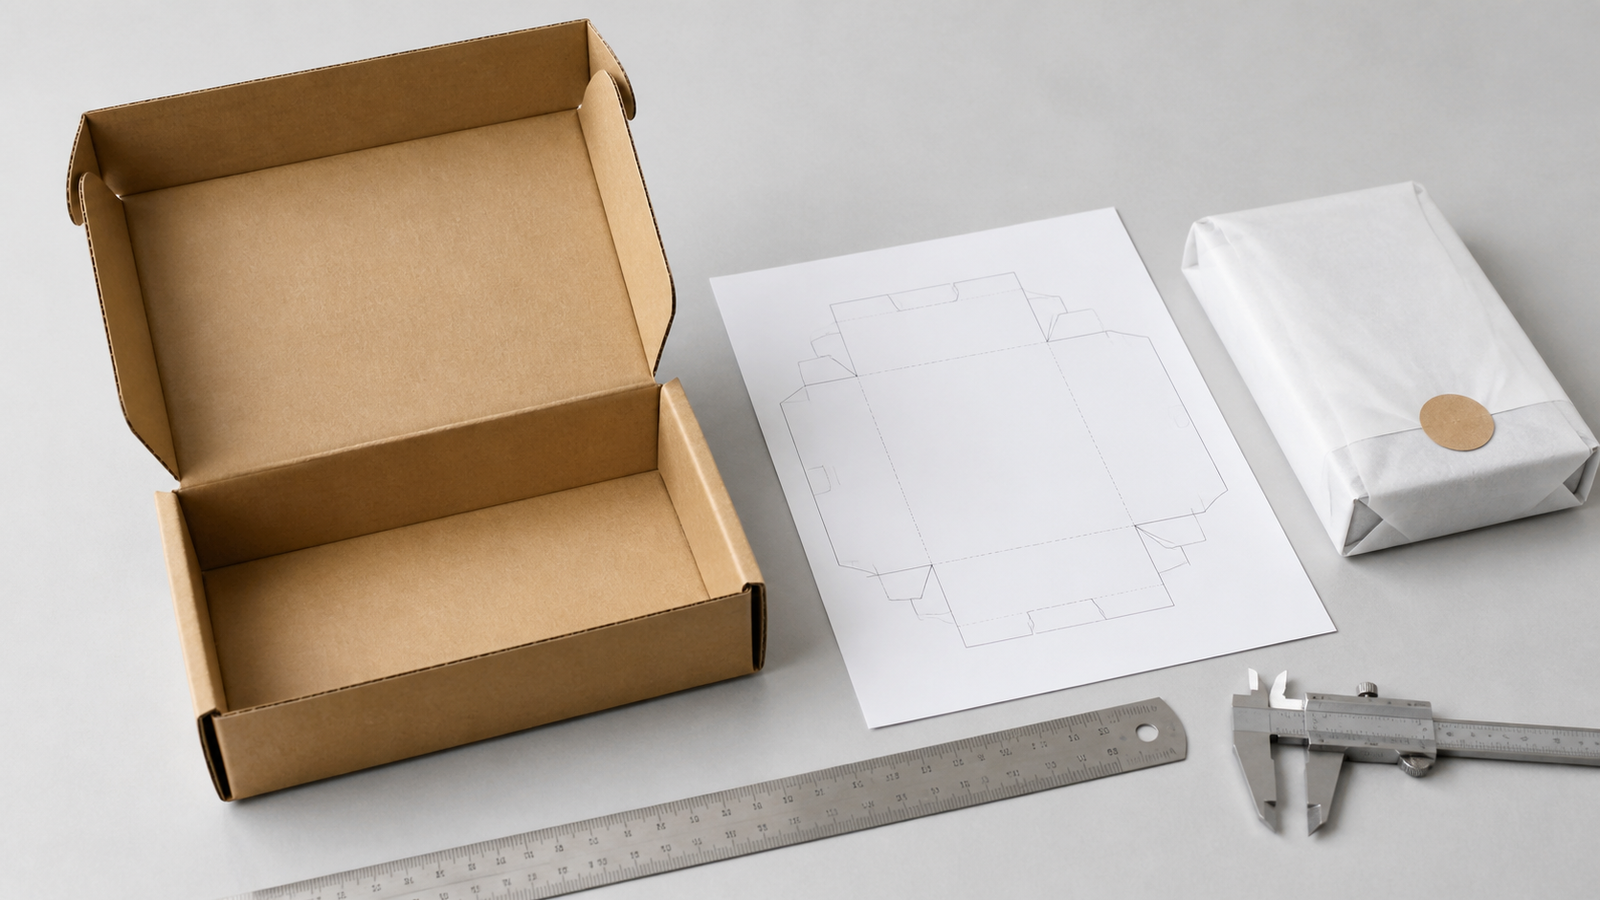
This checklist is for procurement teams ordering branded corrugated mailer boxes for subscription kits, gifts, apparel, cosmetics, accessories, and other direct-to-consumer products. It helps you turn a design brief into a usable manufacturing specification.
What is a custom mailer box specification?
A custom mailer box specification is the production brief shared with your packaging supplier. It records the decisions that affect fit, protection, print, cost, and repeatability. A dieline is the flat cutting and folding layout; it should show panel sizes, folds, glue areas, and safe areas for artwork.
The main difference between a mood board and a specification is control. A mood board explains the intended look. A specification tells a supplier what to make and how to check it.
1. Measure the packed product, not the product alone
Start with the product in its intended retail condition: include the bottle, cap, pouch, tissue, instructions, accessory, or inner carton that will travel inside the mailer. Record length, width, height, weight, and the most fragile points. Use millimetres as the master unit and provide inch equivalents only when your team needs them.
Then decide how the product sits in the box. A flat lay, upright position, or nested insert changes the required internal clearance. Do not add a large allowance simply to make packing easier. Excess empty space can require more void fill and allow products to move in transit.
2. Choose the structure before choosing decorative finishes
Mailer boxes are commonly self-locking corrugated boxes with a hinged lid. They are different from a regular slotted carton used mainly as an outer shipping case. A self-locking mailer can be a practical primary shipping pack for lighter products, but the correct structure depends on the product weight, stacking conditions, and route.
| Decision | What to specify | Why it matters |
|---|---|---|
| Internal dimensions | L × W × H and product orientation | Controls fit and material use |
| Box style | Mailer, tuck-top, or outer shipping carton | Defines opening experience and assembly |
| Board | Corrugated grade and flute recommendation | Supports protection and print performance |
| Insert | Material, shape, and quantity per box | Reduces movement around fragile products |
| Outer pack | Units per master carton and packing orientation | Helps prevent damage before final delivery |
For most branded mailers, corrugated board provides a useful balance of stiffness, print area, and transit protection. The right board is not the heaviest board by default. It should be selected after reviewing the real product and distribution conditions.
3. State the corrugated board requirement clearly
Corrugated board contains fluted paper between liner sheets. Flute selection affects thickness, compression behaviour, print surface, and how the box folds. E-flute is often selected when brands need a thinner, more refined mailer surface; B-flute is typically thicker and may suit projects needing more cushioning. These are starting points, not universal rules.
Ask the supplier to recommend a board construction for the product weight and shipping route, then confirm it on a physical sample. The European corrugated industry’s FEFCO Code is a useful reference for communicating standard corrugated box styles, but a custom mailer should still have its own approved dieline.
4. Prepare artwork for the dieline, not for a flat rectangle
Send final artwork in the file format agreed with your designer and supplier. The artwork should sit on the approved dieline and identify cut lines, fold lines, glue zones, bleed, and safe areas. Keep small text, barcodes, and critical logos away from folds, score lines, and edges.
For colour-controlled designs, specify CMYK values and provide Pantone Matching System references where a spot colour is required. A digital screen proof is useful for layout approval, but it is not a substitute for a printed production sample when colour or finish is critical.
5. Decide what the customer sees when opening the box
Choose the exterior and interior print separately. A one-colour exterior can reduce complexity while an interior message or pattern creates a branded opening moment. Only add features that serve a clear purpose. A full interior print, spot UV, hot foil stamping, embossing, and protective coating can all affect cost, lead time, and artwork setup.
Also specify how the customer should open the box. If you plan to use a tear strip, tape seal, or insert card, show it in the sample brief. Do not assume it can be added after the dieline is approved without affecting the structure.
6. Build testing into the sample stage
Inspect a sample with the real product inside. Check fit, assembly time, lid closure, print registration, scuffing, insert retention, and the condition of the product after handling. For routes with meaningful transit risk, define a test plan with your supplier or a qualified laboratory. The International Safe Transit Association explains why distribution testing is used to evaluate packaged-product performance under relevant hazards.
A passing sample should become the reference point for production. Record any acceptable tolerances and confirm which party approves changes to board, dimensions, or print before production begins.
7. Send a complete quote request
A complete request produces a more useful quotation than a single “price for mailer boxes” message. Include:
- Product dimensions, weight, and fragile areas
- Required internal box size and intended product orientation
- Preferred box style and opening method
- Board or flute preference, if known
- Artwork, brand colours, print sides, and finishes
- Insert, tissue, label, or other components
- Order quantity, target market, delivery address, and required date
- Sample, transit-test, and quality-check expectations
Common specification mistakes
Quoting from external dimensions only: this can produce a box that does not fit the packed product. Approving a render instead of a sample: a render cannot show folding, scuffing, or retention. Leaving the master carton undefined: individual mailers can be damaged before they reach the carrier if outer packing is not agreed. Adding finishes too late: this can force artwork and cost changes after sampling.
8. Create a sample approval record before production
A written approval record protects both the buyer and the production team. Attach the final dieline, artwork revision, material description, sample photographs, and agreed packing method to one approval file. Record the date, reviewer, and any accepted tolerances, such as small colour variation between production runs or a specified dimensional tolerance.
Use a simple change-control rule: after sample approval, no change to dimensions, board, print colours, coating, insert, or master-carton configuration should proceed without written confirmation. This is especially important when procurement, design, and fulfilment are handled by different people. It prevents an apparently minor revision from changing fit, assembly time, or cost after the production schedule has been set.
Can a mailer box be both branded and practical for fulfilment?
Yes. Start with a structure that packers can assemble consistently, then add branding where it does not interfere with folds, barcodes, labels, or closure. Test the approved sample with the intended packing workflow. A visually strong design that slows fulfilment or damages easily may create avoidable operating cost.
When should I request a transit test?
Request a defined test plan when the product is fragile, high value, or exposed to complex distribution conditions. The test approach should reflect the actual route and product, so confirm the method, pass criteria, and sample quantity with the supplier or testing provider before testing begins.
How Packaza can help
Packaza offers custom packaging styles including corrugated mailer boxes, shipping boxes, paper boxes, and printed packaging options. Our custom packaging service is the right place to start when you need to compare box style, size, material, printing, and finishing options. For a tailored quotation, send your product dimensions, artwork status, quantity, and delivery destination through the Packaza contact page.
FAQ
What information does a mailer box supplier need first?
Start with the packed product dimensions, weight, quantity, delivery market, and target order quantity. Add product photos or a sample when possible. These details help the supplier recommend a practical structure before artwork or premium finishes are finalised.
Should I specify internal or external box dimensions?
Specify internal dimensions first because they determine product fit. Your supplier can then calculate the external size based on the selected board and construction. Confirm both dimensions on the approved sample if carrier limits or shelf space are important.
Is E-flute always best for custom mailer boxes?
No. E-flute can provide a thinner profile and a good print surface, but it is not automatically right for heavier or more fragile products. Choose board after considering product weight, insert design, stacking, and the distribution route.
Do I need a dieline before asking for a quote?
No. A supplier can often quote from product dimensions, box style, quantity, and print requirements. You do need an approved dieline before final artwork and production. Confirm who supplies it and which revision is the production reference.
What should I check on a pre-production sample?
Check the product fit, box assembly, closure, print placement, colour, finish, insert performance, and condition after realistic handling. Keep a signed or dated approval record so the production team has one agreed reference.