Direct answer: The rigid box manufacturing process turns cut greyboard into a formed, wrapped box. A typical order moves through product measurement, structural design, sampling, board cutting and grooving, corner assembly, wrap printing and finishing, gluing, wrapping, insert fitting, inspection and export packing. The sequence matters because a beautiful printed wrap cannot correct a poorly sized core, and a perfect empty box does not prove that the loaded product fits.
Key takeaways
- Approve the finished box with the actual product and insert, not only a flat artwork proof.
- Specify internal dimensions, board thickness, wrap paper, finish, insert and closure as one assembly.
- Greyboard cutting and grooving determine edge alignment; wrapping and glue application determine the visible finish.
- Foil, embossing and spot UV need registration and sample checks before bulk production.
- Compare suppliers on an approved sample, measurable tolerances, inspection plan and export packing method.
- Ask for separate sample, tooling, box, insert and freight costs to understand the full quote.
- What is a rigid box?
- Structures and materials
- Manufacturing steps
- Printing and finishing
- Cost and lead time
- Supplier selection and RFQ
- Frequently asked questions
What is a rigid box?
A rigid box, also called a set-up box, usually consists of a thick paperboard core covered with printed or specialty paper. It reaches the customer in its formed shape. This construction differs from a folding carton, which is creased and normally shipped flat. Rigid boxes suit premium gifts, cosmetics, jewelry, electronics and presentation sets where opening feel and product display matter.
The core carries the shape; the wrap supplies most of the visible color and texture. An insert locates the product inside. A shipping carton then protects the finished retail box in distribution. These layers have different jobs. A thicker retail box alone cannot replace suitable transit packaging.
For a broader overview of styles and uses, read Packaza’s rigid box guide. Buyers planning an insert can also use the rigid box insert material guide as a companion specification.
Rigid box manufacturing process: structures and materials
Manufacturing steps change with the box structure. A lid-and-base box has two separately formed pieces; a drawer box adds an inner tray and outer sleeve; a book-style box uses a hinged panel; a magnetic closure needs correctly positioned magnets and mating metal or magnets. Some projects combine a rigid shell with a paperboard sleeve or a pull ribbon.
| Structure | Build consideration | Approval check |
|---|---|---|
| Lid and base | Two formed components, optional neck or shoulder | Fit, lift-off force, even reveal |
| Drawer | Tray and sleeve may use different board and wrap | Sliding friction, stop feature, pull-tab strength |
| Book style | Hinge, spine and closure add assembly steps | Opening angle, hinge crease, lid alignment |
| Magnetic | Magnet placement must match across panels | Closure alignment and retention with contents |
Material specification: Request the finished board thickness in millimeters and the board grade, rather than relying on an ambiguous weight in gsm. Specify the wrap paper and its finish separately. Greyboard, white board, kraft wrap and art paper can be combined in different ways; the right construction depends on box size, product weight, finish and the desired opening experience. A printed wrap, specialty paper, fabric or coated paper will behave differently at corners and hinges.
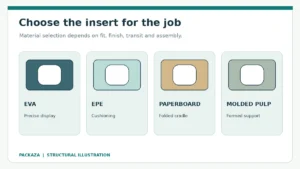
The insert may be folded paperboard, molded pulp, EVA or EPE foam. If it touches a delicate coated product, check the contact surface and adhesive locations. A sample made without the intended insert cannot reveal whether the lid closes cleanly.
Rigid box manufacturing process, step by step
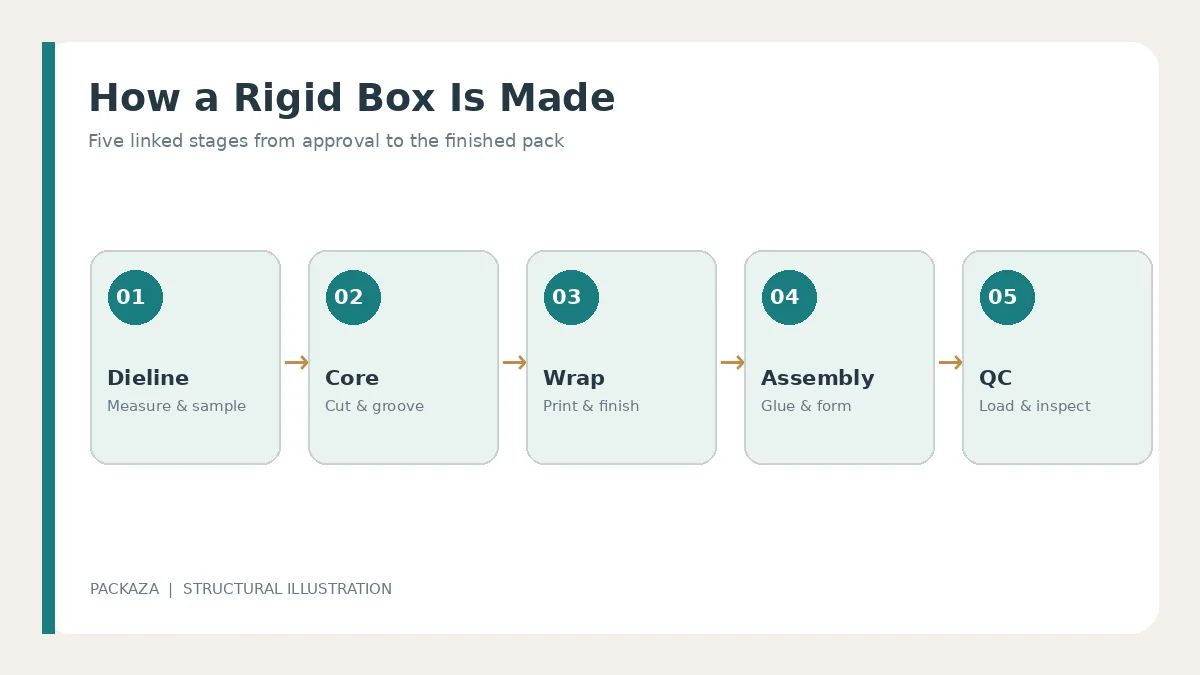
1. Measure the product and design the dieline
The supplier starts from product dimensions, weight, fragility and presentation position. The structural drawing shows the internal cavity, board panels, wrap turn-ins, insert and closure. It should also state whether a dimension is internal or external. A nominal product size alone is insufficient if cables, lids, accessories or protective sleeves must fit.
Buyer decision: Supply an actual product or dimensioned drawings with tolerances. Ask for a sectional drawing of the loaded box. Product height, insert thickness and lid clearance must work together; otherwise the finished box may bulge or need force to close.
2. Produce and approve a loaded sample
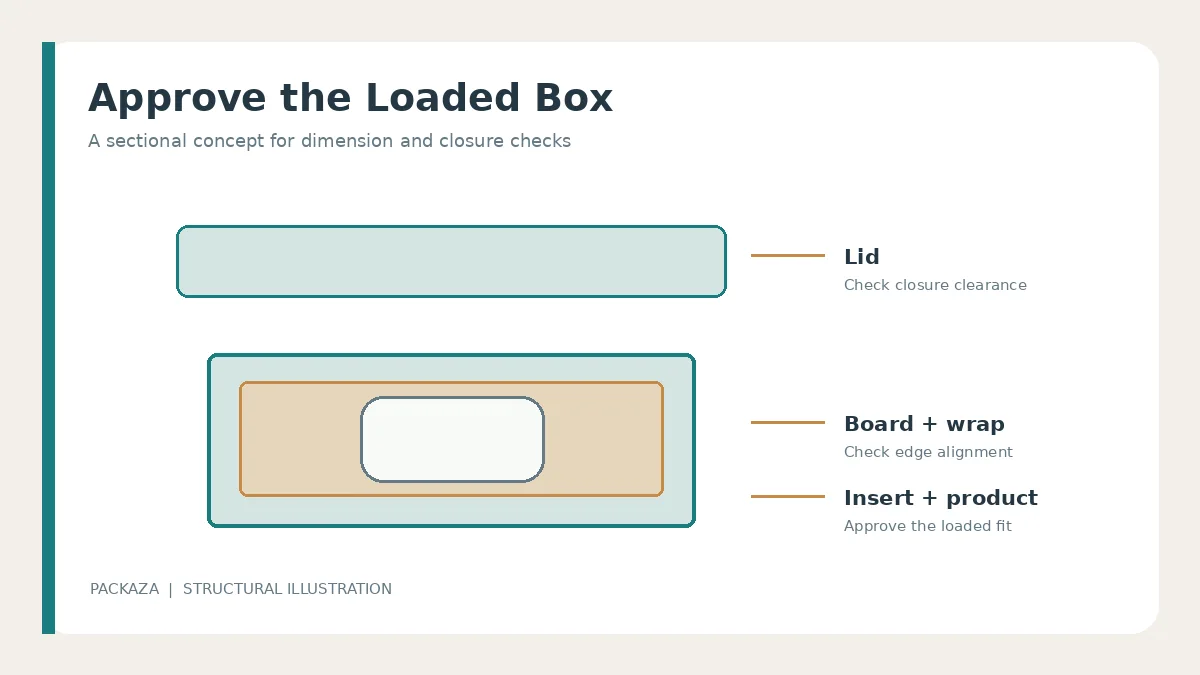
A white structural sample tests dimensions and opening action. A printed, production-standard sample tests the intended paper, color, finishing, insert and loading. Record which sample is the master reference and what may still change. Artwork approval does not approve structural fit, and a digital rendering cannot test scuffs or removal force.
When several SKUs share one outer box, sample the largest, smallest and most fragile product configuration. Photograph the filled box closed, open and partially unpacked. Agree on a revision process before cutting bulk material.
3. Cut and groove the board
The core panels are cut to their structural sizes. Grooving or scoring allows thick board to fold at crisp edges. Corner assembly then forms the shell. Cutting error appears later as uneven lid gaps or out-of-square corners, so check the first formed cores before wrapping them. A well-wrapped but misaligned core is still a rejected box.
Manufacturing judgment: A heavier board is not automatically an upgrade. Excess thickness can increase weight, reduce cavity space and make narrow hinges or corners harder to form. Ask the supplier to justify the board choice against the box dimensions and contents.
4. Print and prepare the wrap
For printed wraps, the artwork is imposed on the paper, printed and finished before the sheet is attached to the core. Specialty paper may arrive already colored or textured. The wrap is then cut with allowance for edges, corners and turn-ins. A color proof should name the substrate and finish: the same ink can look different under matte film or on textured stock.
5. Glue, wrap and form the box
Adhesive bonds the wrap to the formed board or to the flat panels, depending on the construction and equipment. Operators or wrapping machines align the paper, turn the edges inward and form corners. Pressing and drying stabilize the surface. Check glue coverage, trapped air, visible seams, edge lift and adhesive residue at the first production units.
Complex hinges, pockets, ribbons and magnetic closures may need additional hand assembly. Confirm the proposed construction with a physical sample; do not assume a supplier’s automated wrapping line can produce every decorative detail without manual work.
6. Fit the insert, inspect and pack
Fit the actual insert and products after the box has been wrapped and stabilized. Test loading, retention, removal, closure and presentation. Inspect dimensions, squareness, color, foil position, corner finish and surface marks against the approved sample. Pack finished boxes with suitable dividers or protection so they do not rub in the master carton. Request carton dimensions, gross weight and total CBM when comparing freight offers.
Printing and finishing choices
Offset printing is common for multicolor artwork on a paper wrap. Digital printing may be useful for some short-run proofs, but a digital proof should not be treated as a perfect color match for an offset production run. Specialty papers can provide texture without full-surface printing. Foil stamping, embossing, debossing, spot UV and matte or soft-touch films can add detail, but each introduces a process boundary that should be checked at scale.
| Finish | What to specify | Common risk to sample |
|---|---|---|
| Foil stamping | Foil color, position, artwork size | Incomplete transfer or registration drift |
| Emboss/deboss | Relief direction, depth, location | Distortion near folds or fine detail |
| Spot UV | Gloss area and tolerance to print | Misregistration or cracking across a fold |
| Matte or soft-touch film | Reference sample and handling test | Scuffs, fingerprints or changed color appearance |
Common mistake: A buyer approves foil color on a loose sheet and assumes it will look identical after wrapping around edges. Inspect the formed sample, particularly near fold lines, corner seams and areas touched during packing.
Rigid box manufacturing process quality control
For distribution testing of the finished pack, review the ISTA test procedure overview and select a procedure that matches the actual shipping route.
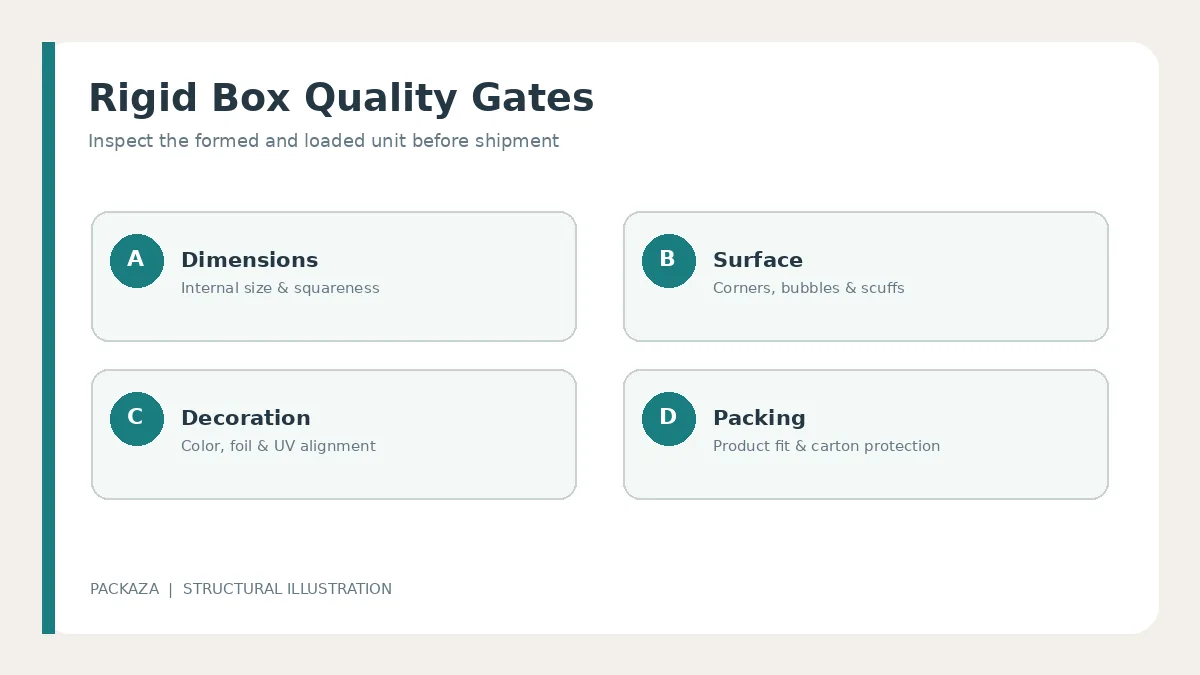
Define acceptance criteria before production. Use an approved physical sample and a written specification that identifies the measurement points, visual viewing conditions, finish placement and acceptable variation. Record first-article results, then inspect representative units during and after the run. A supplier should explain how it isolates a defect and prevents repeat problems, rather than merely replacing a few damaged boxes at the end.
- Structure: internal dimensions, squareness, lid fit, hinge movement and closure.
- Surface: wrap adhesion, corner folds, scratches, bubbles, dirt and exposed board.
- Artwork: approved color reference, print legibility, foil or UV alignment.
- Loading: insertion time, product retention, contact marks and removal ease.
- Distribution: protection inside the shipping carton and agreed handling tests for the assembled pack.
Test the final packed configuration if it will travel through courier networks. A box that looks perfect at the factory can arrive scuffed if retail boxes rub against one another in an underfilled carton. The shipping test plan should reflect the route and product, not a generic promise that the box is “strong.”
Rigid box manufacturing process: cost and lead time
Board area and grade, wrap paper, box geometry, finishing passes, insert construction, quantity, tooling and manual assembly all affect the price. A magnetic book-style box with a shaped insert cannot be compared to a plain lid-and-base box using unit price alone. Carton packing and freight also matter because formed rigid boxes occupy more volume than flat folding cartons.
Ask for the quote to separate sample and tooling charges, bulk box cost, insert cost, packing and freight. Give every supplier the same product set, finished dimensions, artwork, approved materials, quantity breaks, destination and Incoterm. See Packaza’s packaging cost guide for a broader cost framework.
Production timing begins after the final sample, artwork and materials are approved. Clarify which stages are on the critical path: specialty paper sourcing, printing, foil dies, wrap assembly, insert cutting or manual packing. A promised “production lead time” without the approval start date is hard to compare.
Rigid box manufacturing process: supplier RFQ checklist
Compare suppliers by how clearly they translate your brief into a testable specification. Ask who makes the core, who prints and finishes the wrap, who assembles the insert, and which checks happen before shipment. A sample that passes alone is less useful if the factory cannot reproduce its material and process in bulk.
Packaza’s custom packaging options show available box styles. For background on choosing insert geometry, read insert design considerations.
RFQ checklist: send the product samples or measured drawings; required internal dimensions and style; item count and insert layout; board and wrap preferences; artwork and print colors; foil, embossing, UV or laminate details; order quantity and SKU split; delivery country and Incoterm; target packing method; sample standard and required delivery date. If a requirement is flexible, say so and ask for a priced alternative.
Ask before placing an order: Will the sample use the same board, paper and finish as production? How will dimensions and visual quality be measured? Can the supplier provide a loaded first article? What is included in the unit price, and how will finished boxes be protected in transit?
Frequently asked questions
What are the main steps in rigid box production?
Design and sampling come first. The supplier then cuts and grooves the board, forms the core, prints and finishes the wrap, glues and wraps the shell, adds closures or inserts, inspects the loaded box and packs it for shipment. Some designs change the order of core assembly and wrapping.
What is the difference between a rigid box and a folding carton?
A rigid box has a thick formed core and usually ships assembled. A folding carton is creased to fold flat and is commonly erected later. The choice depends on desired presentation, protection, cost and freight volume.
How thick should the greyboard be?
There is no universal thickness. The box size, product mass, span, structure and closure determine the suitable board. Request a millimeter thickness and a loaded sample; avoid selecting board solely by a paper weight in gsm.
Why does a lid-and-base box fit too tightly?
Possible causes include incorrect internal dimensions, board or wrap thickness changes, uneven squareness and insufficient clearance. Measure the actual finished components and compare them with the approved sample before changing the dieline.
Can a rigid box be made without plastic film?
Yes, some unlaminated papers can be used, but their scuff resistance, color and handling behavior need testing. A finish choice should reflect the product and route. Do not infer recyclability for a mixed-material pack without checking local collection and the complete construction.
When should I approve the insert?
Approve it with the fully wrapped box and actual products. Board, wrap and adhesive affect the final cavity and lid clearance. A loose insert that fits an unfinished core may not fit the production box.
What causes bubbles or lifting on the wrapped surface?
Possible contributors include substrate variation, glue application, trapped air, tension, pressure and drying conditions. The supplier should compare defective units with the approved sample and investigate the process before recommending a fix.
How can I compare two rigid box quotations fairly?
Use one specification for dimensions, board, wrap, finish, insert, quantity, sample, packing and delivery terms. Separate tooling and freight. Compare the approved sample and inspection plan alongside price.
Conclusion
The rigid box manufacturing process succeeds when structure, artwork, insert and shipping pack are designed as one product. Start with the loaded sample, agree on measurable quality checks, and review the first production units before the run continues. To discuss a custom project, send Packaza your product dimensions, artwork, order quantity and destination through the contact page and request a construction recommendation and sample plan.