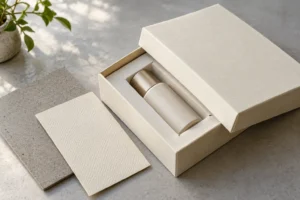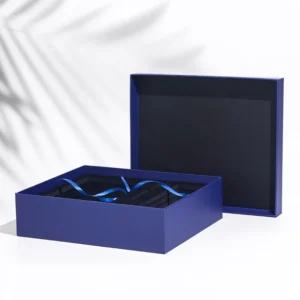
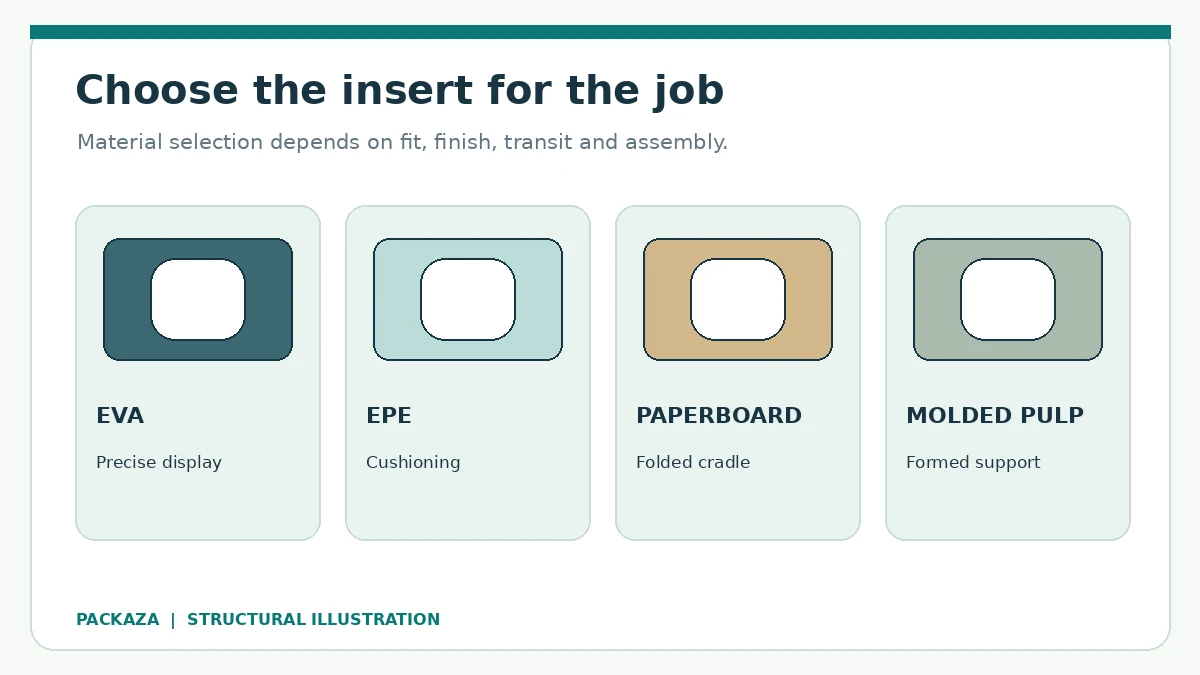
A rigid box insert holds each item in place, protects visible surfaces and controls how the product looks when the lid opens. Choose its material from the product’s weight, finish, shipping risk, assembly method and disposal requirements. EVA gives a precise, firm presentation; EPE cushions with less density; folded paperboard suits lighter products; molded pulp can support shaped products in a fiber-based pack. Approve the box and loaded insert together, using actual production products.
Key takeaways
- Start with the actual product and its tolerances, then design the cavity and outer box around the full assembly.
- Specify the retention force and removal method; a cavity that holds firmly can still make the product difficult to lift out.
- EVA and EPE have different firmness, surface appearance and recovery behavior. Sample the proposed grade and density rather than approving only a material name.
- A paperboard cradle can reduce mixed materials when it supports the product safely; molded pulp usually needs its own forming-tool and surface review.
- Test fit after wrapping, lamination, transport simulation and repeated opening, especially around heavy or plated parts.
- Compare the total delivered pack cost, including hand assembly, rejected components, packed volume and freight.
Contents
- What an insert has to do
- Material comparison for buyers
- Design the box and insert as one system
- How inserts are manufactured and finished
- Cost and quotation decisions
- Sample approval and quality checks
- How to brief a supplier
- Frequently asked questions
What an insert has to do
An insert is a fitted component inside a box. It may locate a product, separate parts, cushion an impact, prevent scuffing, lift an item for display or conceal accessories below a top layer. One design rarely optimizes all of these jobs at once. A premium appearance cannot compensate for a product that slides, rattles or is hard to remove.
For a multi-item gift set, map how the pack is handled: the factory places the parts, cartons are stacked, the shipment moves through its distribution route, and the recipient opens the box. Photograph or model the assembled set in all four orientations. The ideal opening presentation is only one point in that journey.
Practical selection rule: Choose the least complex insert that passes protection, presentation and assembly tests with the actual products. A heavier foam or thicker board is not automatically safer; it may increase pressure on an item or push the lid upward.
Material comparison for buyers
If you intend to market the pack as recyclable in the United States, review the FTC Green Guides summary and substantiate the claim for the finished package and available collection systems.
| Insert type | Typical fit | Advantages | Watch-outs | Ask the supplier to show |
|---|---|---|---|---|
| Die-cut EVA foam | Premium sets with repeatable cavities and a firm, clean appearance | Precise-looking pockets; many finish and lamination options | Firmness may make removal difficult; cut edges, layered construction and surface contact need review | Proposed grade, density, layer build, loaded sample and removal method |
| Die-cut EPE foam | Protective cushioning for fragile or irregular goods | Light weight and resilient cushioning | Softer appearance; compressibility and recovery vary; exposed surfaces may not match a luxury brief | Compression and fit after packing and transport |
| Folded paperboard cradle | Lightweight products and sets with clear fold geometry | Flat shipping before assembly; paper-based appearance; printable surfaces | Fold labor, tabs and creases can affect fit; weak geometry can collapse under weight | Assembled sample, assembly time and supported weight |
| Corrugated board insert | Shipping packs or hidden structural partitions | Stiff, economical structure; separation and stacking support | Visible flute edges and larger profiles may limit fine-detail presentation | Flute, orientation, assembled fit and rub points |
| Molded pulp tray | Shaped support for suitable production volumes | Formed pockets and a fiber-based look | Tooling, texture, edge detail and dimensional variation require approval | Tooling proposal, surface sample and fit tolerance |
Material names alone do not define performance. Request samples made with the proposed thickness, density or board grade and the intended wrap or facing material. Test the contact surface against the product finish. A claim that an entire package is recyclable needs checking against its coatings, adhesives and the destination market’s collection system.
EVA or EPE for a premium gift set?
EVA generally provides a firmer and neater visible cavity. EPE is useful when cushioning is the main need and a softer foam appearance can be covered or hidden. Either may be laminated, faced or combined with another structure. These are design tendencies, not guarantees: compare actual specimens with the product installed.
When should a buyer choose paper?
A folded paperboard tray works well when tabs and folds can locate the item without excessive pressure, especially for lighter cosmetics or accessories. For a heavy glass bottle or delicate plated fitting, test whether the paper structure can protect the item and retain its shape throughout shipment. A paper option should be chosen for verified performance and disposal goals, not simply because it sounds more sustainable.
Design the box and insert as one system
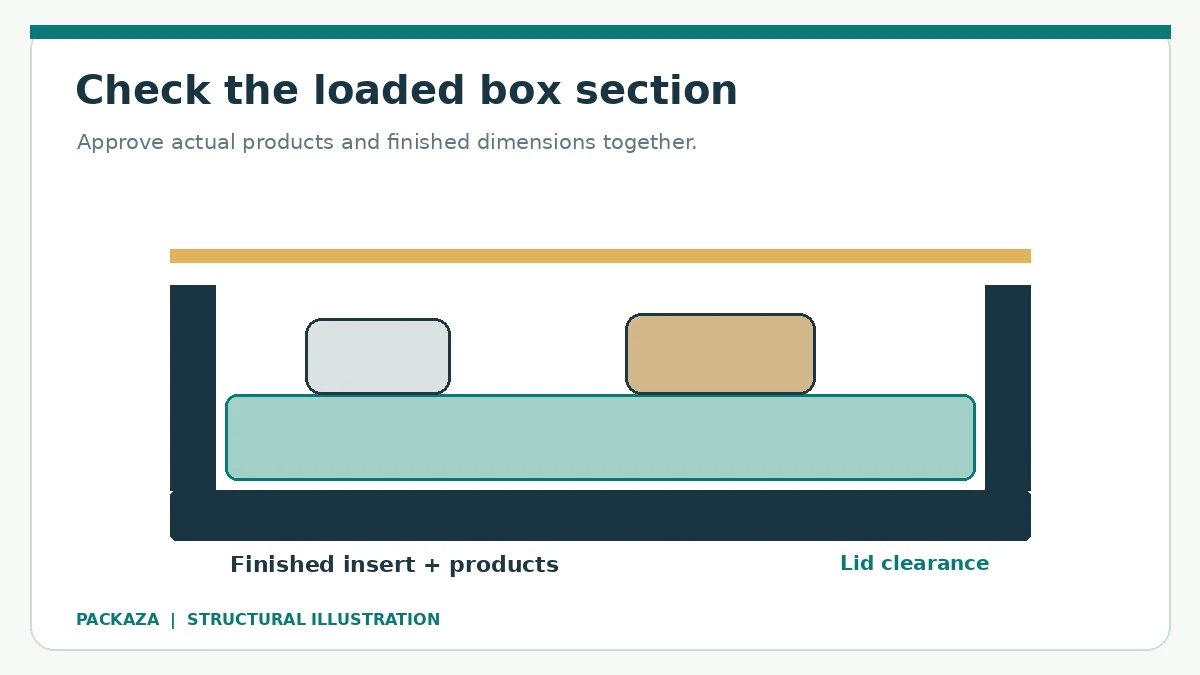
Measure the loaded product, not just the drawing
Record the largest and smallest real units from a representative sample, including caps, labels, protrusions, wraps, cords and removable accessories. Confirm whether the supplied dimensions are internal box dimensions, external box dimensions or product dimensions. Add the wrap-paper thickness and any board folds to the assembly drawing.
Specify the contact zones, the intended free space above the product and the way a person removes it. Finger notches, pull tabs or a ribbon lift may work better than enlarging the cavity until retention is lost. If the item has a plated or glossy finish, inspect all contact and adhesive-facing surfaces for transfer or scuffs.
Tolerance principle: A cavity must accommodate normal production variation in both the product and the insert while still retaining the item. Approve a measurable fit range on a sample; do not assume one nominal dimension solves both extremes.
Plan multiple layers deliberately
For a two-layer set, draw a section view showing the box wall, lower tray, upper tray, product heights, separation layer and closed lid. Check whether die cutting compresses a thick or soft insert and creates a raised edge. Check whether the person packing the box can place each item without forcing it under a lip. One problematic lower tray can make an otherwise acceptable rigid box appear swollen after closure.
Match decoration to the contact risk
Offset printing, foil stamping, embossing and spot UV are usually applied to the outer wrapped box or a printed paper facing. A soft-touch laminate can affect scuff visibility; flocked or suede-faced trays change the visible surface but may introduce fiber shedding or adhesive exposure. Approve a real assembled sample rather than a digital rendering when surface compatibility matters. Keep adhesive away from product-contact areas, especially where a sharp or plated edge can touch it.
How inserts are manufactured and finished
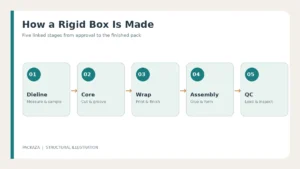
A typical custom insert project moves from a product sample and packing sketch to CAD drawing, material selection, cutting or forming, surface treatment, assembly, loaded sample and bulk inspection. EVA and EPE are commonly cut or layered; paperboard is die cut and creased; molded pulp is formed with tooling and then trimmed. A wrapped rigid box itself may involve greyboard cutting, printed paper lamination, die cutting, gluing and hand wrapping. Coordination between the box and insert makers is part of dimensional control.
Ask who owns the final assembly drawing and who signs off on the loaded sample. If separate suppliers produce the box and insert, record the interface dimensions and the tolerance for the finished inside cavity. A good die line for one component may still fail once the wrap, adhesive and tray are combined.
Cost and quotation decisions
The insert quote depends on its footprint, thickness and grade, number of cavities, layers, facing material, tooling, finishing, hand assembly and order quantity. The outer box structure, printing, foil, UV or embossing, master-carton packing and transport add separate costs. A low unit price for an insert can raise the delivered price if it enlarges the box or requires slow loading.
Compare quotations on one specification: request the same product set, artwork, quantity breaks, material grades, assembled dimensions, sample approval standard, packing method and Incoterm from each supplier. Show tooling and sample charges separately. Ask for carton dimensions, gross weight and total CBM when freight is significant. An EXW box price and a delivered price cannot be compared as if they cover the same scope.
To reduce cost without changing the product experience, test a single-layer construction, simplify noncritical cavities, share a base box across SKUs or use a folded paperboard locator where cushioning is unnecessary. Confirm each alternative with a loaded sample before accepting the saving.
Sample approval and quality checks
For distribution-test selection, consult the ISTA test procedure overview and choose a procedure that reflects the actual shipping route.
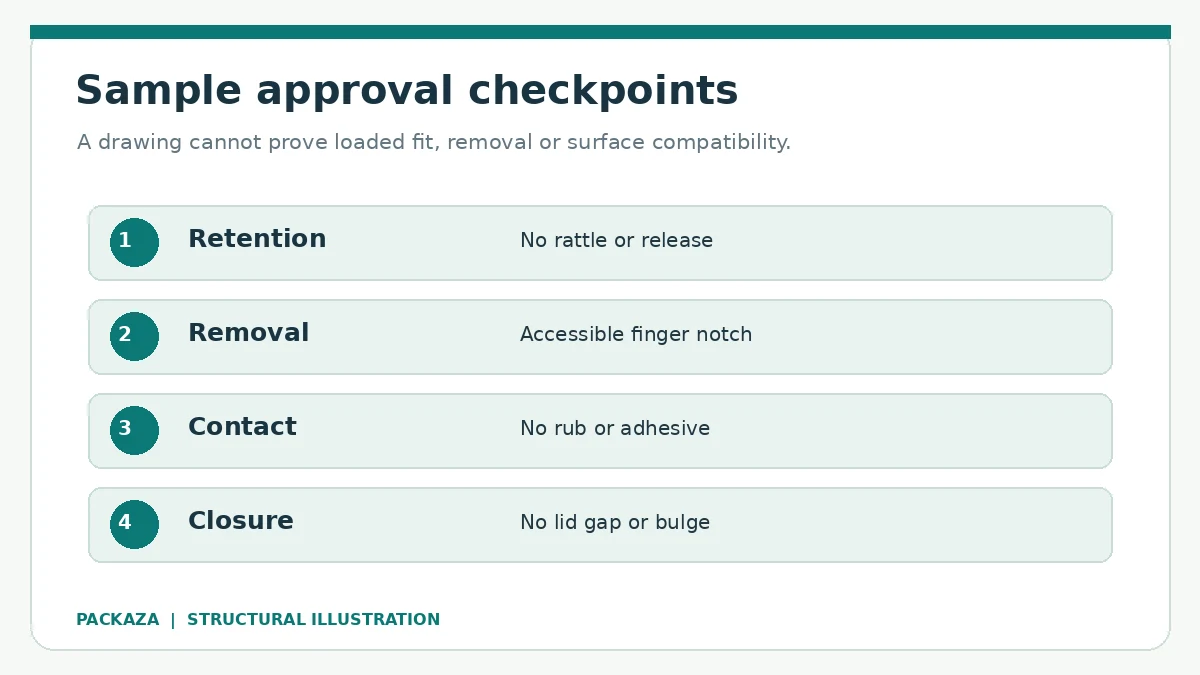
Approve a physical sample with actual products and an agreed master specification. A digital mockup can confirm layout and artwork, but it cannot establish fit, scuff resistance or loading speed. The sample record should show:
- Box structure and finished internal dimensions; insert material, grade, thickness and construction.
- Product dimensions and the accepted range of fit for each cavity.
- Opening force, removal access and whether a packed item can fall out when inverted.
- Surface contact, adhesive residue, loose fibers, die-cut edges and printed finish.
- Closed-box appearance, lid gap and any bulging after the full set is loaded.
- Carton quantity, orientation and protection during storage and transport.
In bulk production, inspect the first assembled units against the approved sample, then check representative units from the run. For shipments with meaningful transit exposure, agree on a suitable handling or distribution test plan for the complete pack. Compression testing of an outer shipping carton does not by itself prove that a delicate plated product will remain unscratched inside its insert.
Common mistake: Buyers approve an empty box and a loose insert separately, then discover that the actual items cannot be loaded consistently. Make the fully packed assembly the approval unit.
How to brief a supplier
To explore box styles alongside your insert specification, see Packaza’s custom packaging options.
Send the following with your RFQ:
- Clear photos or physical samples of every product, including the heaviest and largest variants.
- Quantity per design and forecast reorder volume, with quantities for price breaks.
- Finished product dimensions and weight, plus fragile or scratch-sensitive areas. For test selection, consult ISTA test procedures and choose a procedure that reflects the actual distribution route.
- Preferred rigid box opening style and target internal or external size, clearly labeled.
- Desired insert appearance, acceptable materials and any disposal requirements.
- Artwork, print colors, logo position and required finishing.
- Packing sequence, destination, sales channel and shipping conditions.
- Required sample, production and delivery dates; named delivery term and destination.
Ask the supplier for a section drawing, proposed material specimen, loaded prototype, inspection points and a quote that separates sample/tooling from bulk production. Explore Packaza’s rigid box guide, read the insert-design considerations, and review what packaging inserts do. For budgeting, see the custom packaging cost guide.
Frequently asked questions
What is the best insert for a rigid gift box?
There is no universal best material. EVA suits many premium display cavities, EPE emphasizes cushioning, and paperboard or molded pulp can suit paper-led designs. Use the product weight, surface sensitivity, distribution route and sample tests to decide.
Is EVA always more protective than EPE?
No. Performance depends on density, thickness, geometry, product mass and how the complete pack is handled. Compare loaded samples and relevant handling tests instead of ranking materials by name.
Can a paper insert replace foam?
Sometimes. A folded cradle or formed pulp tray may hold and separate lighter items effectively. If the product is heavy, fragile or scratch-prone, verify retention, cushioning and contact surfaces with the proposed construction.
Should the box be designed before the insert?
Design them together. The insert thickness and product height set the box cavity; wrapping and assembly change finished dimensions. Freeze the loaded sample before finalizing both die lines.
How do I stop products from popping out of the tray?
Review cavity shape, entry angle, undercuts, material recovery and product tolerances. Add a retention feature where appropriate, but preserve easy removal and avoid pressure on fragile parts.
How do I prevent bulging around a thick foam insert?
Inspect the full section height and die-cut edge after actual production processes. Consider adjusting layer thickness, cut geometry or the box depth, then confirm the packed box closes without force.
Can a flocked or suede-faced insert touch plated products?
It may be possible, but approve it only after testing the intended product finish against the facing, edge fibers and adhesive locations. Surface appearance alone does not establish compatibility.
What information is needed for an accurate insert quote?
Provide product samples or dimensioned drawings, box style and size, cavity count, material and finish requirements, quantity, delivery location and the approved packing arrangement. Tooling and hand assembly should be stated separately.
Conclusion
A rigid box insert should be specified as part of the finished, loaded package. The right choice balances a secure cavity, reliable loading, clean presentation, appropriate transit protection and total delivered cost. Send Packaza your product dimensions, photos or samples, expected quantity and destination to request a material recommendation and a fully assembled sample through the contact page.