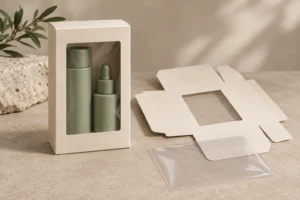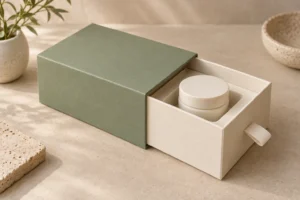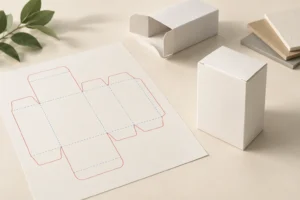
Straight tuck and reverse tuck cartons differ in the relationship between their top and bottom closures: straight tuck closes in the same direction, while reverse tuck closes in opposite directions. Auto-bottom cartons use a pre-glued base that forms as the carton is erected. Choose among them using the product, packing process, presentation and validated bottom performance—not a universal weight limit or an assumed cost ranking.
Key takeaways
- Confirm the closure on a dieline rather than relying on a style name alone.
- Straight and reverse tuck describe closure direction, not guaranteed strength.
- Auto bottom and manually interlocking snap-lock bottoms are different designs.
- Trial the complete carton with the intended product and packing method.
- Board, creases, tabs and glue all influence the result.
- Compare cost per completed pack, including assembly and rework.
- Retain approved drawings and samples for production and repeat orders.
What do straight tuck, reverse tuck and auto bottom mean?
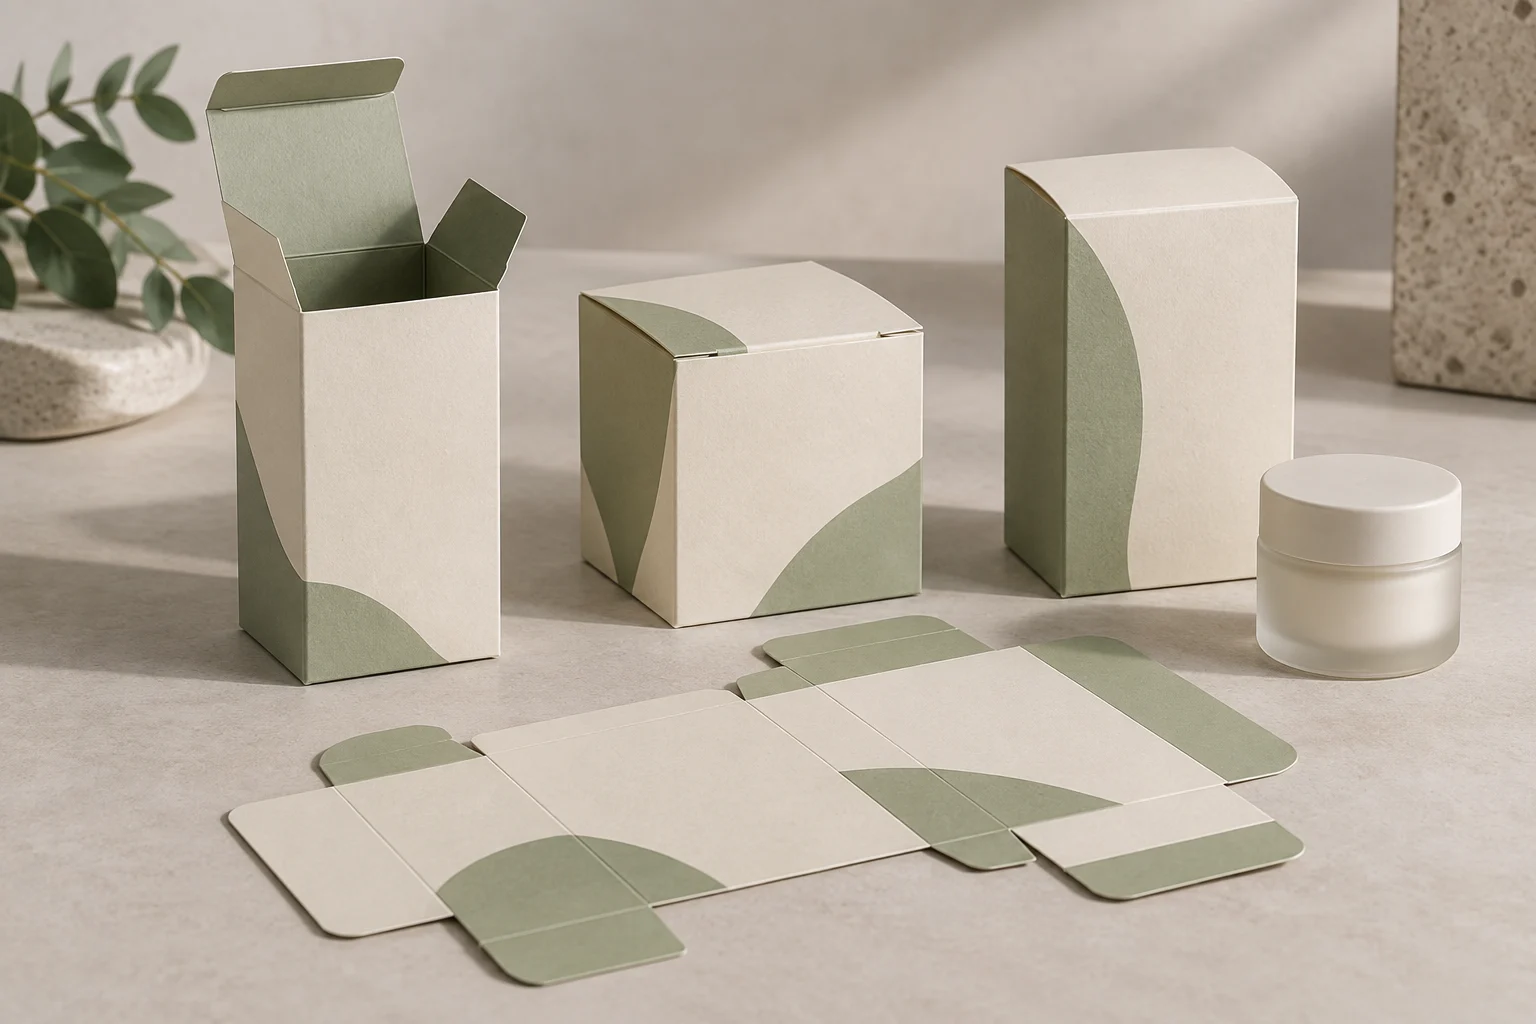
A tuck-end carton closes with a tab inserted into an end opening. On a straight tuck end design, the main top and bottom closures operate in the same direction relative to the carton panels. On a reverse tuck end design, they operate in opposite directions.
An auto bottom, often called a crash-lock bottom, is pre-glued so the base forms when the carton is opened into shape. It commonly pairs with a tuck top. A snap-lock or 1-2-3 bottom is manually folded and interlocked; it should not be confused with the pre-glued format.
PackMojo’s folding carton range illustrates these distinct closures. Supplier terminology can vary, so ask for a drawing showing the actual tab, bottom and glue arrangement.
Specification rule: mark the presentation panel, filling direction and bottom construction on the approved dieline. “Tuck box” alone does not define a production-ready carton.
How do the closure types compare?
| Closure | Structural distinction | Main purchasing check |
|---|---|---|
| Straight tuck end | Top and bottom tuck in the same direction | Presentation panel, packing orientation and tab engagement |
| Reverse tuck end | Top and bottom tuck in opposite directions | Filling sequence, blank layout and closure operation |
| Tuck top with auto bottom | Pre-glued bottom forms during erection | Erection consistency, glue quality and loaded-base performance |
| Tuck top with snap-lock bottom | Bottom flaps are manually interlocked | Assembly instructions, packing time and loaded-base performance |
This article addresses the decision separately so buyers can define the structure before comparing suppliers.
Straight tuck may suit a particular presentation layout, while reverse tuck may suit a different blank or packing arrangement. Neither label establishes a universal price or strength advantage. Request quotations and sample trials for the actual dimensions and stock.
Auto bottom can reduce manual bottom-folding operations, but assess the complete packing cycle. A quicker erection step is only useful if the carton opens consistently and works with the product loading sequence.
Which materials affect carton performance?
Specify paperboard grade, caliper, print surface and any coating or film. SBS, folding box board, recycled grades and kraft-based stocks have different characteristics. A gsm value alone does not establish stiffness, thickness or reliable closure behavior.
The closure works through a combination of board, creasing, tab geometry and manufacturing accuracy. For glued bottoms, adhesive and the bonded areas also matter. Do not replace that combination with a generic request for “strong paper.”
Ask the supplier to review crease quality and the interaction between the stock and any finish. A stiff-looking sheet is not enough if the assembled fold cracks or a tab is difficult to engage.
Do not select a board solely by a universal product-weight chart. Dimensions, load distribution, bottom geometry, insert and handling conditions can affect the required construction. Ask for a proposed configuration and verify it with the actual contents.
For comparison with heavier presentation formats, use the existing rigid box versus folding carton guide. A different material system may be appropriate if the carton cannot satisfy the product and presentation requirements together.
How should you specify size and product loading?
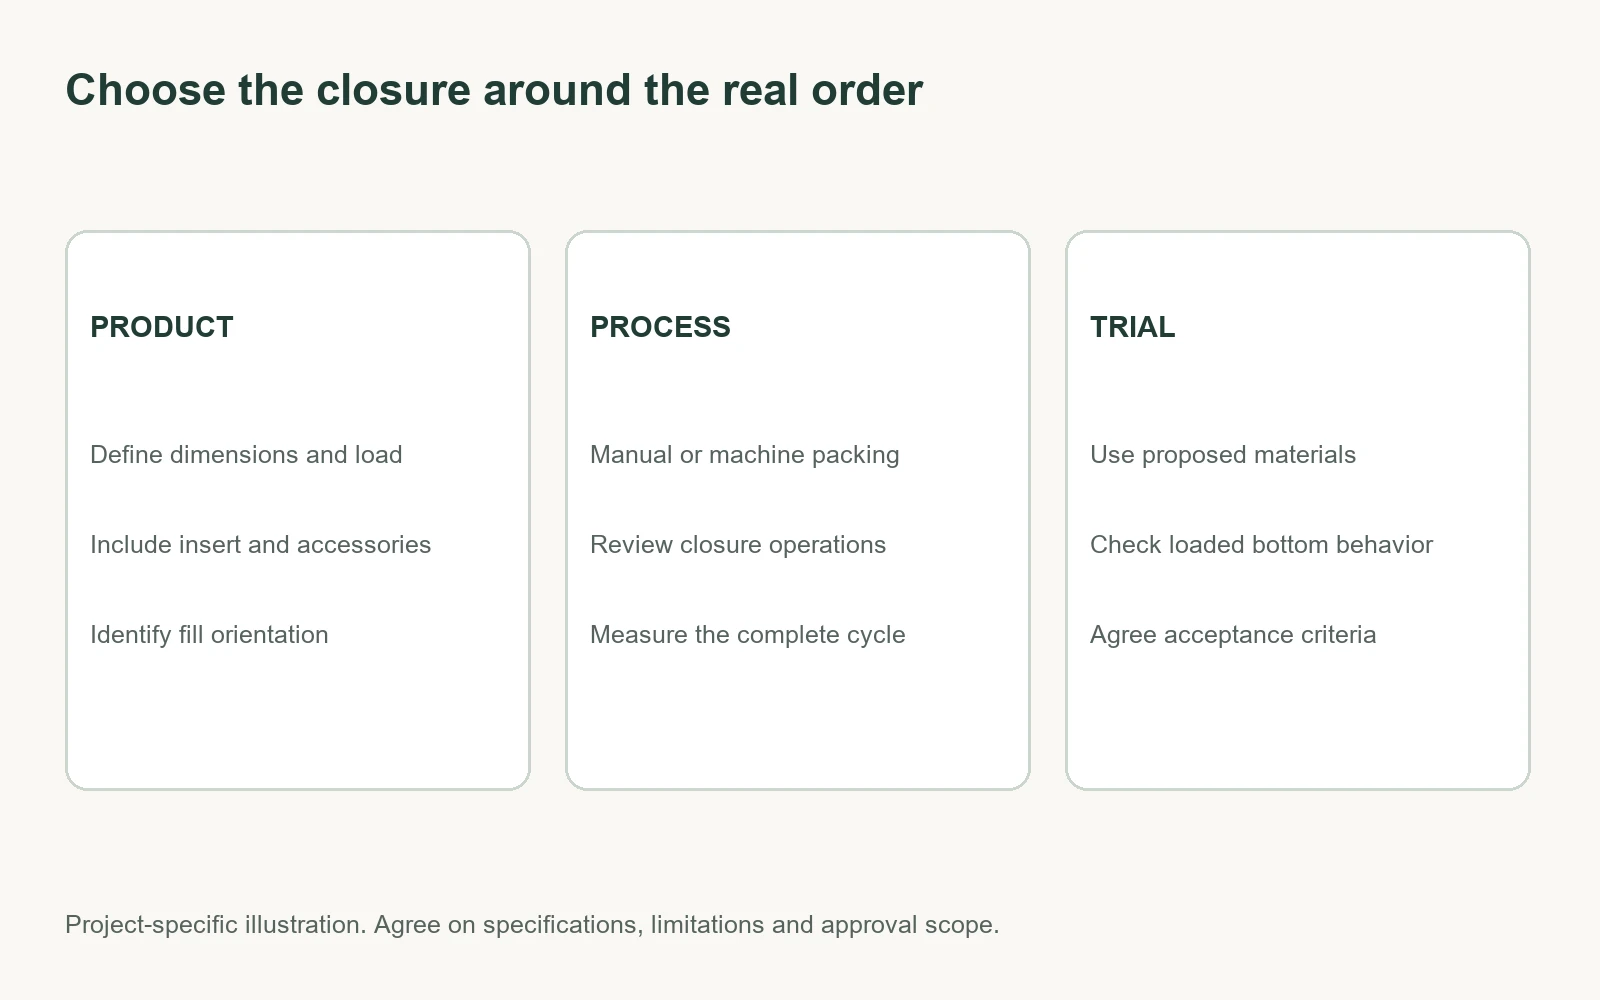
Define usable internal dimensions separately from the finished exterior. Include the product, primary container, accessories and any insert. State the intended orientation and entry direction during packing.
Check projections such as pump heads, jar lids or hanging features. A carton can fit the main body while its top flap catches an accessory or applies unwanted pressure to a closure.
Use an insert where product position requires it. The packaging insert guide helps separate fit and support questions from closure selection. The bottom should be reviewed under the intended loaded configuration, including the insert.
Assess access for assembly, filling, closing and removal. On a hand-packing station, can operators see that the tab is engaged? On an automated line, does the blank and product orientation match the machine’s requirements?
Agree on tolerances and measuring points with the supplier. Do not assume an exterior dimension establishes the available space, or that a nominal box style removes the need to approve a physical sample.
What changes in manufacturing and packing?
The typical workflow includes structural design, printing and finishing, die cutting, creasing, gluing as required, inspection and delivery. Tuck cartons commonly have a glued side seam; the fact that the ends tuck does not mean the whole carton is glue-free.
Auto-bottom construction adds a defined pre-glued base arrangement. Confirm the approved drawing and production route rather than treating every automatic bottom as identical.
Request a packaging dieline showing panels, tabs, creases and glue areas. Mark technical lines distinctly from artwork, and keep revisions synchronized with sample production.
For manual packing, trial representative orders with the actual operators. Record erection, product insertion, closure and any correction time. Include damaged tabs and misfolded bottoms in the findings rather than timing only a flawless demonstration.
For machine packing, involve the equipment provider or filling contractor early. Confirm blank presentation, material requirements, opening direction and the trial scope. A hand-assembled sample does not establish automatic-line compatibility.
Production check: distinguish geometry approval from production-process approval. A manually made prototype may demonstrate fit while leaving glue, creasing or line behavior pending.
How should artwork follow the carton closure?
Identify the intended front, back, top and bottom on the structural drawing. Check that print orientation matches the way the package will be filled, closed and displayed.
Inspect seams and flap overlap areas. Keep essential text visible on the assembled carton and away from places where closure components cover it. Review product information with the actual loaded sample, not only the flat artwork.
If decoration sits near a crease or tuck tab, ask the supplier to assess the interaction with folding and engagement. Foil, embossing and coatings need to suit the stock and construction.
Use the embossing and debossing guide for formed effects and the soft-touch comparison guide to clarify surface treatment. Approve relevant finishes after folding where they affect closure behavior.
Do not infer tamper evidence from a tuck closure. If the project needs a seal or other indication of opening, specify that function and its approval separately.
Which cost factors should you compare?
| Cost component | What to compare | Why it matters |
|---|---|---|
| Board and blank | Same grade, dimensions and layout scope | Different material specifications distort comparisons |
| Tooling and preparation | Dieline, die and revision charges | Defines development and repeat-order costs |
| Gluing and converting | Actual side and bottom operations | Captures the selected construction |
| Print and decoration | Colors, variants and treatments | Keeps finishing requirements comparable |
| Packing labor | Full erection-to-closure cycle | Reveals operating cost beyond unit price |
| Quality and rework | Assembly findings and correction time | Prevents relying on idealized speed claims |
| Delivery and storage | Flat-pack format, master cartons and destination | Defines landed supply cost and space needs |
Compare cost per completed pack. A base that costs more to manufacture may save an operation, but the result depends on your packing process and order volumes. Request actual alternatives and trial them under the same conditions.
Confirm quantities per size and artwork variant. A combined total across several SKUs may not be priced as one run. Ask how designs are identified, bundled and delivered to avoid packing the wrong variant.
Review master-carton dimensions and CBM for storage and container loading. Confirm the delivered folding state and bundle protection rather than assuming every closure packs identically. Use the custom packaging cost guide for broader quotation factors.
How do you approve samples and choose suppliers?
Send suppliers the same product brief, packing requirements and intended presentation. Ask for a proposed board and closure, representative samples and clear limitations. Compare the defined configuration, not just a style label.
| Approval area | What to review | Evidence to retain |
|---|---|---|
| Dimensions and fit | Load all intended components | Product and carton revision |
| Closure | Check tabs, bottom formation and engagement | Drawing and operating instructions |
| Loaded base | Perform agreed handling and performance checks | Method, criteria and results |
| Converting | Inspect creases, cuts and glue areas | Material specification and findings |
| Packing process | Trial manual or machine operations | Equipment or station conditions |
| Appearance | Review print and finishes after assembly | Approved physical reference |
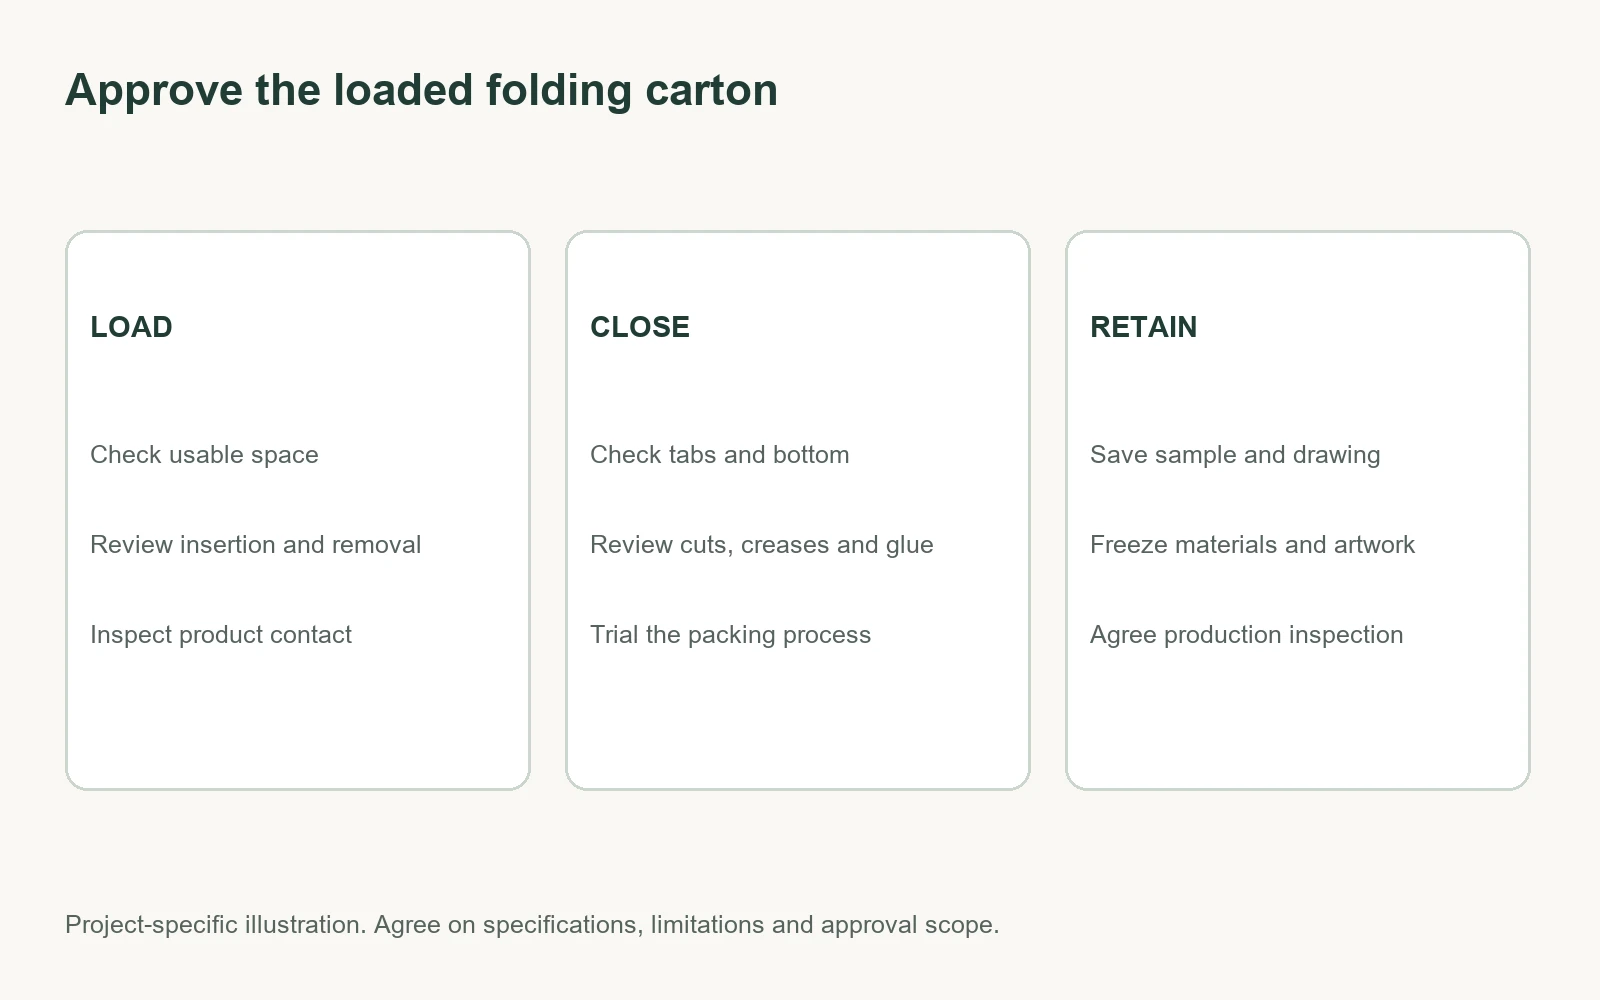
Define acceptable product and packaging condition before validation. A carton that stands upright briefly is not automatically suitable for carrying, distribution or long storage. Agree on testing appropriate to the intended application with the supplier or a competent laboratory.
Keep parcel shipping requirements separate from the retail carton. Validate the complete shipping configuration where necessary, including the outer carton and internal protection.
Retain approved samples, materials and drawings. Ask how substitutions, tooling changes and production variations are controlled. Agree on bulk inspection separately from development samples; one correct sample does not establish every unit’s performance.
Frequently asked questions
What is the main difference between straight and reverse tuck?
Straight tuck has top and bottom closures operating in the same direction; reverse tuck operates in opposite directions. Confirm panel references on the actual drawing.
Is reverse tuck always cheaper?
No universal ranking applies. Compare actual quotations for the same material, dimensions, print and delivery requirements.
Is auto bottom the same as snap lock?
No. Auto bottom is pre-glued and forms during erection. Snap-lock bottoms are manually folded and interlocked. Ask for a drawing if the terminology is unclear.
How much weight can a tuck carton hold?
That depends on the complete configuration and use conditions. Establish requirements and test the proposed loaded carton rather than using a universal weight limit.
Can auto bottom reduce packing time?
It can remove manual bottom-folding steps. Measure the full cycle with the actual carton and product to determine the practical saving.
Are tuck cartons glue-free?
Not necessarily. The ends may tuck while the side seam is glued. Other constructions can also include glued bottom components.
Can I approve machine compatibility from a hand sample?
A hand sample can support early checks. Confirm equipment requirements and conduct an appropriate line trial before claiming machine compatibility.
What should I send for a carton quotation?
Provide product dimensions and weight, packing orientation, intended closure, material and print requirements, quantities by SKU, sample scope and destination.
Request a folding carton quotation
Include these details in your Packaza inquiry:
- Product dimensions, weight and complete packed contents.
- Required internal space and exterior constraints.
- Preferred closure or the options you want compared.
- Manual packing or equipment details and filling direction.
- Board, printing, finishing and artwork variants.
- Quantities per SKU and delivery destination.
- Sample requirements and loaded-performance criteria.
- Target approval and delivery dates.
Send your brief through Packaza’s inquiry form and request comparable closure proposals. If considering a premium alternative, review custom rigid box formats and the rigid packaging guide. Choose the structure using the actual loaded carton and packing process, then keep the approved drawing and sample as the production reference.