Custom packaging sleeves are printed wraps that fit around an existing box or product to add branding and information. Choose the format around the actual packed item, then confirm the material, seam, sliding direction and artwork on a physical sample. A sleeve can simplify seasonal or variant branding, but savings depend on fit, packing labor and inventory—not just the price of the printed wrap.
Key takeaways
- Measure the finished outer package, not the product or the box’s internal space.
- Distinguish a decorative band from a sleeve-and-tray structure and shrink film.
- Approve sliding resistance with the final box and surface treatment.
- Keep the seam, folds and opening direction visible in the drawing.
- Compare the assembled order cost, including sleeve application and storage.
- Validate every intended SKU instead of assuming one sleeve fits all variants.
- Keep the base package responsible for the protection it must provide.
Contents
- What are custom packaging sleeves?
- Which sleeve format should you choose?
- Which materials matter?
- How should you measure and approve fit?
- How are sleeves made and decorated?
- What affects the total cost?
- What should quality checks cover?
- How do you manage suppliers and multiple SKUs?
- Frequently asked questions
- Request a packaging sleeve quotation
What are custom packaging sleeves?
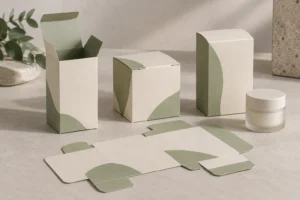
A paper or paperboard sleeve wraps around a base package, creating space for branding without replacing the whole box. It may cover a narrow section or most of the package length while leaving the ends open.
This guide addresses those printed wraps. A heat-shrink film label is a different product and process. A sleeve that forms part of a sliding tray package also has structural responsibilities beyond those of a decorative band.
The purchasing question is how to make the chosen style work reliably: fit it to the actual box, define the application process, and compare the total assembled cost.
Buyer principle: do not assume a sleeve makes a package suitable for shipping or makes it tamper-evident. Specify those requirements separately and obtain evidence for the complete configuration.

Which sleeve format should you choose?
| Format | Useful application | What to check |
|---|---|---|
| Narrow belly band | Add a variant or promotional message while exposing the box | Retention, space for information and band position |
| Wider open-ended sleeve | Provide more artwork space around a base box | Sliding direction, panel alignment and opening access |
| Sleeve with an inner tray | Create a sliding presentation package | Tray retention, stopping features and complete structural fit |
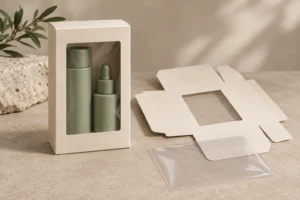
| Die-cut window sleeve | Reveal a selected part of the package | Window position, remaining strength and snagging |
| Wrap-around band applied during packing | Accommodate an agreed application method | Seam consistency, closure method and application time |
Names vary between suppliers, so include a sketch showing coverage and open ends. A photograph can communicate style but may conceal the seam or inner construction.
PackMojo’s sleeve range illustrates the use of printed sleeves around other packaging. Treat the sleeve and base package as a pair when reviewing a custom project, rather than selecting the printed part alone.
For a plain premium base, compare custom rigid box formats before fixing the wrap dimensions. Changing the base box later can invalidate an approved sleeve.
Which materials should you specify?
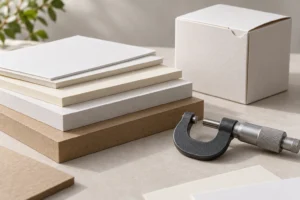
Discuss paper grade, caliper, surface treatment and folding behavior. A basis weight in gsm alone does not completely describe stiffness or thickness. The appropriate material depends on the sleeve span, intended handling, print and construction.
Coated paperboard offers a different print surface from uncoated kraft or textured specialty paper. Ask for physical samples when color, texture or fine decoration matters. A material description should identify the actual stock rather than only “premium cardboard.”
Avoid assuming thicker material is always better. Additional thickness can affect folding and fit. A narrow band and a wide sleeve may need different stiffness, even when used on the same box.
Consider the contacting surfaces as well. A sleeve slides against the base box’s paper, coating or film. Review the real combination for resistance, scuffing and removal rather than approving each surface separately.
If using a wrapped rigid box, record its covering paper and overall construction through the rigid box materials guide. The base package’s finished exterior is what the sleeve must fit.
For disposal or product-contact requirements, request material-specific evidence for the intended use. Added coatings, films and adhesives mean that a paper appearance alone is not enough to establish the complete package’s suitability.
How should you measure and approve sleeve fit?
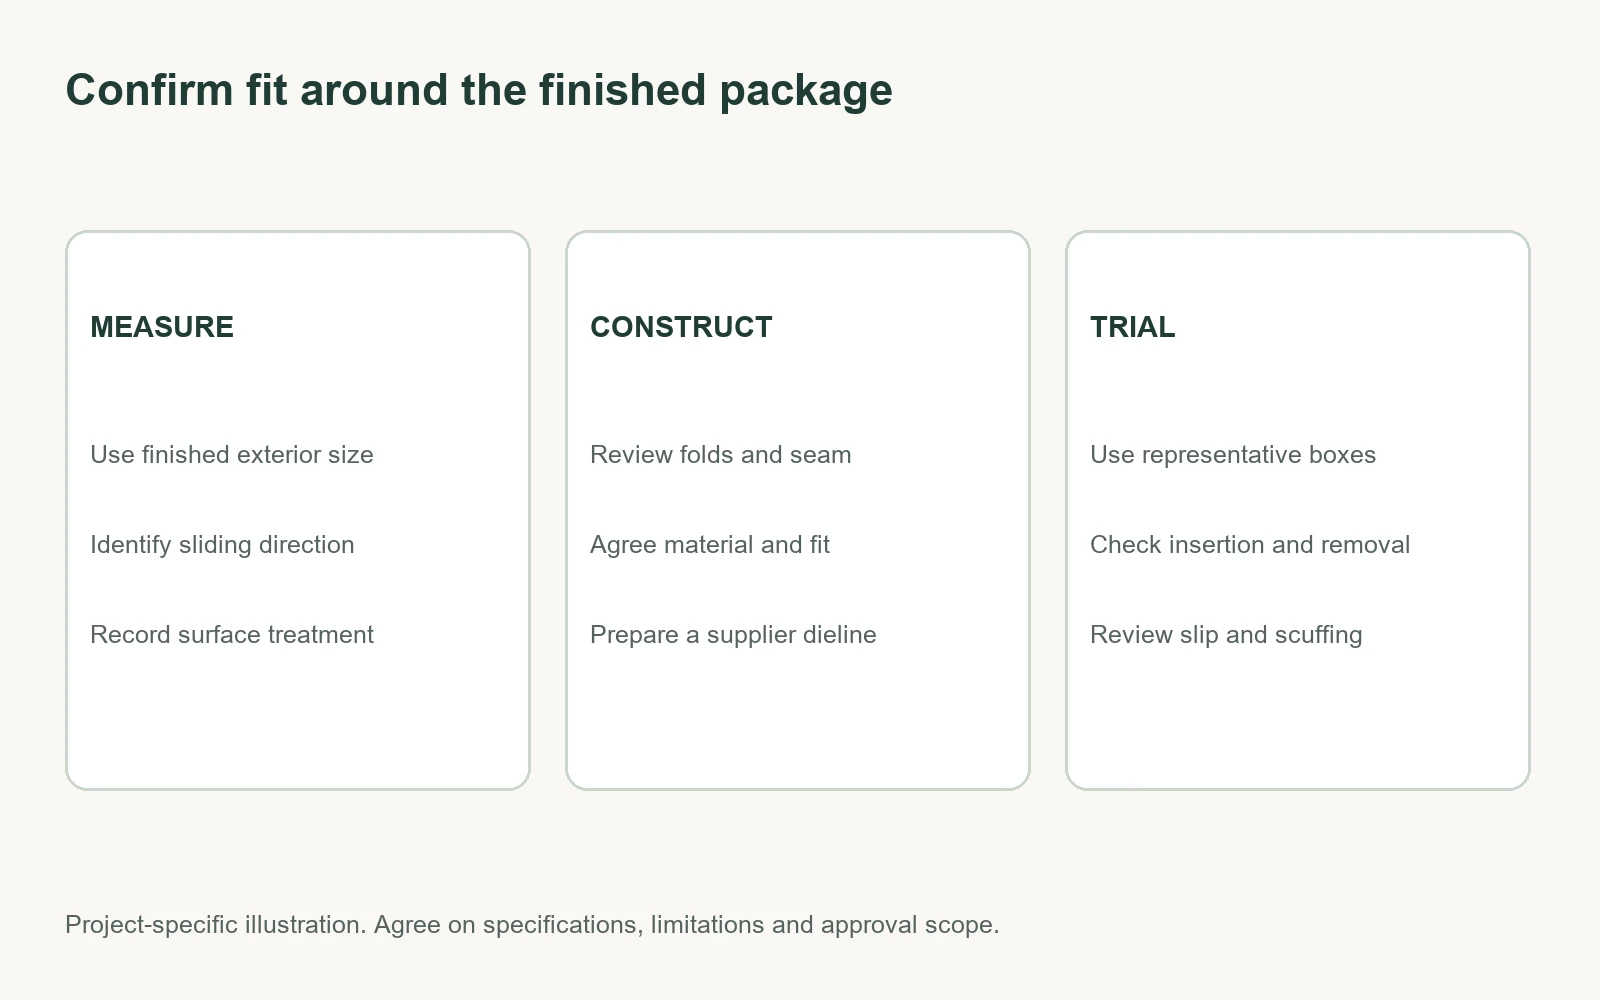
Measure the completed base package in its packed condition. Note external dimensions, projections, corners, closures and surface treatments. Identify which direction the sleeve will slide and which cross-section it surrounds.
For a simple rectangular cross-section with width W and height H, the geometric perimeter is 2(W + H). This is only a starting reference. The manufacturing dieline also needs to account for board thickness, folds, seam construction and the agreed fit. It is not a ready-to-print dimension formula.
Same Day Printing’s measuring guidance emphasizes defining the package orientation and checking fit with a sample. For procurement, send an actual base package where practical and ask the supplier to prepare the dieline around it.
Do not choose a universal clearance for every material. A smooth laminated box and a textured paper box can behave differently during insertion. Review samples made from the proposed sleeve stock on the intended base package.
Test application, removal and repositioning. The sleeve should not require enough force to distort the box, yet should not slip away unintentionally in the agreed handling conditions. Define the required behavior rather than requesting a vague “tight fit.”
For a repeat supply, account for variation in the base package. Request an agreed tolerance approach and sample across representative boxes. An excellent fit on one hand-picked unit does not establish fit across the planned supply.
How are packaging sleeves made and decorated?
The typical paperboard workflow includes structural design, printing, selected surface treatment, cutting, creasing and seam assembly where required. Some wraps are supplied pre-glued; others are applied and closed during packing. Confirm the delivery format before comparing prices.
Place the glue seam where it supports the intended presentation and application. Keep essential information away from overlap areas. Ask the supplier to review glue compatibility if the surface is coated or laminated.
Use the approved packaging dieline to align artwork with panels, folds and the seam. Identify which panel faces the customer after the sleeve is placed on the box. Review the artwork on the assembled package, not just the flat sheet.
Digital or offset printing may suit different quantity and artwork requirements; request the proposed method rather than assuming one is always cheaper. Confirm how colors will be approved on the actual sleeve stock.
Foil, embossing and selective coating can add emphasis, but they also add specification and approval work. Fine details should be reviewed against the chosen stock and process. Use the existing embossing and debossing guide for formed effects.
Check decoration around folds and seams after assembly. Surface treatment may also affect how the sleeve moves against the box. For tactile backgrounds, distinguish coating from film using the soft-touch comparison guide.
What affects the total sleeve packaging cost?
A sleeve can support variant branding without a separately printed base box for every SKU. Whether that saves money depends on the quantities, application process and inventory. Do not assume it always costs less than a fully printed package.
| Cost item | What to compare | Why it matters |
|---|---|---|
| Sleeve material and size | Same grade, coverage and structure | Prevents comparing different product scopes |
| Print and decoration | Colors, artwork versions and finishes | Defines setup and processing requirements |
| Tooling and sampling | Drawing, die and revision charges | Reveals development and approval costs |
| Seam and delivery format | Pre-glued versus applied during packing | Changes labor and handling |
| SKU allocation | Quantities for each design, not only total units | Affects setup and unused inventory |
| Storage and transport | Packing format, outer-carton dimensions and delivery terms | Defines the delivered supply cost |
| Application and quality | Time per completed pack and rework | Captures the operational cost beyond print |
Trial the application step with the actual packers. Record time, sleeve damage, box scuffs and misplacement over representative units. A cheaper wrap is not necessarily cheaper per completed order if it is difficult to apply consistently.
For master-carton packing and container loading, compare the delivered shipping dimensions and CBM. Confirm whether sleeves arrive flat or formed and how they are protected from bending. Do not infer a freight saving solely from the finished sleeve’s light weight.
If comparing sleeves with directly printed boxes, keep quantities, base construction, delivery and decoration requirements aligned. Use the custom packaging cost guide for broader quotation factors.
What should quality checks cover?
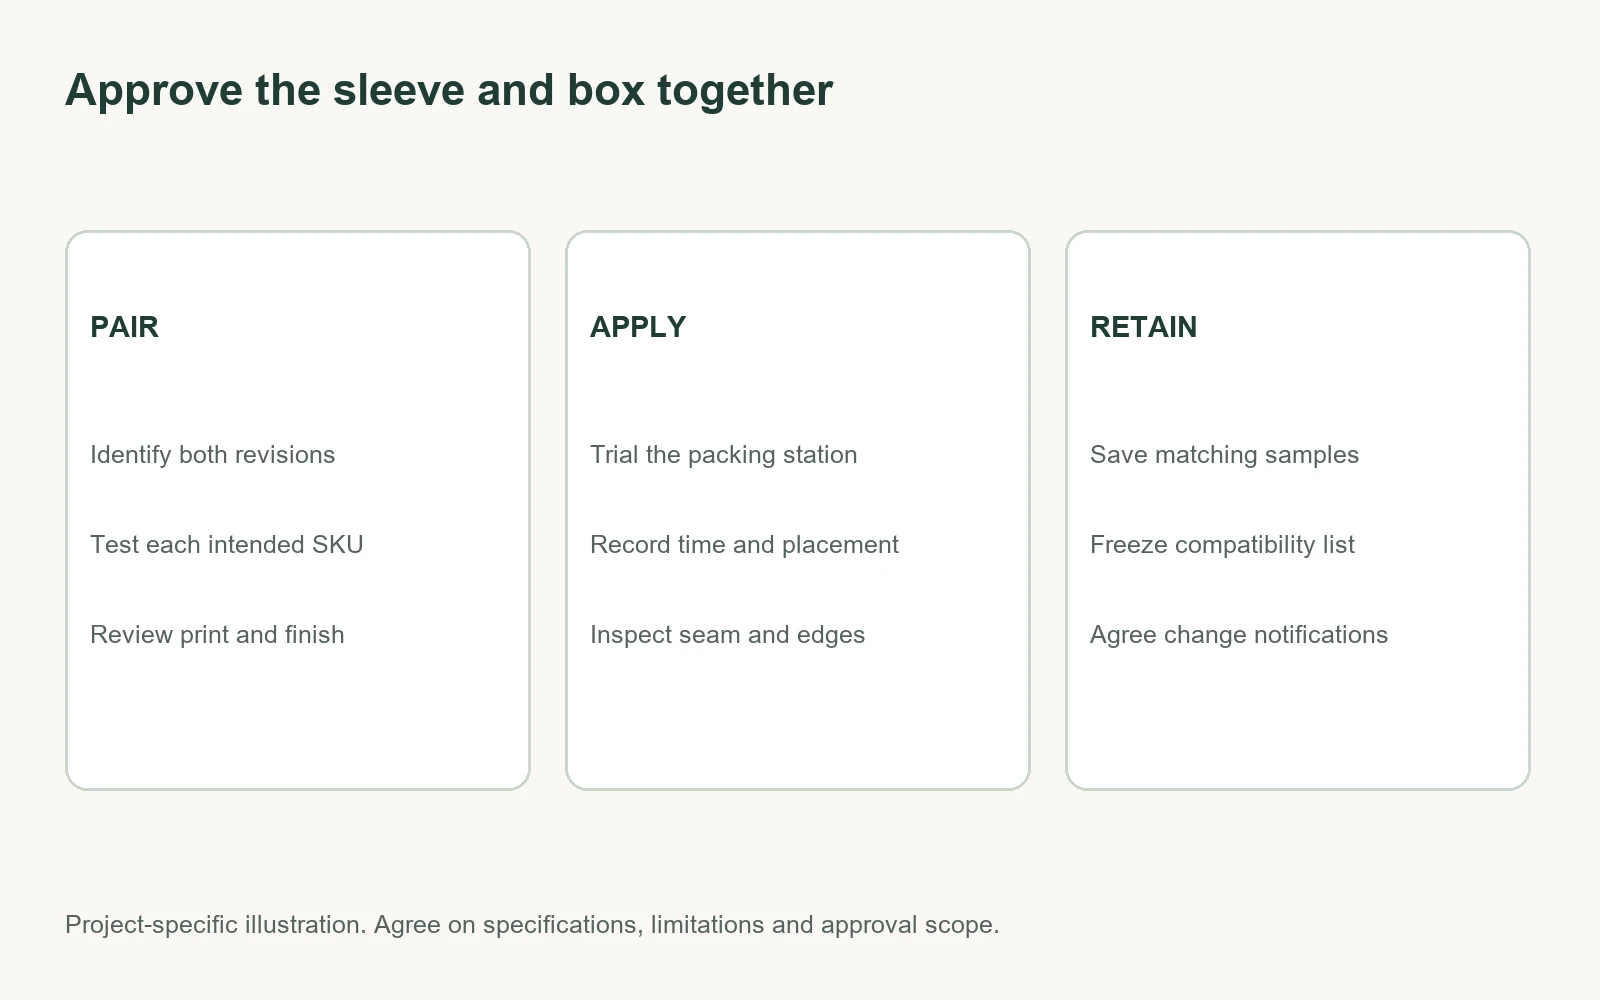
Approve the sleeve and box together. Identify the sample, base-box revision, material and artwork version. Review the entire opening and packing sequence before releasing the order.
| Review area | Practical check | Record before approval |
|---|---|---|
| Fit | Insert, remove and handle the package | Base dimensions, material and required behavior |
| Construction | Inspect folds, seam and cut edges | Dieline revision and seam position |
| Appearance | Compare print, finish and panel alignment | Artwork revision and physical reference |
| Product information | Confirm visibility after application | Correct SKU and required content |
| Application | Trial normal packing operations | Instructions and representative results |
| Supply consistency | Review dimensional variation and substitutions | Agreed tolerances and change-notification rules |
Test all intended combinations. A band that works on a single box may not suit a wider variant or a different lid construction. If one sleeve is intended for several SKUs, maintain a compatibility list rather than relying on nominal dimensions alone.
Inspect windows and shaped cuts for snagging and damage. If the sleeve is intended to retain components, assess that function explicitly; decorative coverage alone does not establish retention.
Keep shipping protection separate. A sleeve around a presentation box does not automatically replace the outer carton, insert or cushioning. Validate the complete packed configuration for the intended distribution conditions when protection is part of the project.
How do you manage suppliers and multiple SKUs?
Give suppliers the same base-package information and coverage sketch. Ask each to state the material, fit approach, seam, delivery format, print method and sample scope. A low quote that assumes a different base box is not directly comparable.
For seasonal designs, maintain a stable structural specification while controlling artwork versions. Confirm which changes require a new sample or tooling review. A color change and a dimension change have different implications.
Separate SKU quantities in the quotation and packaging labels. Ask how mixed designs will be counted, packed and identified. Misapplied sleeves can create incorrect product information even if printing and construction are otherwise correct.
Retain the approved sample, drawing and compatibility list. Arrange notification if the base box, sleeve paper, treatment or assembly process changes. For premium base packaging, use the rigid packaging guide to define the supporting structure.
Frequently asked questions
Is a packaging sleeve the same as a belly band?
The terms can overlap. A belly band commonly covers a narrower portion of the package. Show the required coverage and construction rather than relying only on the name.
Should I measure inside or outside the box?
Measure the finished exterior that the sleeve surrounds. Internal box dimensions alone do not establish the sleeve fit.
How much clearance should a sleeve have?
Agree on fit for the actual material and base surface through a physical trial. There is no universal allowance suitable for all paper grades and constructions.
Can one sleeve fit several product variants?
Possibly, if the completed base packages and fit requirements are compatible. Trial each intended combination and retain an approved SKU list.
Are sleeves cheaper than printed boxes?
Sometimes. Compare the base box, printed wrap, setup, application labor and inventory at the planned quantities. A sleeve price alone does not answer the question.
Can I add foil or embossing to a sleeve?
Ask the supplier to review the chosen stock, artwork and construction. Confirm the physical result and fit after decoration.
Does a sleeve protect the product during shipping?
It may perform a defined function, but do not assume shipping protection. Assess the complete package and validate it for the intended distribution conditions.
What should I send for a sleeve quotation?
Send the finished base dimensions, sample or drawings, coverage sketch, material preferences, artwork versions, quantities by SKU and delivery requirements.
Request a custom packaging sleeve quotation
Prepare the following for a useful Packaza inquiry:
- Finished base-package dimensions, construction and surface treatment.
- Sample or photographs showing closures, corners and projections.
- Coverage width, sliding direction and intended seam position.
- Paper preferences, printing and decoration requirements.
- Quantities for each artwork and intended SKU combination.
- Pre-glued or packing-station application requirements.
- Sample review scope and compatibility checks.
- Delivery destination, packing format and target date.
Send your brief through Packaza’s inquiry form. Request a proposal that defines the sleeve-and-box fit and the delivered format. Approve the paired physical sample, trial the packing step, and keep each SKU’s artwork and structural revisions together before ordering in volume.