Embossing raises a design above a paperboard surface; debossing presses it below the surface. Both can make a box feel more tactile, but the best choice depends on the board or wrap paper, artwork detail, nearby folds and whether the relief must align with print or foil. Before approving production, request a sample on the intended material and agree on appearance, registration and allowable surface marks.
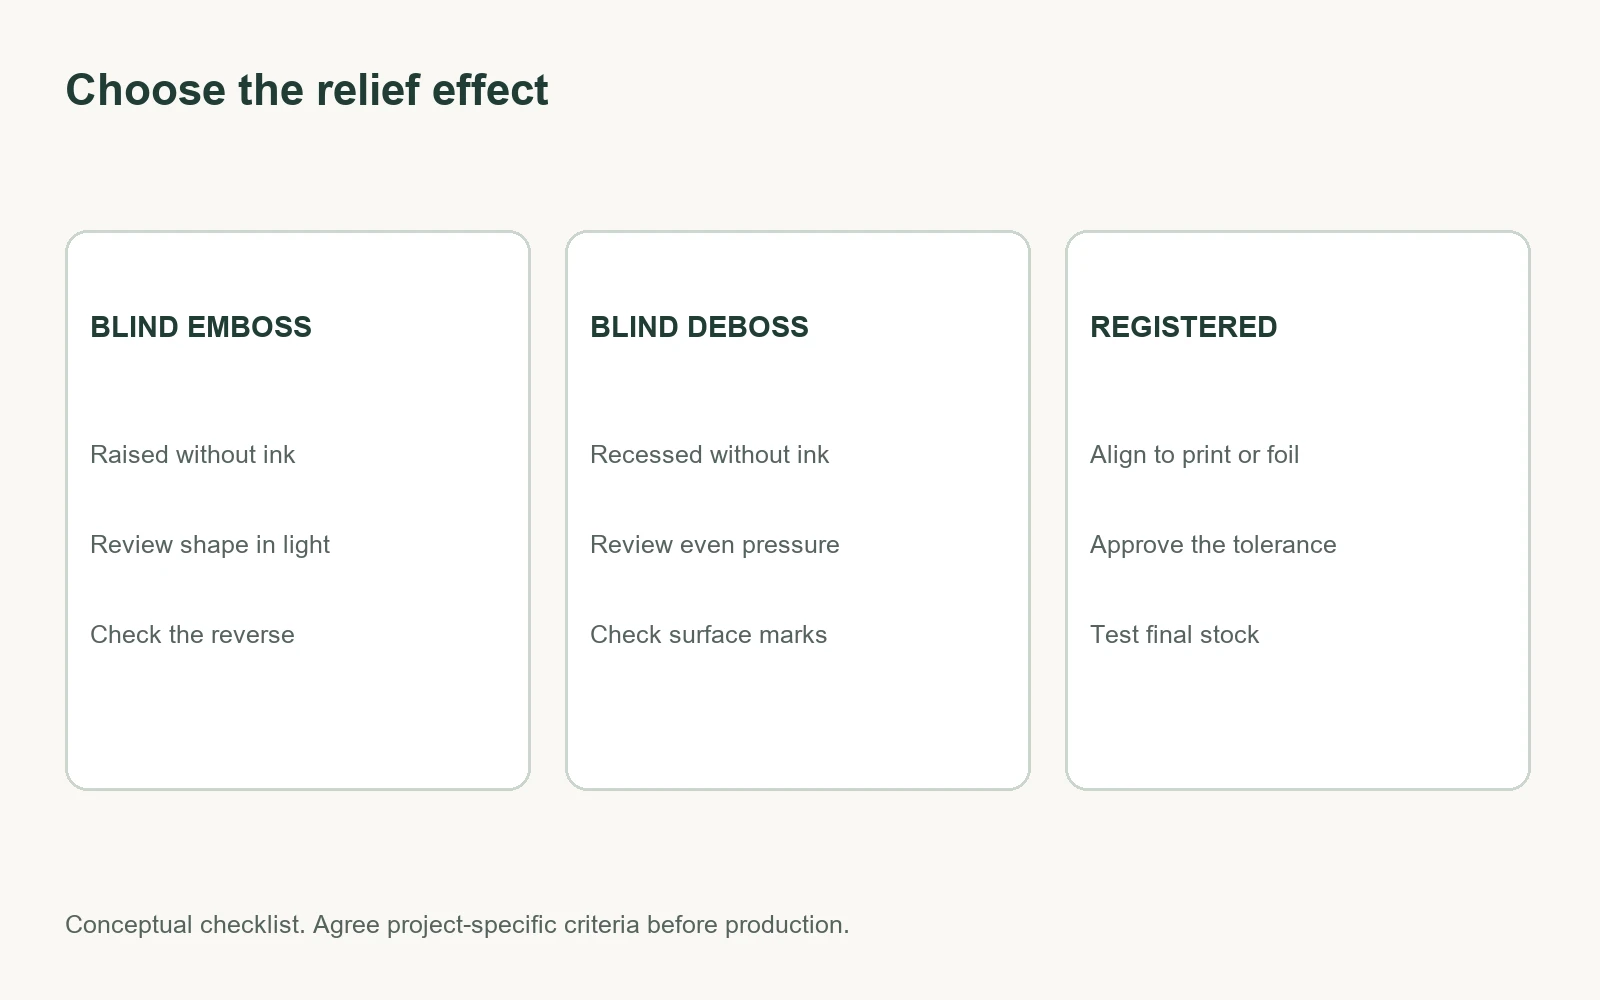
- Use blind embossing or debossing when the relief itself should carry the design without added ink or foil.
- Choose a registered effect only after confirming how the relief will line up with print or foil.
- Give the supplier the actual paper grade and thickness before a die is made; relief performance is material-specific.
- Keep delicate detail, small type and deep relief subject to sample approval rather than assuming any design will hold.
- Inspect both the visible face and the reverse side, especially on folding cartons and wrapped rigid boxes.
- Quote the die, sample, setup and production finishing as separate cost components when comparing suppliers.
Embossing and debossing defined
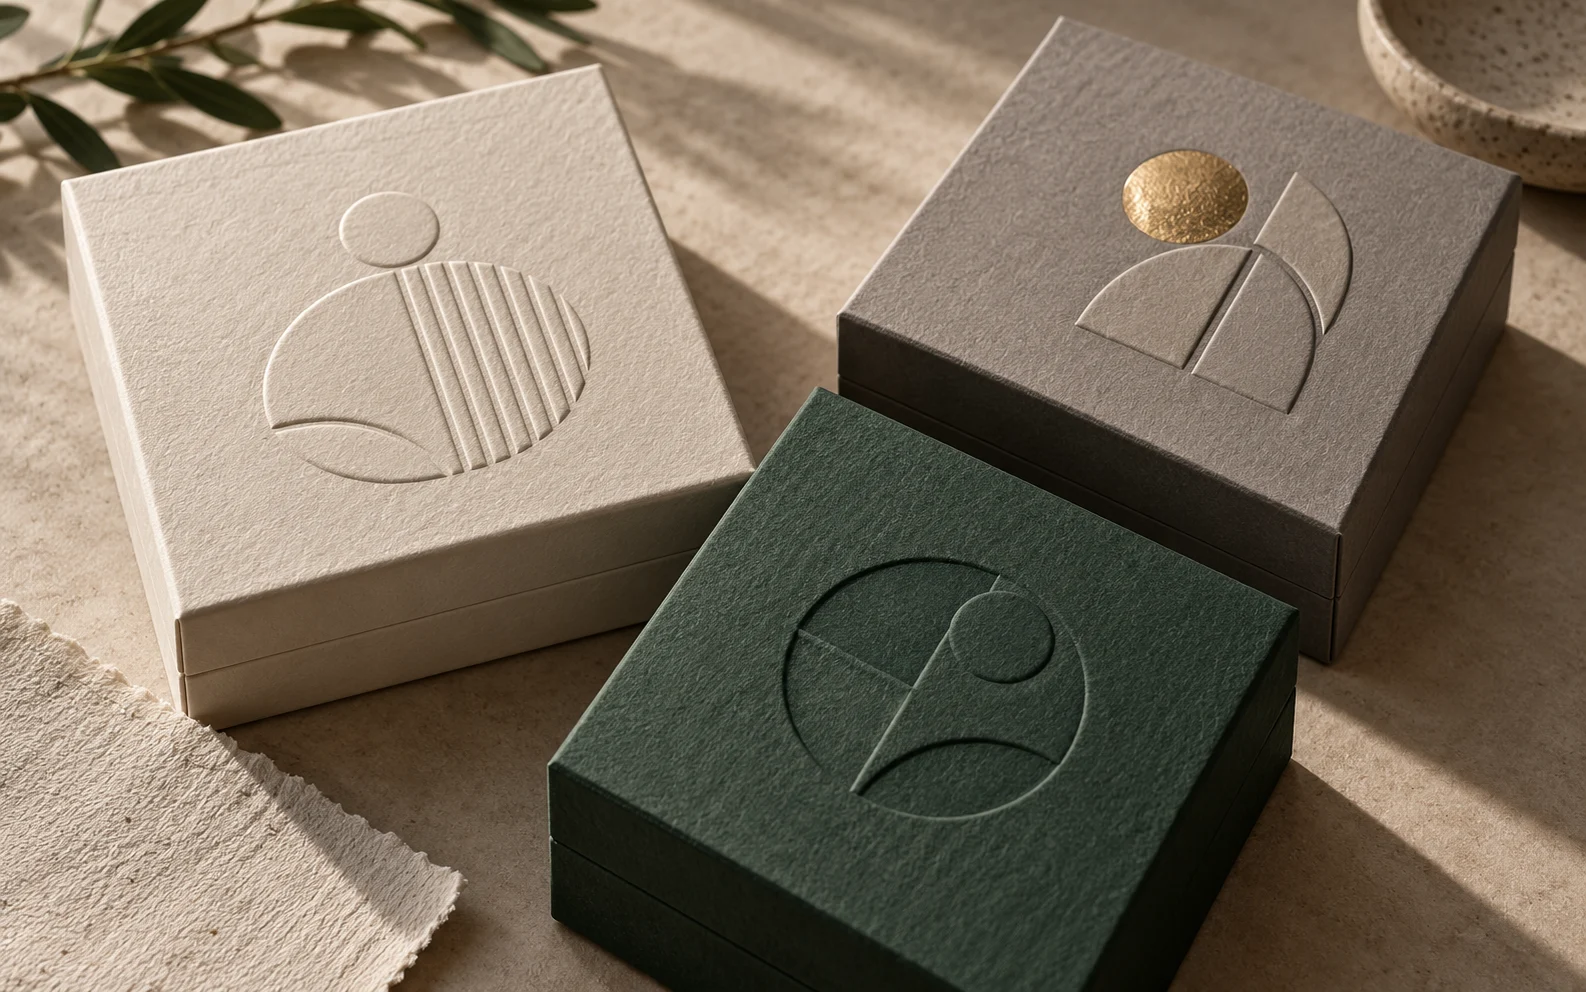
In embossing, a shaped tool and counter-die form a raised motif in a sheet. Debossing creates a recessed motif. The distinction describes the surface you see and feel, not a promise about visual quality. Relief can be blind—with no additional printed or foil image—or registered to a printed element. An embossed or debossed area may also be combined with a metallic or pigmented foil, but that introduces another material and an alignment requirement. Iggesund Paperboard’s graphics handbook describes the stamp and counter-die construction and notes that paperboard grades respond differently to deep relief.
The choice is not simply “premium versus basic.” A subtle blind deboss on textured wrap paper can be more legible to touch than a deep emboss crowded with fine print; a raised mark may better catch side light on a smooth carton. The right answer comes from the actual artwork and substrate under intended viewing and handling conditions.
Which effect should you choose?
| Effect | Visual and tactile result | Suitable buyer brief | Key approval question |
|---|---|---|---|
| Blind emboss | Raised motif without added print or foil | Tactile logo or pattern on a paper surface | Does the shape read clearly without ink contrast? |
| Blind deboss | Recessed motif without added print or foil | Quiet, understated mark on a firm surface | Does the indentation stay even and avoid damage? |
| Registered emboss | Raised motif aligned to printed artwork | Printed logo or image needs dimensional emphasis | Is the print-to-relief alignment acceptable? |
| Foil plus relief | Foil and formed shape combined or precisely registered | Metallic mark with tactile depth | Are foil coverage, relief and registration all acceptable? |
If the mark is small, intricate or close to a fold, simplify the artwork before requesting a deeper impression. A flat foil or spot UV finish may deliver the desired focal point with less structural risk, depending on the design. For a full comparison with flat metallic effects, see our foil stamping guide.
Material and structure considerations
Relief forms the material rather than just adding a surface image. Solid bleached board, folding box board, uncoated specialty paper and a thin printed wrap do not behave identically. Strength, elasticity, coating, grain, caliper and paper construction influence how sharply a mark forms and whether the surface cracks or distorts. The Iggesund handbook recommends giving the toolmaker a sample of the intended substrate and explains that tool preparation is often specific to board grade and grammage. This is why “same artwork, different paper” can require a fresh tool or at least a new trial.
For a folding carton, examine the reverse side of a raised or recessed motif. It may be visible inside the box or affect nearby creases, glue areas or panel flatness. For a rigid box, distinguish the decorative wrap from the greyboard core. A relief operation on the wrap before mounting can look different after the paper is wrapped over an edge; a mark made after assembly depends on the box geometry and available tooling. The rigid box manufacturing process shows why construction and finishing must be planned together.
Textured paper can heighten tactile contrast, but an aggressive impression may compress or scuff the texture. Coated paper may show stress differently. Ask to see both face and reverse and compare under angled light. Do not approve a concept mockup as evidence that the final stock can tolerate the requested depth.
Artwork and die planning
Give the supplier a vector layer dedicated to the relief shape and label whether it is raised or recessed on the viewing face. Keep it aligned to the current packaging dieline, and identify any printed or foil layers that must register with it. For multi-level designs, show each relief level clearly, but ask the die maker what the chosen stock and press can reproduce. Mohawk’s embossing and foil stamping tips recommends adapting type and spacing to the added dimension rather than treating small printed lettering as ready-made embossing artwork.
Avoid placing essential copy, a barcode, thin rules or an important die-cut edge within a relief area without a specific trial. The die and counter-die need space to form the sheet. A design near a score or wrapped corner may be affected by later folding. Do not quote a universal minimum line width, margin or depth from a generic blog: these depend on stock, tool, press and requested look. Ask the supplier to mark the safe area on the actual layout and approve a physical test.
The die is a custom tool. Clarify who owns it, whether it can be reused for repeat orders, how changes are billed, and what happens if the paper grade changes. Store the approved artwork version with the die reference; otherwise a repeat order can quietly combine an old tool with new graphics.
Combining relief with print and foil
A blind effect avoids a printed target, so slight placement variation may be less conspicuous than on a registered logo. Once relief must sit exactly over ink or foil, alignment becomes an inspection criterion. Plan a deliberate allowance around fine borders and small lettering, then ask for a sample of the worst-case expected registration rather than accepting a perfect digital overlay. The available process sequence can differ by supplier and substrate; the supplier should explain whether the relief is applied to a printed flat sheet, a finished wrap or in a combined foil operation.
Print color and relief should be judged together. A raised image changes the way light hits ink; a recessed mark can deepen shadow and alter the look of a flat printed color. Lamination or coating may make a paper surface less willing to form sharply. Have the printer confirm the actual order of print, lamination, foil and relief, and approve the combination in its final construction. The soft-touch coating versus lamination guide helps when the tactile finish is also part of the design.
| Design choice | What can change | What to test |
|---|---|---|
| Blind effect on textured stock | Detail may soften or paper texture may compress | Readability, consistent depth and surface condition |
| Registered relief over CMYK print | Misalignment is easy to see at borders | Position across production samples |
| Foil plus relief | Foil coverage and relief can fail differently | Adhesion, detail, cracking and alignment |
| Relief near fold or wrap edge | Formed mark may distort during assembly | Finished, handled package from both sides |
How the finish is made
A typical workflow starts with approved artwork and an identified substrate. The die maker prepares the stamp and counter-die, the printer sets up the finishing equipment, and a trial sheet reveals whether the desired shape forms cleanly. The relief is then applied during the agreed stage of production. Later cutting, creasing, folding, gluing or wrapping produces the final box. Each downstream step can alter how the effect appears, so the buyer should review an assembled sample as well as a flat sheet when relevant.
The critical manufacturing judgment is to test the specified board and complete process. A deep mark that looks attractive on a generic sample may crack a different coated sheet or become hard to see after mounting. The supplier should identify the press and tooling constraints for your design, then propose a feasible relief level. The physical result—not an unverified target depth—is the approval standard.
Cost and supplier comparison
Embossing or debossing can add custom tooling, setup, finishing time, sample rounds and extra inspection. Registered effects and foil combinations may add alignment work. The price depends on art complexity, area, substrate, quantity, number of positions and whether an existing die can be reused. Ask for a quote that separates the one-time tool from unit finishing, and state who retains the tool after production. Our custom rigid box cost guide covers the larger box quotation.
Compare suppliers on a complete specification. One quote might use a small single-level blind mark on an uncoated wrap; another might assume multi-level relief plus foil on laminated stock. Those are not equivalent. Ask for material samples, photographs of relevant work as context, and a production-intent proof of your own design. Avoid accepting a claim of “deep embossing” without an agreed sample and defect criteria.
Sample approval and quality control
On the sample, check that the motif is correctly located, sharp enough for its intended look and consistent across the surface. Inspect cracking, broken fibers, unwanted shine, wrinkles, ghosting on the reverse, damage to print or foil, and interference with folding, gluing or box fit. Handle the box as a customer would; a tactile mark can be attractive in the first photograph yet snag or scuff during normal use.
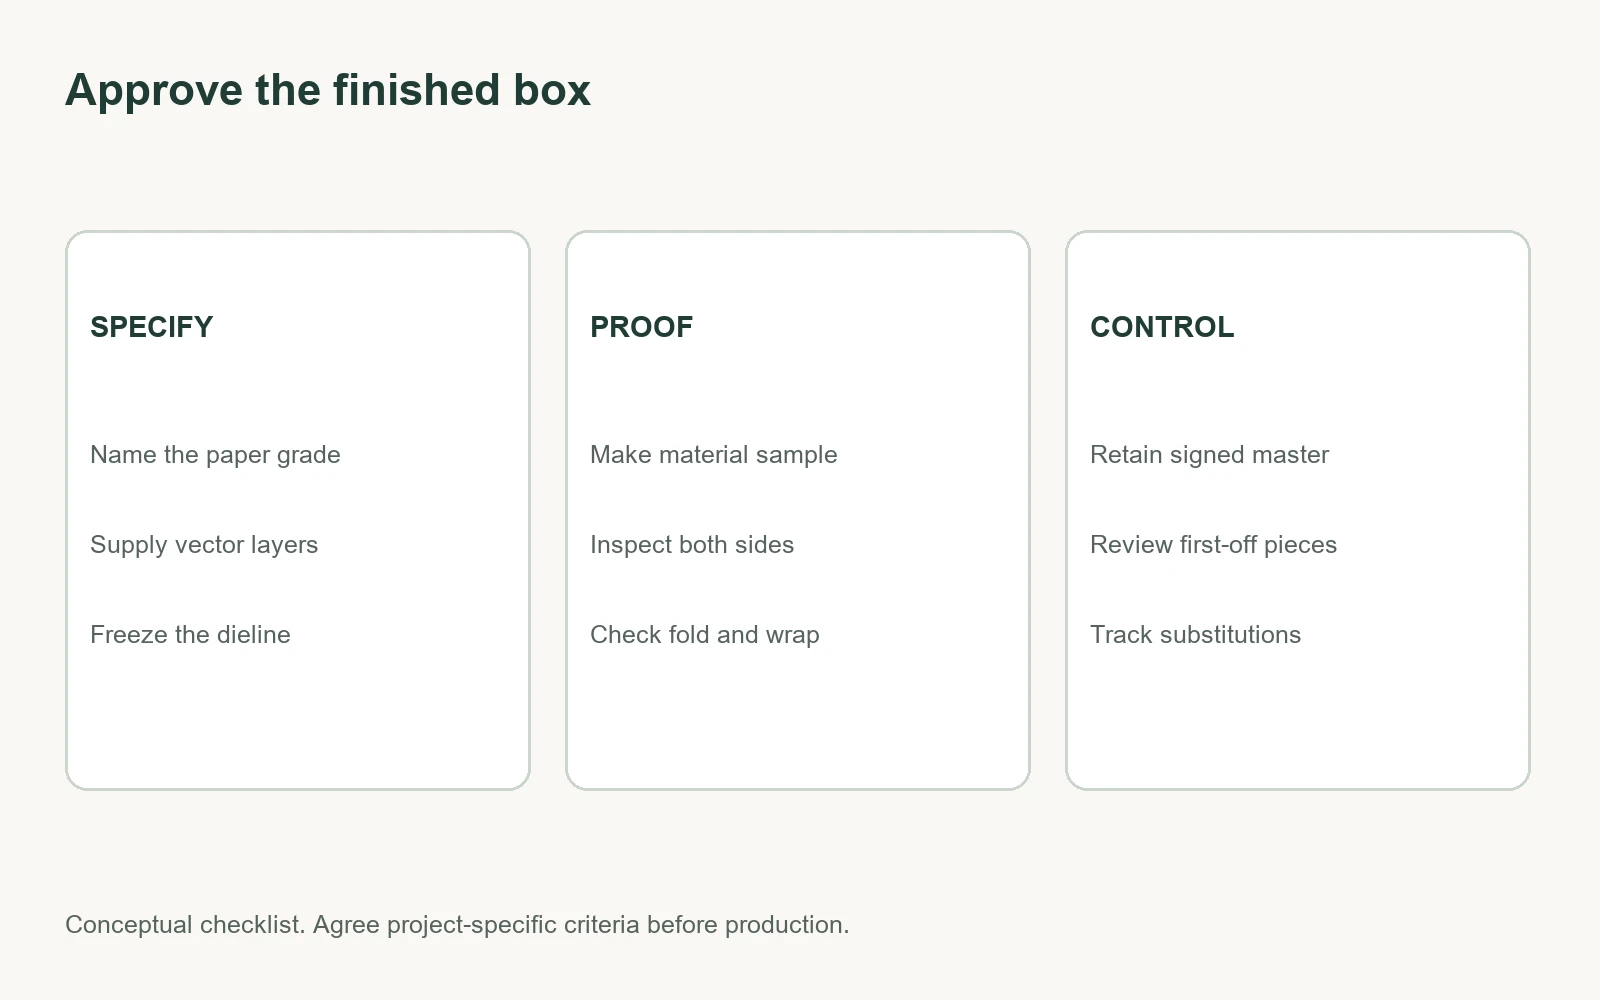
For registered work, agree on a visible alignment reference and how variation will be judged. At production start, compare first-off pieces with the approved physical sample, then inspect at agreed intervals. Retain a labeled sample and record the exact stock, coating, die, artwork revision and finishing sequence. If a material is substituted, get a new trial instead of assuming the same die settings will produce the same relief.
What to send for a quote
| Input | Buyer should provide |
|---|---|
| Structure | Box style, dimensions, dieline revision, assembled view and use case |
| Material | Board or wrap grade, thickness or caliper, coating, texture and sample swatch |
| Relief art | Separate vector layer, face orientation, blind or registered, number of levels |
| Other finishes | Print colors, lamination, spot UV, foil and their artwork layers |
| Quantity | Order volume, repeat-order expectation and target delivery window |
| Approval | Physical sample requirement, appearance reference and decision owner |
| Quality | Registration, surface-damage and fit criteria; retained master sample |
If you are still choosing the underlying structure, browse custom rigid boxes before deciding how much relief the packaging needs. A supplier can only give a meaningful recommendation when the material, box shape and design intent are clear.
Frequently asked questions
Is embossing always more visible than debossing?
No. Visibility depends on side lighting, stock texture, relief shape, depth and any printed or foil contrast. Compare physical samples on the intended paper.
Can I emboss a logo without ink or foil?
Yes; that is a blind emboss. It relies on the formed shape and shadows, so check whether the logo remains recognizable in normal viewing conditions.
Does debossing damage the inside of a box?
The reverse side can show a corresponding shape or pressure effect, depending on structure and process. Inspect a sample from both sides, particularly for folding cartons and exposed interiors.
Can fine lettering be embossed?
Sometimes, but small type and thin strokes may lose definition or stress the paper. Ask the die maker to adapt the artwork and approve an actual proof rather than assuming printed type will reproduce as relief.
Can embossing be combined with foil stamping?
Yes. The combination must be planned for foil coverage, relief form and alignment. A combined operation may be possible, but ask the supplier to confirm the process for your material and design.
Does thicker board always give deeper embossing?
No. Fiber structure, elasticity, coating, tool design and pressure matter alongside thickness. Ask for a substrate-specific sample and avoid a universal depth promise.
Will an existing die work if I change paper?
Do not assume so. A different grade or caliper can change the counter-die and pressure needs. Tell the supplier about the change and request a new trial.
What should I approve before bulk production?
Approve the final artwork and dieline, actual substrate and finish, position and relief appearance on a physical sample, plus acceptance criteria for registration and surface defects. Retain that reference for production checks.
Make the tactile finish part of the specification
Choose the relief effect for a clear reason, then test it on the final material and box form. Send the artwork layer, paper reference, quantity and approval checklist above when you request a Packaza packaging quote. A production-intent sample is the right place to settle how the finished box should look and feel.