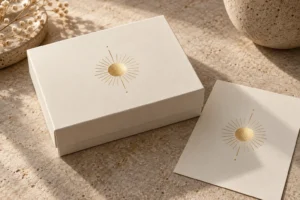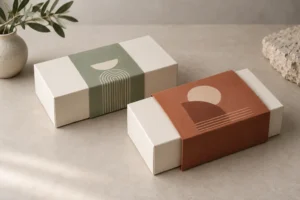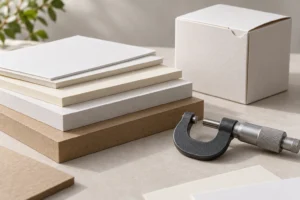
Spot UV packaging uses a UV-cured coating on selected areas of a printed surface to create visual contrast and, with some processes, a raised tactile effect. Buyers should specify the base material, coating method, artwork mask and approval criteria together. Review a representative finished sample before production: a screen preview can show placement, but cannot establish gloss, adhesion, texture or behavior when the box is folded and handled.
Key takeaways
- Spot UV is a selective coating effect, not metallic foil or mechanical embossing.
- Standard and raised effects need different specifications and sample expectations.
- The paper, print, base finish and coating must work as a compatible system.
- Supply a dedicated coating mask using the printer’s file instructions.
- Keep fold lines, glue areas and fine details under explicit technical review.
- Compare the complete finishing quotation rather than a claimed universal surcharge.
- Approve appearance and construction using the actual finished configuration.
What is spot UV packaging?
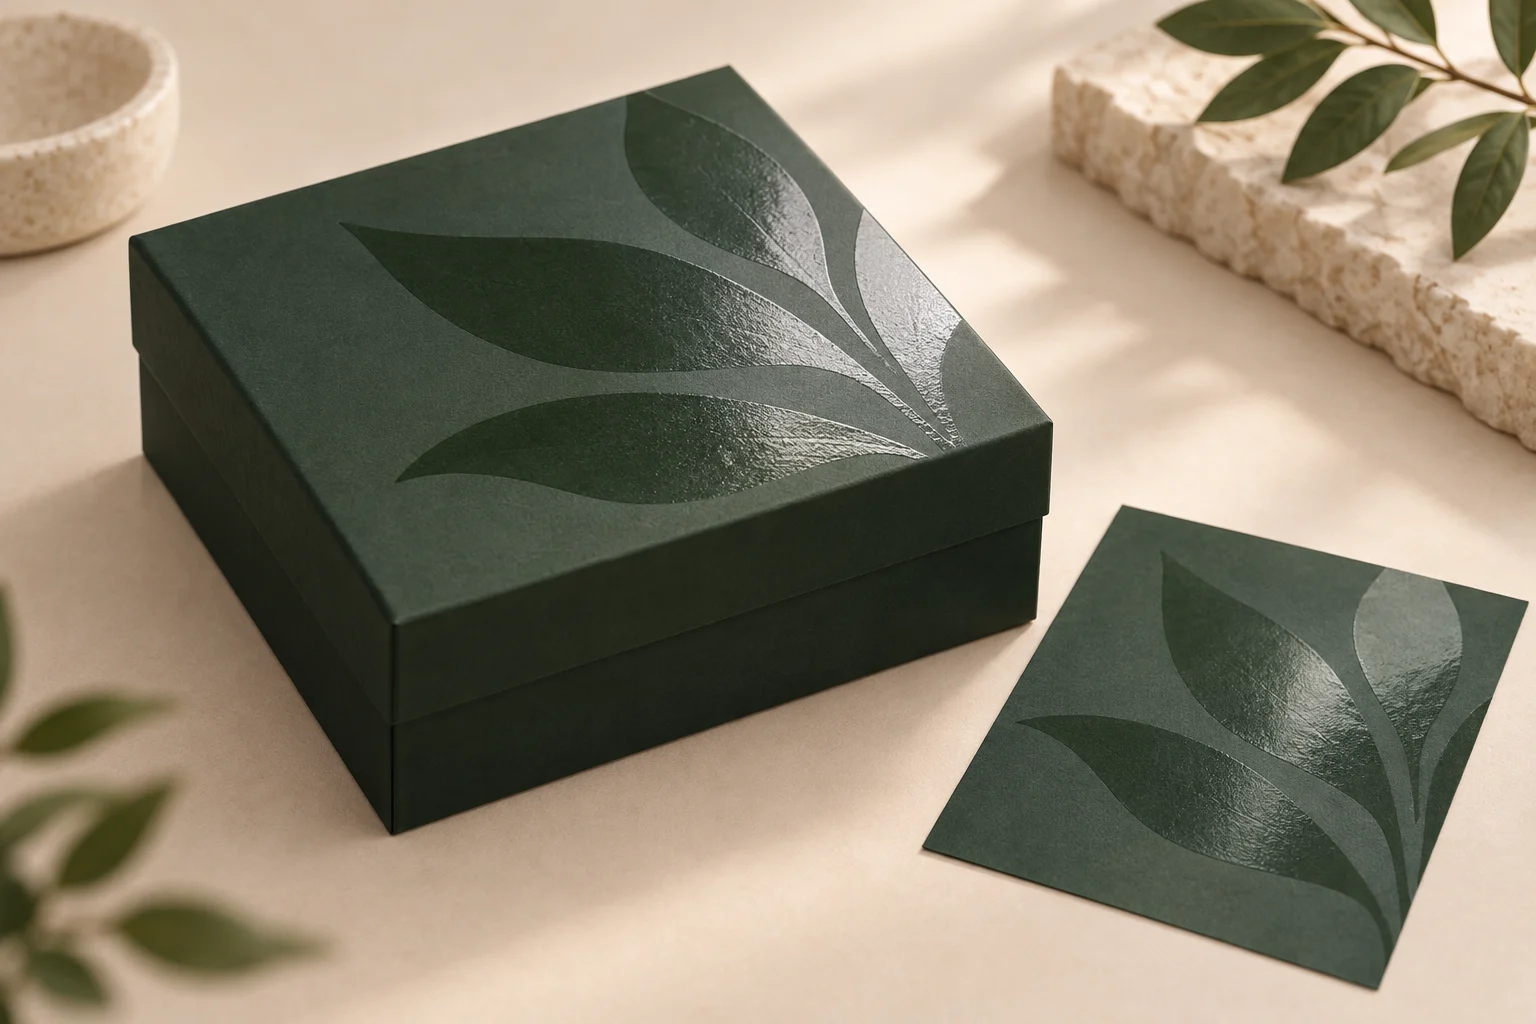
Spot UV is a finishing process in which a UV-curable coating is applied to specified areas and cured with ultraviolet light. A common design uses glossy elements against a matte background, such as a logo, illustration or repeating pattern.
“Spot” describes selective placement. A flood coating covers a broader surface; a spot coating follows designated artwork. Neither term alone identifies the coating thickness, equipment or final tactile effect.
The practical value is emphasis. A restrained pattern can add contrast without another printed color. However, the effect depends on lighting and viewing angle. It should support a readable printed design rather than carry essential information that disappears under some conditions.
Packaza’s luxury packaging discussion includes spot UV among several decorative finishes. For purchasing, take the next step: define the intended effect, substrate and acceptance checks before choosing it for a box.
Which finishing effect should you choose?
Start with the visual or tactile result you need. Do not treat every glossy or raised finish as the same manufacturing process.
| Effect | What it contributes | What to clarify before ordering |
|---|---|---|
| Standard spot UV | Selective sheen and contrast | Actual coating system, base finish and appearance |
| Raised spot UV | A more pronounced coating build and tactile effect | Approved height or reference sample, detail limits and handling behavior |
| Foil decoration | Metallic or other foil appearance | Foil process, material, tooling and registration requirements |
| Embossing or debossing | Mechanically raised or recessed substrate features | Die design, paper suitability and reverse-side consequences |
| Matte or gloss base treatment | Overall surface character | Coating versus film lamination and compatibility with later decoration |
Raised UV and embossing can both create texture, but they do so differently. A transparent coating build is not the same as deforming the substrate with dies. See the embossing and debossing guide when comparing those options.
Buying rule: describe the desired result and ask the supplier to name the process. Approve a physical reference instead of relying on an ambiguous request for a “premium raised logo.”
Which materials and base finishes matter?
The surface receiving the coating matters as much as the decorative artwork. Confirm the exact paper or board, printed ink system and any base coating or film. Do not assume a coating that works on one stock will behave identically on another.
For a rigid box, the decorated surface is usually the covering paper rather than exposed greyboard. Record the wrap paper and its treatment separately from the supporting board. The rigid box materials guide helps identify the components in the quotation.
For folding cartons, review the sheet, creases and final assembled structure together. A flat sample may show the finish clearly while leaving folding behavior unresolved. For corrugated packaging, confirm which liner or printed covering surface will receive the finish and whether the proposed method supports the design.
Matte and soft-touch backgrounds are often selected for contrast, but compatibility must be confirmed for the actual combination. Soft-touch coating and soft-touch film lamination are different products. Use the soft-touch coating versus lamination guide to clarify the base treatment before specifying the added spot layer.
Ask for a representative trial where the material or finish combination is new. Identify substitutions before approval. If the sample uses a different paper or base film, it may demonstrate placement without resolving final adhesion or appearance.
Do not infer recyclability, food-contact suitability or another application-specific requirement from the phrase “UV finish.” Request relevant evidence for the intended material combination and use. Keep decorative appearance approval separate from those requirements.
How is spot UV applied to packaging?
The general workflow is to prepare the base artwork and surface, apply the coating according to a mask, cure it, and complete the remaining converting operations. The exact sequence depends on the equipment, box type and other finishes.
Conventional and digital enhancement systems can have different setup needs. For example, Duplo’s DDC-8000 equipment documentation describes a digital raised spot UV workflow. That capability does not establish which process a particular packaging supplier will use; confirm it in the proposal.
Ask how the coating will be registered to the print. Where a mask follows a printed logo closely, positional variation becomes visible at the edges. Where the design is a separate abstract gloss pattern, appearance may be less dependent on tight alignment. Agree on the design and achievable acceptance criteria together.
Review die cutting, creasing, wrapping and gluing with the coating layout. A decoration that looks good on a flat sheet can interfere with a folded or glued component. Ask the supplier to identify areas requiring clearance before finishing files are released.
Production check: confirm the intended sequence and request a sample made through the relevant converting stages. Inspection of a loose decorated sheet alone does not approve the complete box.
How should you prepare spot UV artwork?
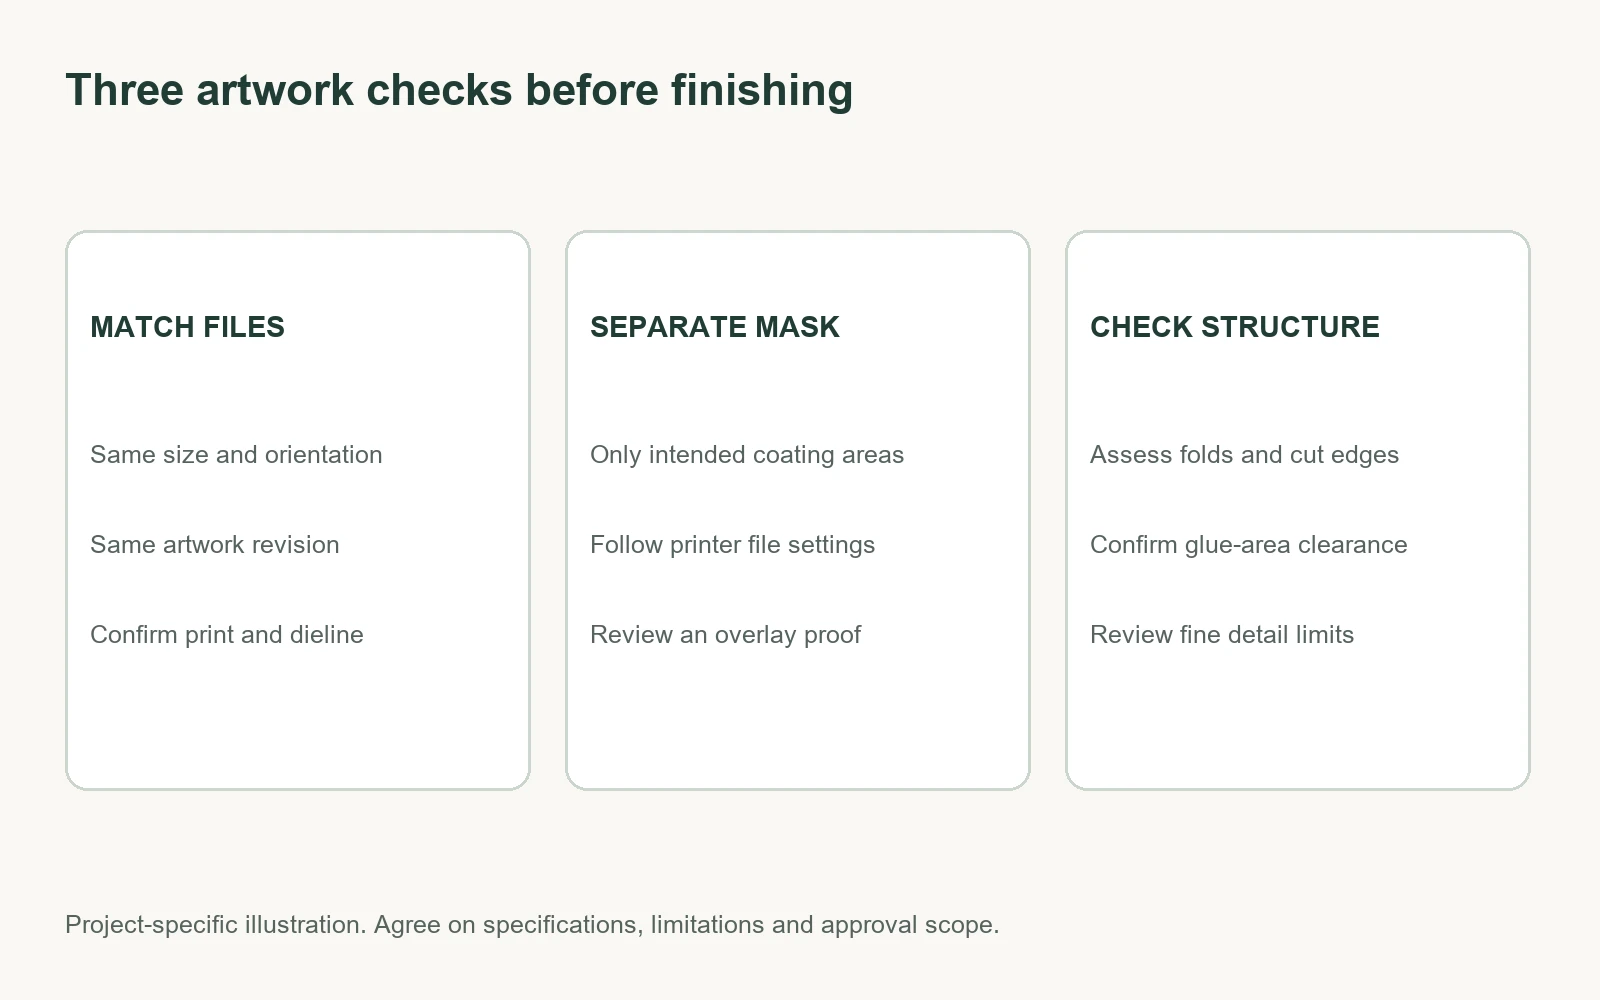
Create the base print file and a dedicated mask identifying the areas to receive coating. Both must share the same dimensions, orientation and revision. Keep the coating information distinguishable from ink artwork, cutting lines and creasing lines.
PrintNinja’s spot UV setup guide illustrates a separate mask and corresponding print artwork. Its specific preparation instructions belong to that provider. Ask your chosen printer whether it requires separate PDFs, a named spot-color separation, a layer or another documented format.
Do not guess the required color name, overprint settings or file conventions. Follow the supplier’s prepress instructions and request a confirmation showing the coating separation overlaid on the print. Make sure technical dieline markings do not accidentally become coated artwork.
Review fine lines, small lettering and narrow gaps with the production team. A detail that appears clear on screen may exceed the chosen process’s reliable capability. Ask for process-specific minimum features and test uncertain details; avoid applying another printer’s numerical limits as a universal rule.
Keep coating placement around folds, cut edges, glue seams and openings under explicit review. Rather than choosing a universal safety distance, obtain clearance requirements for the actual construction and finishing method. See the packaging dieline guide for how to identify those structural areas.
Name files consistently, for example Box_R3_Print and Box_R3_SpotUV. If a revision changes the printed logo, update and recheck the coating mask as well. Mixed revisions can produce a correct coating in the wrong place.
What drives spot UV packaging costs and timing?
Spot UV adds a finishing requirement to the base box quotation. There is no universal percentage surcharge suitable for all orders. Equipment, quantity, coverage, substrate, detail and the production sequence can change the economics.
| Quote component | Question to ask | Why it affects comparison |
|---|---|---|
| Base box and print | Is the same material and structure quoted? | Prevents attributing unrelated differences to spot UV |
| Surface preparation | Which base treatment is included? | Defines the compatible surface and appearance |
| Coating method | Standard or raised, conventional or digital? | Changes setup and production requirements |
| Setup or tooling | Which one-time charges apply? | Separates setup from repeat-order cost |
| Coverage and detail | Which approved mask was used for pricing? | Keeps different design scopes comparable |
| Samples and revisions | Is a representative finished sample included? | Reveals approval costs and limitations |
| Schedule and packing | Which finishing stages and protective packing are included? | Clarifies delivery scope and handling requirements |
Request separate figures for an undecorated base option and the proposed finish where useful. Keep the rest of the specification constant. That makes the effect’s cost visible without comparing two fundamentally different boxes.
Ask when prepress, material confirmation, sampling, approval and production must be completed. A finishing quotation’s production time may not include revision rounds or shipping. For the wider budget, review custom rigid box cost factors.
Avoid assuming that fewer coated areas always produce a proportionate cost reduction. Setup and other fixed operations may still apply. Ask the supplier to price actual alternative masks if budget reduction is needed.
What should sample approval cover?
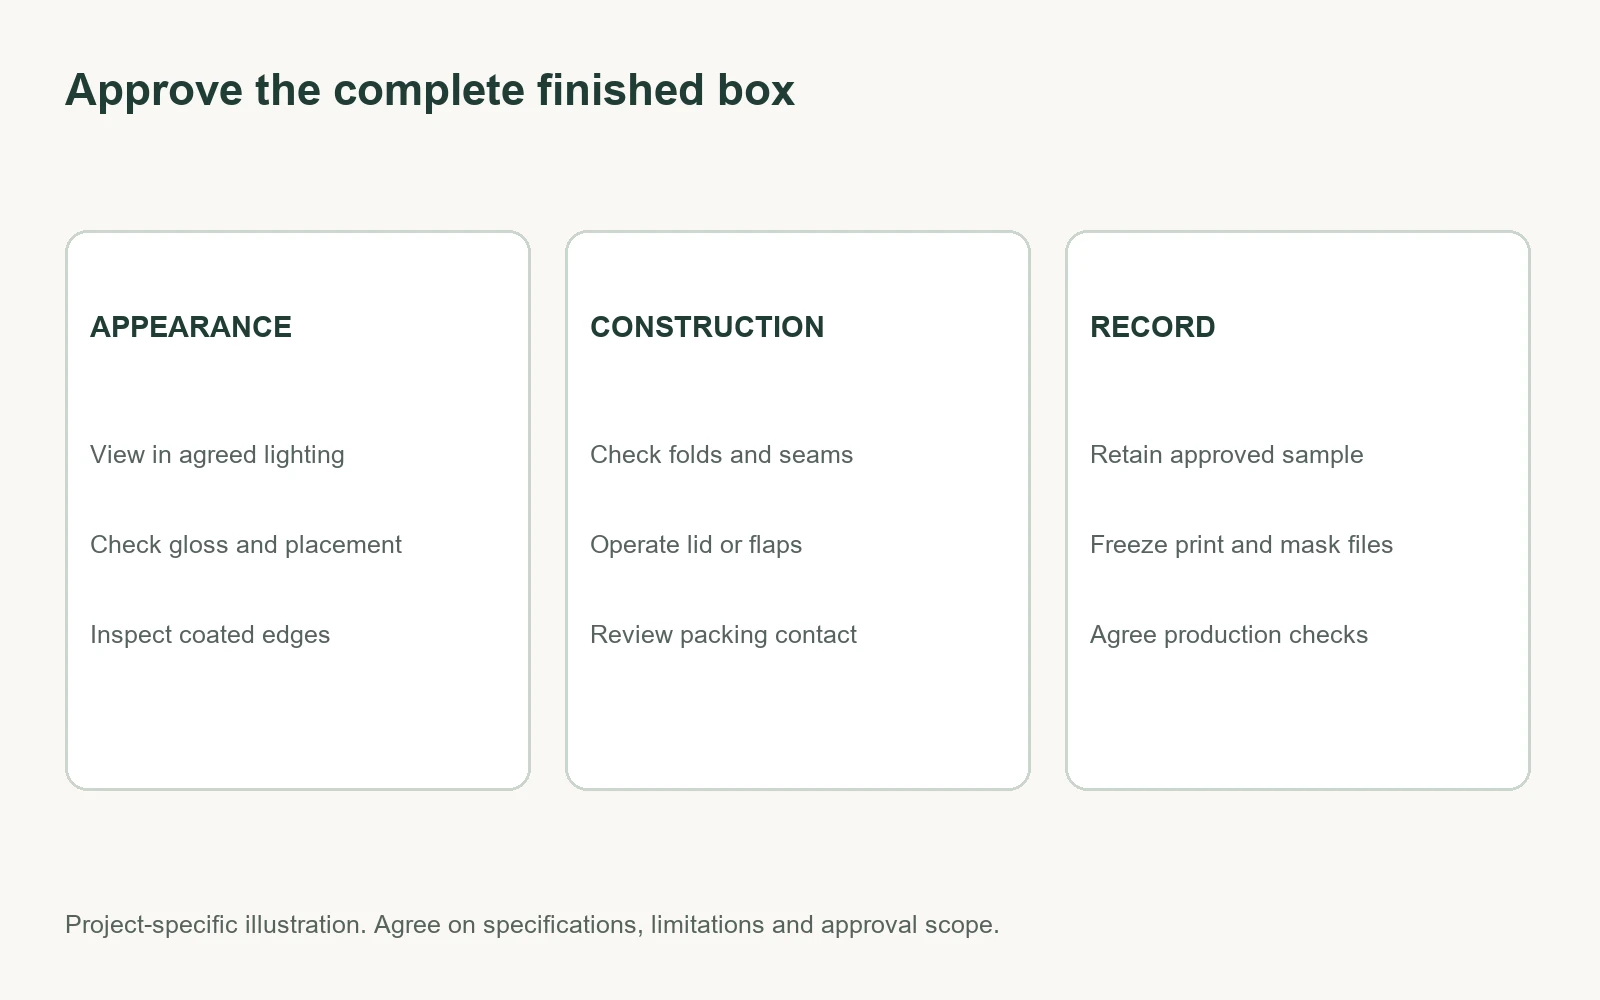
Review a representative finished box under agreed viewing conditions. Turn it in the light, inspect the coated edges and operate the lid or flaps. Photographs can document defects but may conceal gloss differences and tactile effects.
| Inspection area | What to review | Record for approval |
|---|---|---|
| Placement | Alignment with print and unintended coated areas | File revision, sample ID and agreed positional criteria |
| Appearance | Gloss contrast, consistency and visible defects | Approved physical reference and viewing conditions |
| Surface integrity | Adhesion and agreed handling or rub checks | Method, results and unresolved issues |
| Construction | Folds, seams, lid operation and glue areas | Finished-box revision and limitations |
| Packing | Surface contact in storage and shipment | Packing configuration and protective measures |
For raised effects, confirm the tactile reference and inspect vulnerable details. Request appropriate checks for the intended handling rather than assuming a high-build finish is automatically more durable.
Try the proposed carton packing arrangement. Check whether decorated surfaces contact one another or other components. For rigid boxes, review how they are protected inside the master carton; for folding cartons, review stacking and assembly as applicable.
Record exactly what is approved. If a sample only shows artwork placement, keep appearance or adhesion approval pending. Ask the supplier to list what the sample can demonstrate and which production features it does not represent.
Retain the approved sample and final files, and arrange a matching supplier reference. Agree on production inspection criteria separately. An attractive sample is a reference for the order, not evidence that every production unit has passed inspection.
How do you compare spot UV packaging suppliers?
Send each supplier the same material brief, box drawing and finish mask. Ask it to identify the production method, compatible base finish, artwork limits and any proposed changes. A comparable quotation should describe what will actually be supplied.
Request relevant examples while distinguishing stock demonstrations from your project sample. A portfolio can show a visual direction; it cannot establish adhesion or folding behavior for your chosen paper and treatment.
Ask which specification changes trigger reapproval and how substitutions are communicated. For repeat orders, reference the retained sample and revision instead of writing only “same as last time.”
For a premium box project, compare custom rigid box formats and the rigid packaging guide before narrowing the decoration. The finish should support a practical box structure and a clear visual purpose.
Frequently asked questions
Is spot UV the same as UV printing?
No. Spot UV here refers to selective coating. UV printing refers to printing with UV-curable inks. Specify the intended print and finish separately.
Does spot UV add a metallic effect?
Typical clear spot coating creates sheen rather than metallic foil appearance. If the desired effect is metallic, discuss the appropriate foil or print process separately.
Is raised spot UV the same as embossing?
No. Raised UV builds a coating layer; embossing forms the substrate mechanically. Review samples to compare their appearance, feel and construction implications.
Can spot UV be used over soft-touch lamination?
Some systems support this combination. Confirm compatibility for the exact film, coating and production method, then approve a representative sample.
What file should I provide for spot UV?
Supply a dedicated coating mask aligned with the base artwork using the printer’s documented format. Confirm dimensions, revisions and separation handling before production.
Can coating extend across a fold?
Ask the production team to assess the actual material and construction. Do not assume a flat-sheet effect will remain acceptable after creasing and folding.
How much does spot UV add to a box order?
The additional cost depends on method, setup, quantity, design and materials. Request an itemized quotation against a fixed specification rather than a universal surcharge.
Can I approve spot UV from a photograph?
Photos support placement review and defect records. Use an agreed physical sample for approval of gloss, texture and handling behavior.
Prepare a spot UV packaging quotation request
Include these details in your Packaza inquiry:
- Box type, usable dimensions and order quantity.
- Paper or board specifications and proposed base treatment.
- Print artwork, dieline and matching coating-mask revisions.
- Desired standard or raised effect and a physical reference where available.
- Other finishes, inserts and construction features.
- Sample requirements and unresolved material combinations.
- Intended use, packing method and destination.
- Required delivery date and requested setup-cost breakdown.
Send your files through Packaza’s inquiry form and request a proposal that identifies the finishing method and sample scope. Choose the effect for a clear design purpose, prepare the coating mask carefully, and release production only after the relevant finished-box checks are complete.