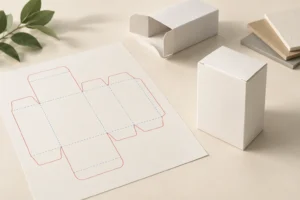
Rigid drawer boxes pair a sliding inner tray with a rigid outer sleeve to create a controlled opening sequence. Choose them around the product, usable tray space, sliding fit and packing requirements. Specify both components, the insert and the pull feature together, then approve a loaded physical sample. A premium-looking render cannot establish smooth movement, retention, pull strength or performance during handling.
Key takeaways
- Distinguish rigid drawer construction from folding tray-and-sleeve cartons.
- Specify usable tray dimensions separately from the assembled exterior.
- Review sliding fit with the final wrap, lining, insert and product.
- Treat pull features and drawer retention as separate design decisions.
- Ask for material and process differences between prototype and production.
- Compare the complete delivered pack, including inserts, assembly and freight.
- Retain the approved loaded configuration and agree on production checks.
Contents
- What are rigid drawer boxes?
- Which construction should you choose?
- Which materials should you specify?
- How do you define dimensions and sliding fit?
- How are drawer boxes manufactured?
- What should printing and decoration account for?
- What drives cost and logistics?
- How do you approve quality and compare suppliers?
- Frequently asked questions
- Request a rigid drawer box quotation
What are rigid drawer boxes?
A rigid drawer box combines an inner tray with an outer sleeve or shell. The tray slides out to reveal the product. Paper covering and lining usually provide the visible surfaces over the structural board.
This guide concerns paper packaging rather than furniture drawers. The structure can suit gift presentation, retail packaging or organized product sets, but the selected design still needs to support its actual contents and handling.
For procurement, the defining issue is the relationship between the two moving components—not simply the appearance of the outer box.
Buyer principle: approve the opening behavior with the product loaded. An empty tray may slide smoothly while the finished product set changes weight, clearance or contact inside the sleeve.

Which construction should you choose?
Names vary between suppliers. Include a sketch of the sleeve, drawer, open ends and intended removal behavior when requesting a quote.
| Construction or feature | Why consider it | What to confirm |
|---|---|---|
| Rigid sleeve and drawer | Defined structure and presentation surfaces | Sliding fit, material layers and assembled dimensions |
| Folding tray-and-sleeve carton | A different converting and delivery format | Assembly, stiffness and suitability for the product |
| Ribbon pull | A visible opening cue | Attachment method, accessible length and agreed strength checks |
| Finger notch | Opening without an added pull component | Grip access, cut-edge quality and product removal |
| Retained or stopped drawer | Limit intended tray travel | Stop design, usability and performance under agreed handling |
| Fully removable drawer | Separate tray access | Spill risk, clear opening instructions and use sequence |
PackMojo distinguishes rigid drawer boxes from its folding tray-and-sleeve format. Use that distinction when comparing quotations: two similar-looking boxes may have different materials, assembly and shipping requirements.
Do not assume a pull ribbon also prevents the tray from falling out. Opening access and retention are different functions. Specify whether the drawer should detach, stop or remain secured during the intended use.
For alternatives, compare custom rigid box formats before committing to the sliding construction.
Which materials should you specify?
Record the structural board, exterior covering paper, interior lining and insert separately. Different board calipers, paper layers and seams can affect dimensions and movement. A generic request for “thick cardboard” leaves too much undefined.
Greyboard supports the rigid components; the wrap provides the visible printed or textured surface. The rigid box materials guide explains those components. Specify caliper and material identity rather than relying only on gsm.
The sleeve interior and tray exterior form contacting surfaces. Review their actual treatments together. A substituted lining, wrap or film can change the fit or appearance even if the core board is unchanged.
Choose an insert around the product’s dimensions, weight, orientation and removal needs. Paperboard, molded pulp and foam options have different design requirements. Use the rigid box insert guide to define the support question before choosing a material.
For a gift set, include every item, accessory and printed insert in the brief. Avoid approving tray depth without considering the tallest feature or how the customer will grip the product.
Ask for material-specific evidence where contact or disposal requirements matter. Do not infer the suitability of the whole package from the appearance of one paper component.
How do you define dimensions and sliding fit?
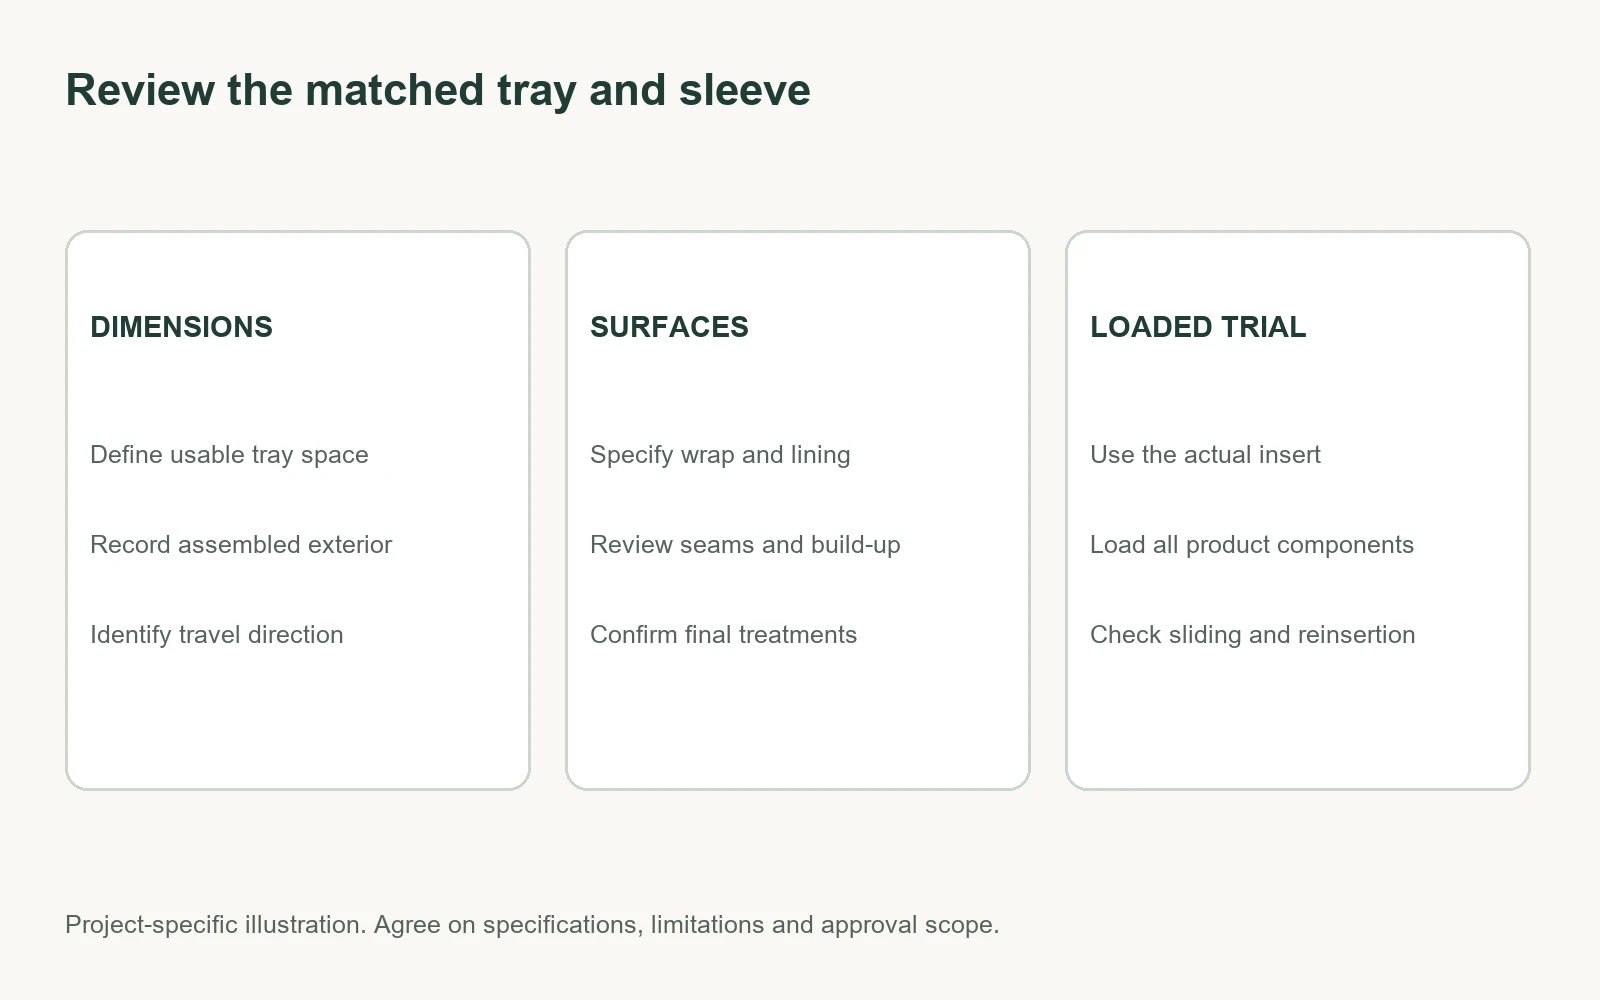
Specify usable internal tray dimensions for the contents and assembled exterior dimensions for storage, presentation and shipping. Identify the measuring points and the direction of drawer travel in the drawing.
The sleeve must accommodate the finished tray, including wrap and lining. Nominal board dimensions alone do not define that envelope. Ask the supplier to develop the relationship between the components using the proposed materials and construction.
There is no universal clearance that guarantees a premium sliding feel. Box size, paper treatment, seam build-up and manufacturing variation all matter. Define the behavior you need and agree on tolerances or an appropriate inspection method with the supplier.
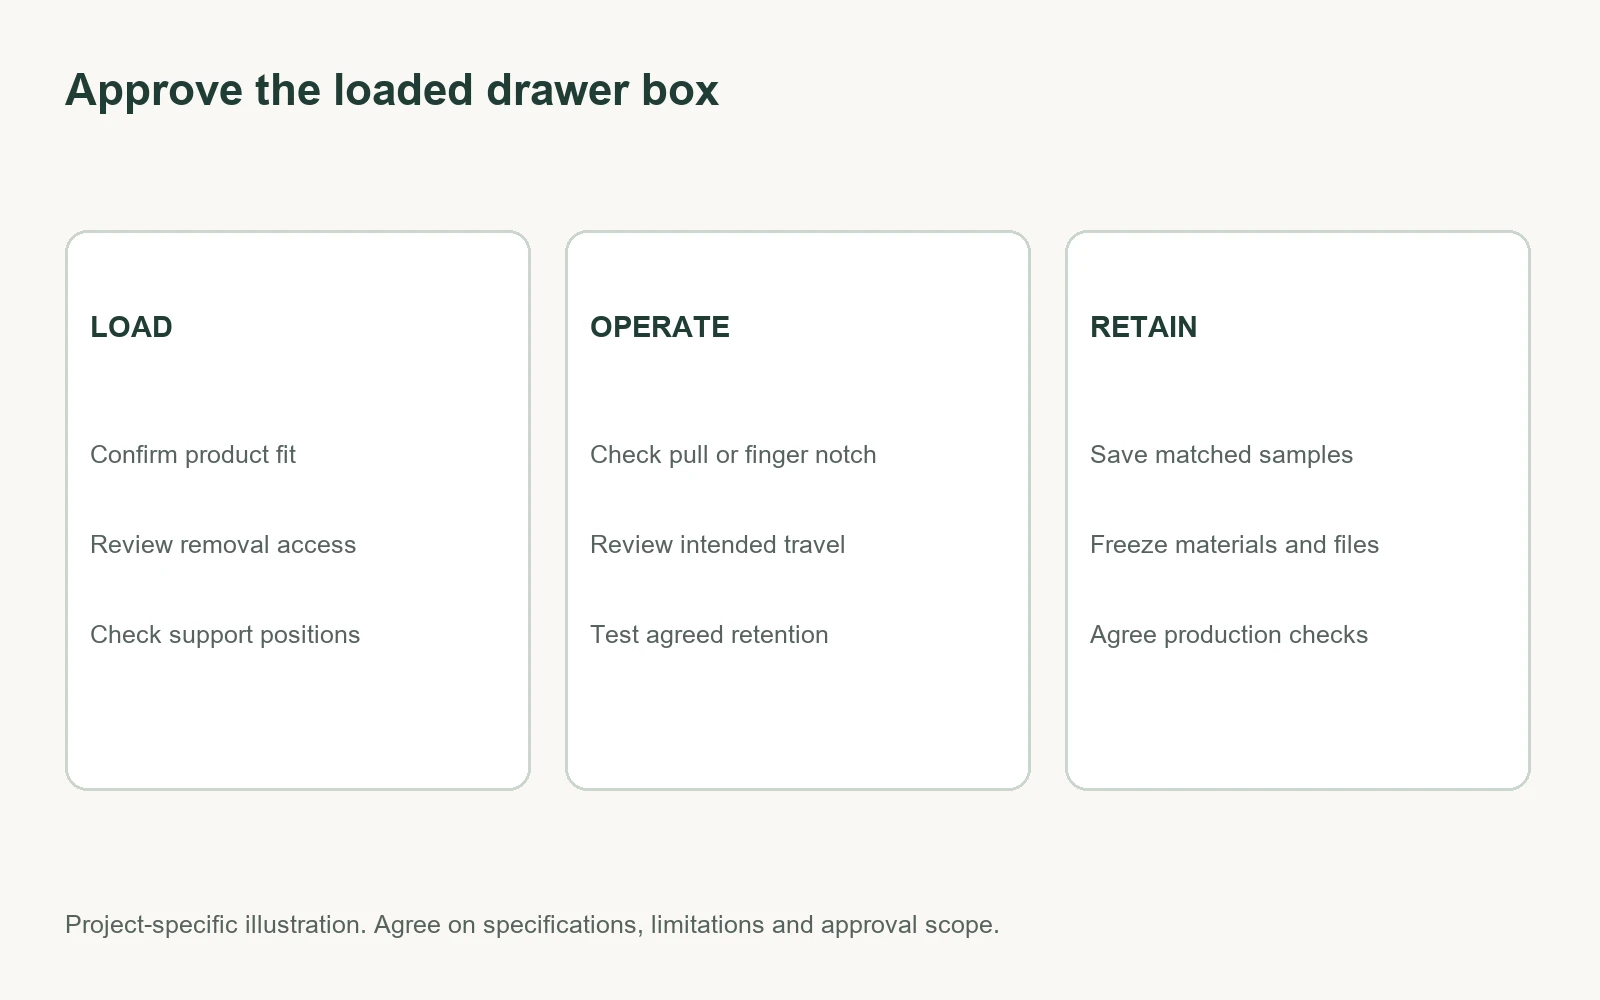
Test the loaded drawer in the intended use position. Assess the initial pull, continued travel and reinsertion. Check for catching, abrasion, distortion or unwanted release. Review whether users can open it without squeezing the sleeve or pulling excessively.
If a stop or retention feature is proposed, test that function explicitly. Do not rely on friction alone as proof that the tray cannot escape in handling. Define the relevant orientations and loading conditions before evaluation.
Check representative units rather than one selected sample alone when assessing consistency. A good development sample establishes a reference; production variation needs its own inspection criteria.
How are rigid drawer boxes manufactured?
The production route generally includes structural design, preparation of board components, printing and finishing of covering materials, wrapping, assembly and inspection. The tray and sleeve are separate components that must work as a matched structure.
Review the planned sequence with the manufacturer. Ask how corners, seams and lining are formed, how the pull is attached, and where the insert is fixed or placed. The rigid box manufacturing guide helps connect these questions to production stages.
A prototype may be hand-cut and assembled differently from the bulk order. Confirm which materials and operations it represents. A structural dummy can answer useful geometry questions while leaving the final decorated fit unresolved.
Request a representative finished sample when surface treatments, lining or seams can affect sliding. If a substitution is unavoidable, document what remains pending and what later evidence will complete approval.
Production check: inspect both components before judging the pair. A tray that catches may reflect a problem with the sleeve, the tray, the covering layers or the assembly. Record the location and conditions instead of requesting an unspecified larger gap.
What should printing and decoration account for?
Develop artwork for the tray and sleeve as separate components with synchronized revisions. The packaging dieline guide explains how drawings should distinguish cut lines, folds, seams and printed graphics.
Check the closed presentation first, then the opening sequence. A message inside the tray may appear gradually or be hidden by the product. Review what is actually visible with the intended insert and contents.
If artwork crosses from sleeve to drawer, discuss alignment expectations. The position changes as the tray moves, and manufacturing variation can affect the closed view. A design that requires perfect continuity may need reconsideration.
Keep decorative treatments away from contacting surfaces unless their behavior is reviewed. Foil, embossing or raised effects can create specific surface and clearance considerations. Consult the embossing and debossing guide for formed effects.
If using a soft-touch background, distinguish coating from film through the soft-touch comparison guide. Approve the finish on the actual moving structure rather than only on a flat swatch.
What drives rigid drawer box cost and logistics?
Compare complete configurations. The cost depends on size, board, covering materials, insert, pull or stop features, decoration, assembly and quantities. A visually simple box can still require careful work to achieve consistent movement.
| Quote component | What to specify | Why it matters |
|---|---|---|
| Tray and sleeve | Materials, dimensions and construction | Defines the matched structural scope |
| Covering and lining | Exact stock and surface treatment | Affects presentation and contacting surfaces |
| Insert | Material, fit and attachment | Changes support, labor and usable space |
| Pull and retention | Components and assembly method | Adds operations and functional checks |
| Print and finishes | Artwork versions and decoration | Defines setup and processing requirements |
| Samples and revisions | Representativeness and included rounds | Clarifies approval costs |
| Packing and delivery | Assembled state, carton arrangement and destination | Defines storage and landed cost |
Ask for itemized alternatives while keeping the base specification constant. A ribbon pull and finger notch can change both opening behavior and operations; compare actual proposals rather than assuming a fixed saving.
Review minimum quantities by artwork, size and material variation. A total quantity across several SKUs may not be treated as one production run. Confirm allocation and identification in the quotation.
Many rigid drawer configurations travel assembled. Confirm the delivered format and master-carton dimensions when estimating CBM, storage and container loading. Do not assume a box can ship flat because a similar-looking folding format can.
Include surface protection in carton packing. Check how sleeves and drawer faces contact neighboring units and how pulls are managed. Use the custom rigid box cost guide for broader budget factors.
How do you approve quality and compare suppliers?
Send suppliers the same product brief, construction sketch and desired opening behavior. Request a defined sample scope and ask what differs between sample and production. Compare the information supplied, not only the price.
| Approval area | Practical review | Record before release |
|---|---|---|
| Product fit | Load every component and remove it | Product, insert and tray revisions |
| Sliding | Open and reinsert under agreed conditions | Contacting materials and acceptance criteria |
| Pull or notch | Operate the actual opening feature | Attachment, access and agreed checks |
| Retention | Review intended travel and release behavior | Stop design and handling scope |
| Appearance | Inspect wrap, corners, print and lining | Approved physical reference |
| Packing | Review shipment arrangement and complete pack | Carton configuration and validation results |
For fragile or valuable products, validate the complete shipping pack rather than treating the rigid presentation box as sufficient protection. Include the outer carton and relevant cushioning in the defined test scope.
Retain a loaded approval reference where practical, or a documented equivalent configuration. Keep the final drawing, artwork and material list with it, and arrange a matching supplier reference.
Agree on production inspection separately. Material identity, dimensions, assembly and function all need appropriate checks. A single excellent sample does not establish consistency across the entire order.
For repeats, confirm whether board, wrap, lining, insert or production route changed. Reopen the relevant approval if a change affects fit or function. The rigid packaging guide provides context for alternative structures if the drawer format no longer suits the project.
Frequently asked questions
Are rigid drawer boxes the same as tray-and-sleeve cartons?
They can have similar opening behavior but different construction. Confirm whether the components are rigid or folding and how they are delivered and assembled.
Which dimensions should I provide?
Provide the product requirements and usable tray space, then distinguish those from the finished exterior. Let the supplier develop the sleeve-to-tray relationship around the agreed materials.
What clearance should the drawer have?
Agree on fit for the actual construction and surfaces. Use a representative physical trial and defined criteria rather than a universal clearance.
Does a ribbon pull prevent the drawer from falling out?
Not automatically. Opening access and retention are separate functions. Specify a stop or other retention requirement if needed and test it explicitly.
Can I approve an empty drawer sample?
It can support early structural checks. Complete approval should include the intended insert and product load where they affect fit, movement or handling.
Can rigid drawer boxes ship flat?
Do not assume so. Confirm the delivered state of the actual structure; folding tray-and-sleeve alternatives may have different shipping characteristics.
What usually affects the quotation?
Size, materials, covering and lining, insert, opening features, decoration, assembly, quantity and delivery scope all matter. Request an itemized proposal.
Is a rigid drawer box enough for parcel shipping?
Assess the complete product-package system. A presentation box does not automatically replace a shipping carton or suitable internal protection.
Request a rigid drawer box quotation
Prepare these details for a useful Packaza inquiry:
- Product dimensions, weight, accessories and orientation.
- Required usable tray space and desired exterior size.
- Sleeve configuration and intended drawer travel.
- Board, wrap, lining and insert preferences.
- Ribbon pull, finger notch or retention requirements.
- Printing, decoration and artwork variants.
- Quantities per SKU and sample approval requirements.
- Delivered format, destination and target date.
Send the brief through Packaza’s inquiry form and request a proposal covering the tray, sleeve and insert together. Approve the loaded sample and define the opening behavior before production. That gives the supplier a usable reference for fit and inspection, alongside the appearance the brand intends to deliver.