There is no universal magnet size or pull force for a magnetic gift box, so specify the magnet as part of the finished box and approve it on a physical sample.
- Write the magnet into the RFQ: type and grade, diameter and thickness, quantity, placement and polarity, matched to the board thickness and wrap.
- Define the target closing feel and the test method that will be used to check it on the assembled box.
- Approve a finished sample made in the production materials, and keep it as the production reference.
This guide draws on published guidance from GooinPack, HS PACKFACTORY, Tiny Box Company and Amazing Magnets (see Sources). Every figure is attributed or labeled as an example.
How a Magnetic Gift Box Closes
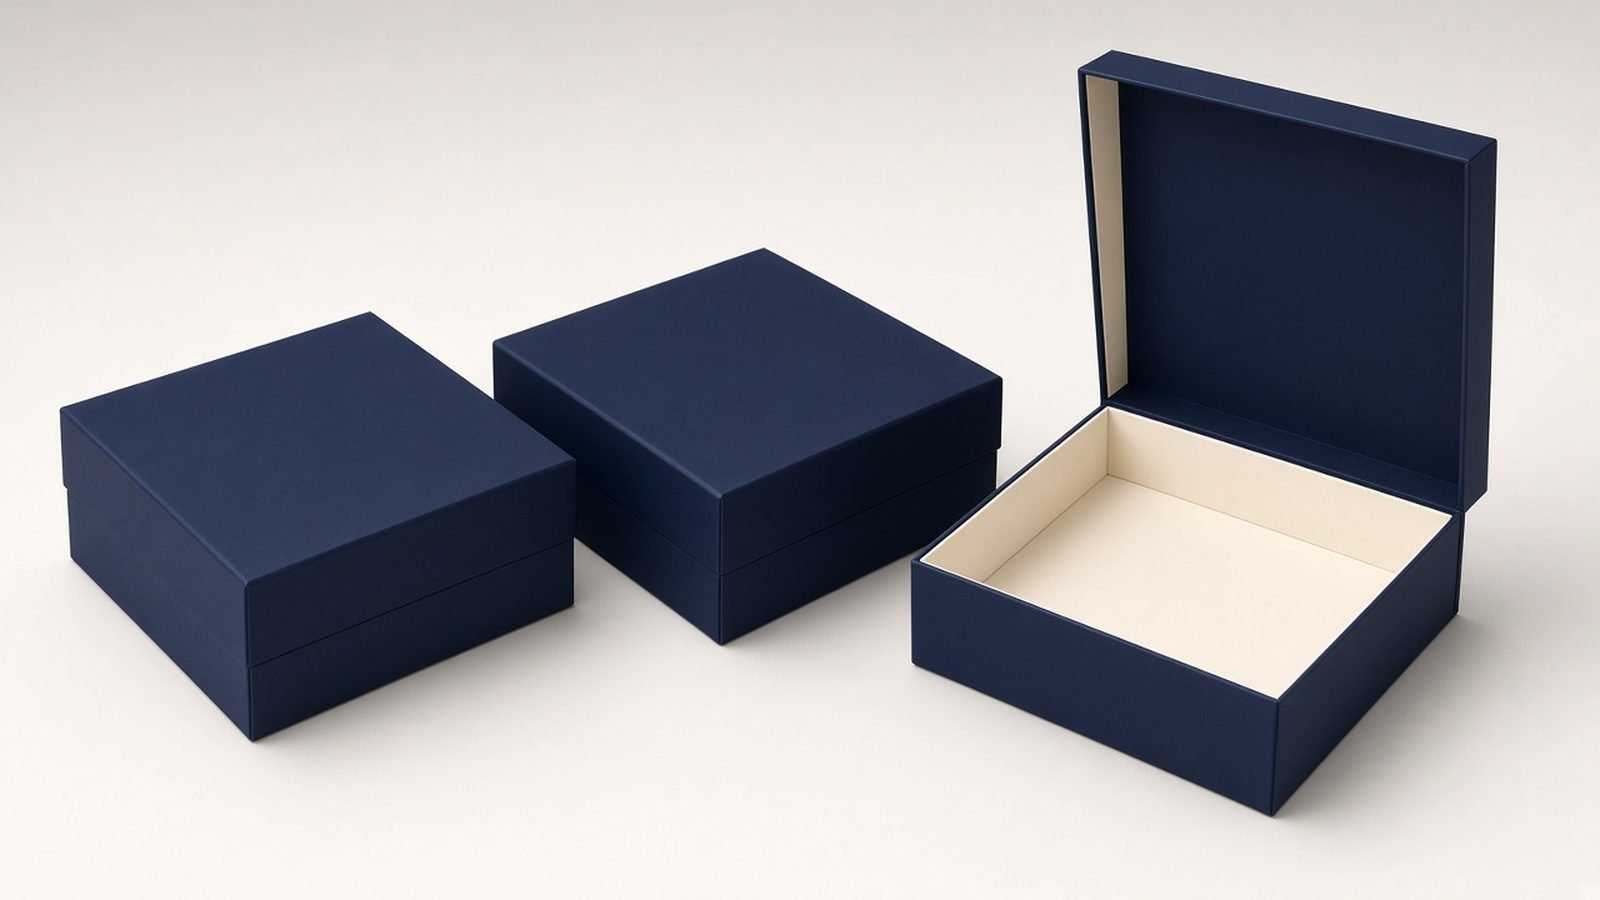
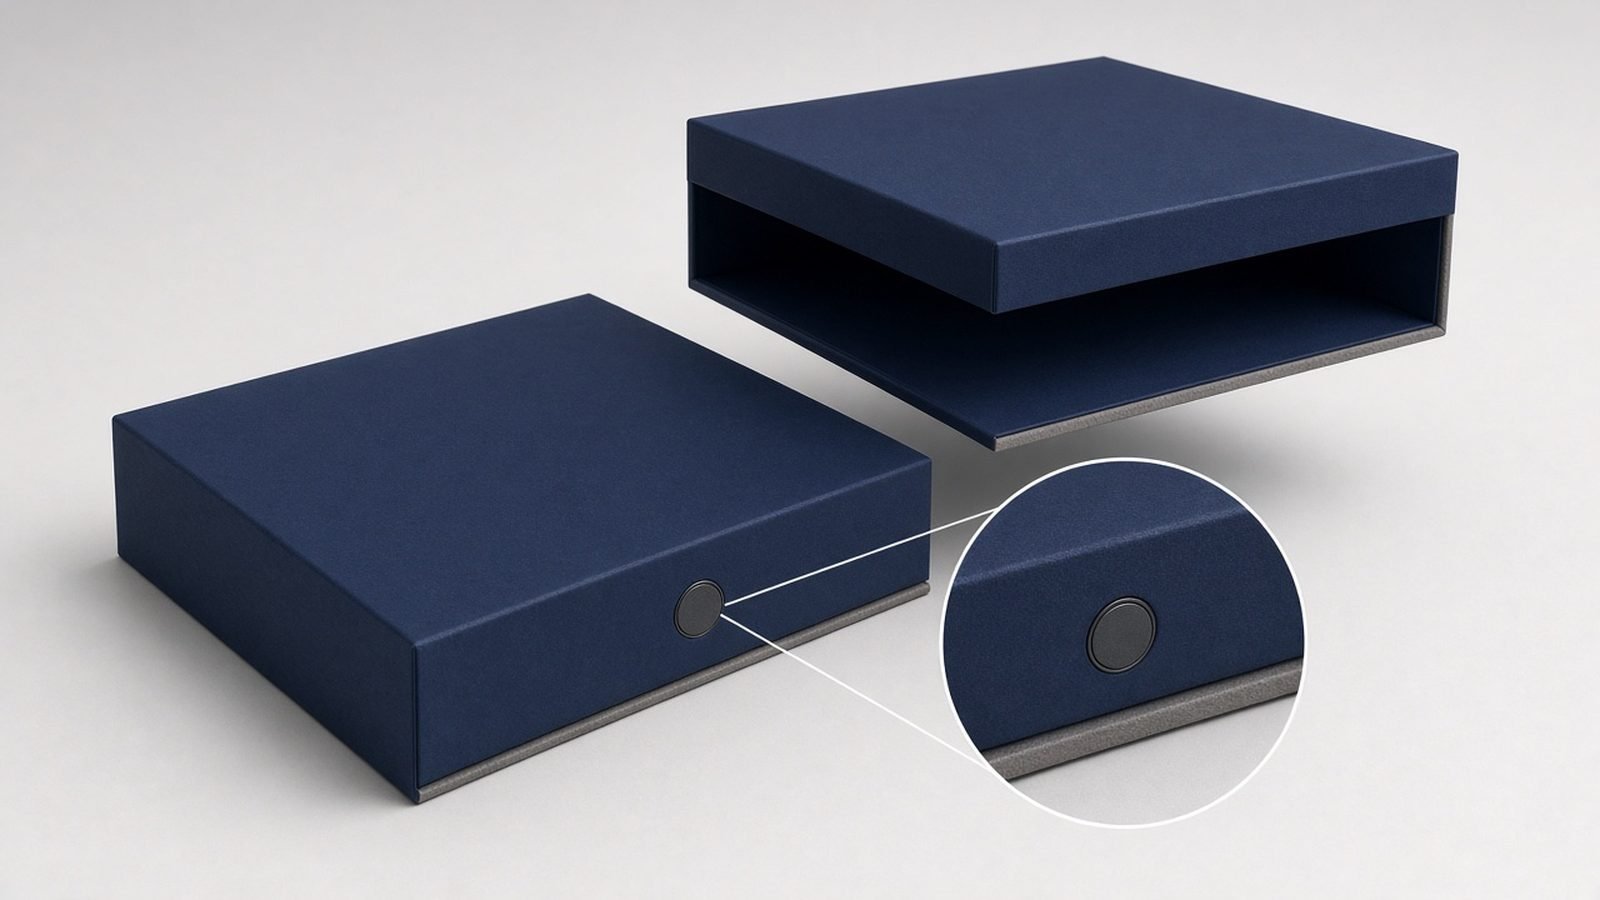
In a magnetic closure rigid box, the magnets are concealed inside the rigid board construction beneath the wrap paper, so the closure shows no hardware. Two common structures are:
- Lid-and-base boxes, where magnets sit in the lid panel near the opening edge and meet a mating magnet or steel target in the base.
- Flap-style (book-style) boxes, where, per HS PACKFACTORY, concealed magnets sit inside the front flap and the closing feel depends on flap length and hinge structure.
For background on how the board and wrap are built, see our guide to rigid box materials and the rigid box manufacturing process.
Closure feel comes from the whole box. Tiny Box Company says two boxes with the same magnet size can feel very different if the board, lamination, placement or lid weight differs.
What to Specify
ItemWhat to writeWhy it matters (source)Quantity per boxNumber of magnets (and targets) per boxSee count and placement below.PositionMarked on the drawing or dielinePlacement affects alignment and consistency (Tiny Box Company).PolarityOrientation of each magnet pairAmazing Magnets lists polarity mistakes as a common failure mode and advises confirming orientation early.Board thicknessGreyboard thickness at the magnet locationLimits the magnet thickness you can use (GooinPack).Wrap paper and laminationFinal wrap, lamination and liningThese layers add distance between the magnetic parts and can change closure strength (Tiny Box Company).
| Magnet material and grade | Material (neodymium is the type discussed by GooinPack and Amazing Magnets) and an explicit grade | GooinPack covers grades N35 to N52 and says N38 is a common default for rigid gift boxes. | It says grade is commonly omitted from RFQs, so state it. | |
| Diameter × thickness | Both, in mm, labeled | HS PACKFACTORY gives 10×2 mm and 12×2 mm as example pairs, adjusted for box size, flap length, wrap thickness and closure feel. | ||
| Target closing feel | Described in words, plus the approved sample as reference | Tiny Box Company: the right specification keeps the box closed in normal handling while allowing comfortable opening. |
Size Is Limited by the Board, Not by Strength
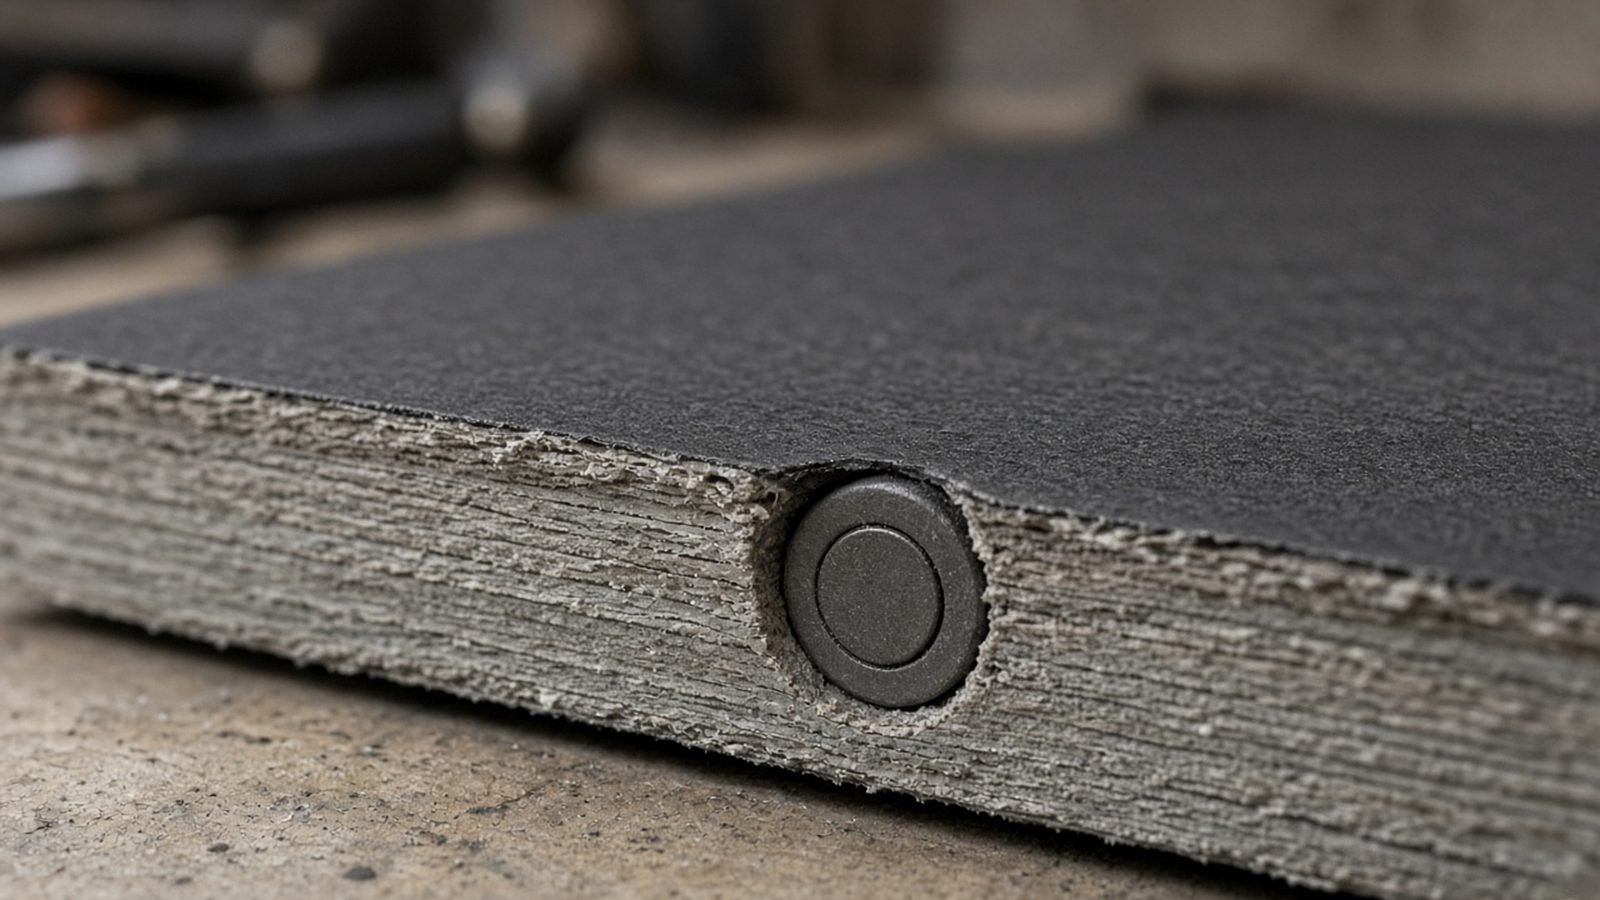
GooinPack’s guidance is that diameter and thickness are constrained by the board rather than by force requirements. A magnet thicker than the pocket depth in the board sits proud of the surface and forces a permanent gap between lid and base, so the lid will not close flush. GooinPack calls this the most common assembly defect it sees and recommends leaving at least 0.2 to 0.3 mm of recess margin for the wrap paper and adhesive. Treat that figure as supplier guidance, and ask your own manufacturer what margin it uses for your board and wrap.
Amazing Magnets calls a visible bump or sink mark in the wrap “telegraphing”.
A stronger magnet does not fix a gap. GooinPack notes that attraction falls off steeply with distance, so if board flex, a proud magnet or hinge spring-back keeps the faces apart, the extra strength of a higher grade is largely spent across that gap. Its suggested order is to remove the air gap, fix hinge spring-back, then size the magnet.
Magnet Count and Placement
GooinPack states that two magnets, positioned in the lid panel near the opening edge, are standard on most lid-and-base formats. It adds that wide lids may need magnets positioned to shorten the span the panel bridges, and that heavy lids can use more magnets rather than a jump of several grades. HS PACKFACTORY says magnet size, quantity, polarity and position depend on box size, flap length, front wall thickness, wrap paper thickness, product weight, insert weight and desired closing feel.
Larger boxes, longer flaps or heavier inserts may therefore need more or larger magnets. No source gives a rule for how many, so confirm count and position in sampling. If your box carries a heavy insert, see our guide to choosing a rigid box insert, since insert weight is one of the inputs HS PACKFACTORY lists.
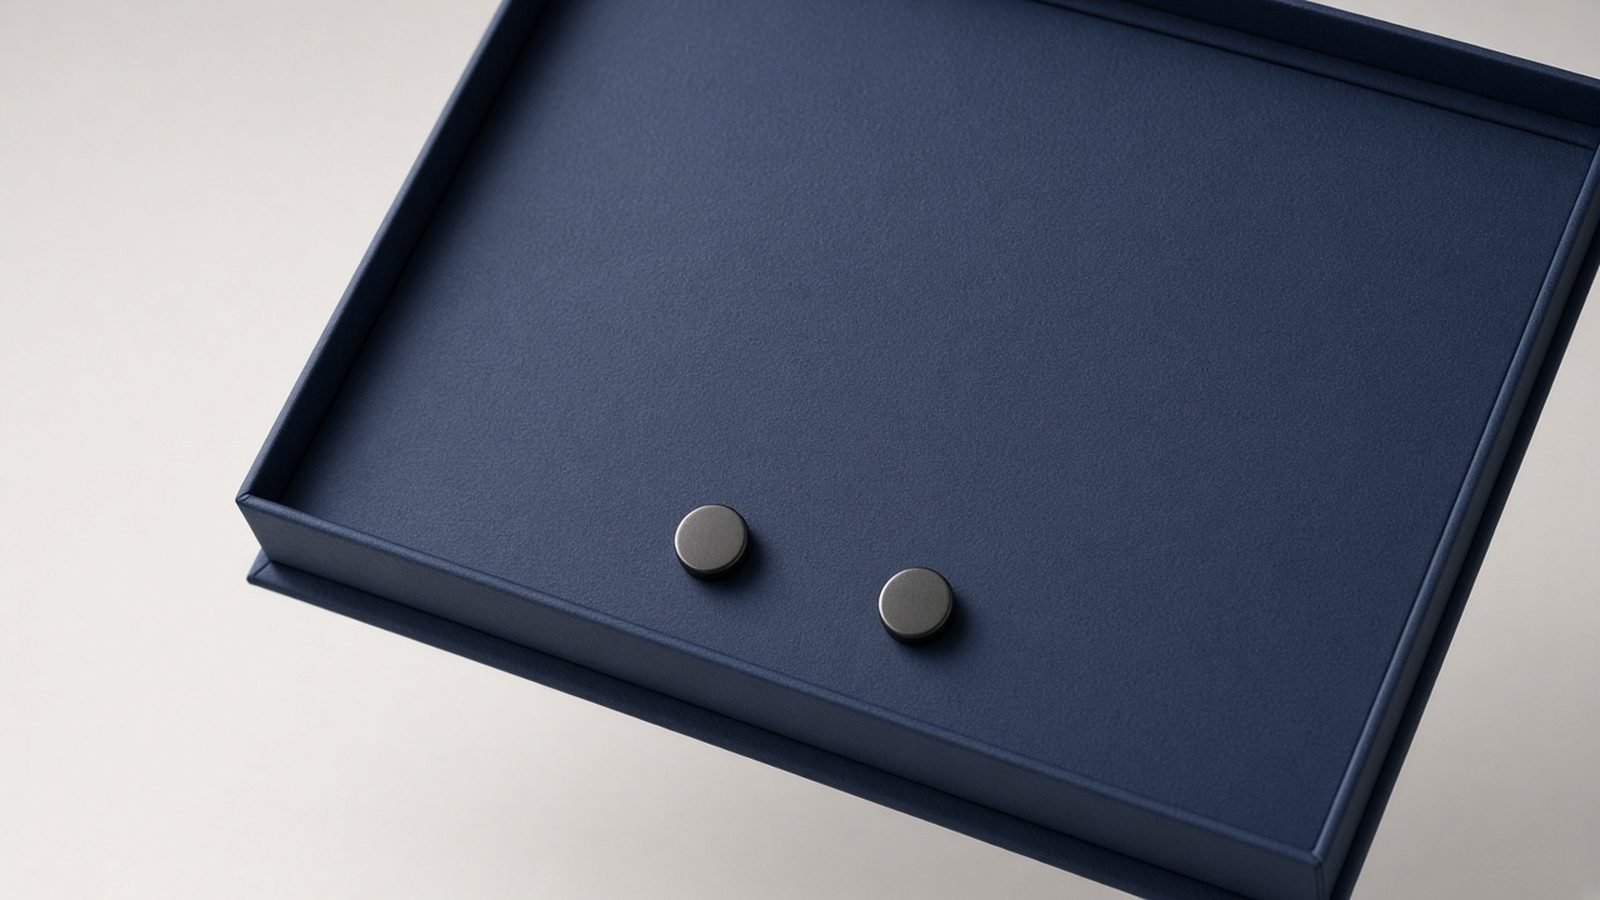
Magnet-to-Magnet vs. Magnet-to-Steel, Rigid vs. Flexible
OptionWhat Amazing Magnets saysBuyer takeaway
| Magnet to magnet | Longer attraction distance; self-centering if there is play in the hinge; more tolerance for thicker wraps and layered board | More dramatic snap-to-close feel (Amazing Magnets). Amazing Magnets advises keeping the mating magnet diameters the same. |
| Magnet to steel target | Often much less expensive than a second neodymium magnet; slightly lower pull force and attraction distance; no self-centering | Lower component cost in qualitative terms; stack-up thickness matters more. Amazing Magnets advises a steel target wider than the magnet. |
| Flexible magnets | Holding force drops off quickly with distance; even one layer of wrap paper can greatly reduce performance | Poor fit for hidden closures under wrap unless the supplier can show a finished sample that works. |
The cost comparison is qualitative only. Ask your supplier to quote both options, and see custom rigid box cost for wider cost drivers.
Why Pull Force Cannot Be Judged from Loose Magnets
Pull-force figures from different suppliers are not directly comparable, because test methods differ. Tiny Box Company notes that a figure measured with direct contact against a suitable metal surface may not reflect two components hidden beneath board, paper, lamination and adhesive, and that pulling two surfaces straight apart differs from lifting a hinged lid. It also says gauss is not a direct promise of how hard a finished box will be to open. Amazing Magnets’ force tables are measured in ideal conditions, and it recommends validating with physical prototypes.
When you are quoted a pull-force value, ask:
- How was it measured, and on which surfaces and materials?
- Was there a gap between the magnetic parts, and was it direct separation or a hinged opening?
- Does it describe the magnet alone or the completed box, and what production variation should be expected?
GooinPack recommends measuring pull force on the assembled box with a force gauge using a defined method, and comparing against a retained reference unit from the approved sample.
Common Defects, Causes and Fixes
DefectLikely causeFix to ask forWrong polarityMagnets installed in the wrong orientation (Amazing Magnets)Define polarity on the drawing; check every sample pair attracts as intendedMisaligned magnetsOffset placement or panels out of square (Tiny Box Company)Control placement and panel squareness; compare several units
| Magnet protrudes or shows through the wrap | Magnet thicker than the board pocket, or too thin a margin for wrap and adhesive (GooinPack); telegraphing (Amazing Magnets) | Check magnet thickness against board thickness; allow recess margin; inspect the sample in directional light (Tiny Box Company) | ||
| Weak close | Air gap from board flex, proud magnet or hinge spring-back (GooinPack); thicker lamination (Tiny Box Company); flexible magnet through wrap (Amazing Magnets) | Remove the gap first; retest with final materials; then consider more magnets or a different configuration | ||
| Lid too hard to open | Closure stronger than needed for the box (Tiny Box Company) | Sample more than one magnet option and have several people open each | ||
| Magnet loosens over time | Pull high relative to bonded area (Amazing Magnets) | Ask how the magnet is retained, and test on the wrapped board |
Pre-Order Checklist
- Magnet material, grade, diameter × thickness, quantity, position and polarity written on the RFQ and drawing.
- Board thickness and magnet thickness compared, with recess margin confirmed with the supplier.
- Magnet-to-magnet or magnet-to-steel stated, with steel target size if used.
- Final wrap, lamination and lining named, since changing them after approval may require retesting (Tiny Box Company).
- Pull-force test method stated, with the supplier’s method requested in writing.
- Plan shipping packaging separately: HS PACKFACTORY says the magnets can keep the flap closed during normal handling, but magnetic rigid boxes are usually primary packaging, not outer shipping cartons.
- Approved sample signed and retained as the production reference.
Sampling Steps
- Request a sample in the intended board, wrap, lamination and lining, not an unfinished prototype.
- Pack the real product and insert, and open the lid naturally.
- Repeat several open and close cycles to check the feel stays consistent.
- Compare several units, have more than one person open them, and inspect for surface outlines and lid alignment.
- Measure with a force gauge by the agreed method, and record the result with the sample.
- Retest after any material change, then retain the signed master sample.

Example RFQ Line
Example only; replace every value with your own confirmed figures:
FieldExample entryClosureMagnetic, lid-and-base; [__] magnets in lid, [__] mating magnets or steel targets in baseMagnetGrade [N__], [__] mm diameter × [__] mm thickness, polarity per attached drawingBoard and wrapGreyboard [__] mm; wrap [paper], lamination [type]; recess margin per supplier confirmationTest and approvalClosing feel approved on finished sample; force gauge method [supplier to state]; retained reference sample to govern production
Magnetic Gift Box FAQ
What size magnets should I use for a gift box?
There is no universal size. HS PACKFACTORY gives 10×2 mm and 12×2 mm pairs as examples, adjusted to box size, flap length, wrap thickness and closure feel. Match the size to the board thickness and confirm on a finished sample.
Which magnet grade should I specify?
GooinPack describes N38 as a common default for rigid gift boxes and N42 where the lid has real mass, and says N48 to N52 is rarely economic in packaging. State the grade in writing, because it is commonly omitted, and ask the supplier to confirm it.
Is a stronger magnet always better?
No. Tiny Box Company says the ideal closure is the one that feels right for the box and contents, and GooinPack says a stronger grade cannot overcome an air gap, so remove the air gap before reaching for a stronger magnet.
How is pull force tested?
GooinPack recommends a force gauge on the assembled box with a defined method, compared with a retained approved sample. Tiny Box Company says test conditions change the result, so ask the supplier how its figures were measured.
How many magnets does a box need?
GooinPack says two, near the opening edge, are standard on most lid-and-base boxes. Larger boxes, longer flaps or heavier inserts may need more or larger magnets; confirm in sampling.