Packaging barcode printing succeeds when the correct data, symbol, size, location and print quality work together on the finished box. A code that scans on a designer’s screen can still fail after folding, coating or printing on textured stock. Confirm the scanning environment first, build the symbol to the relevant GS1 specification, keep its required clear space and verify production samples before the cartons ship.
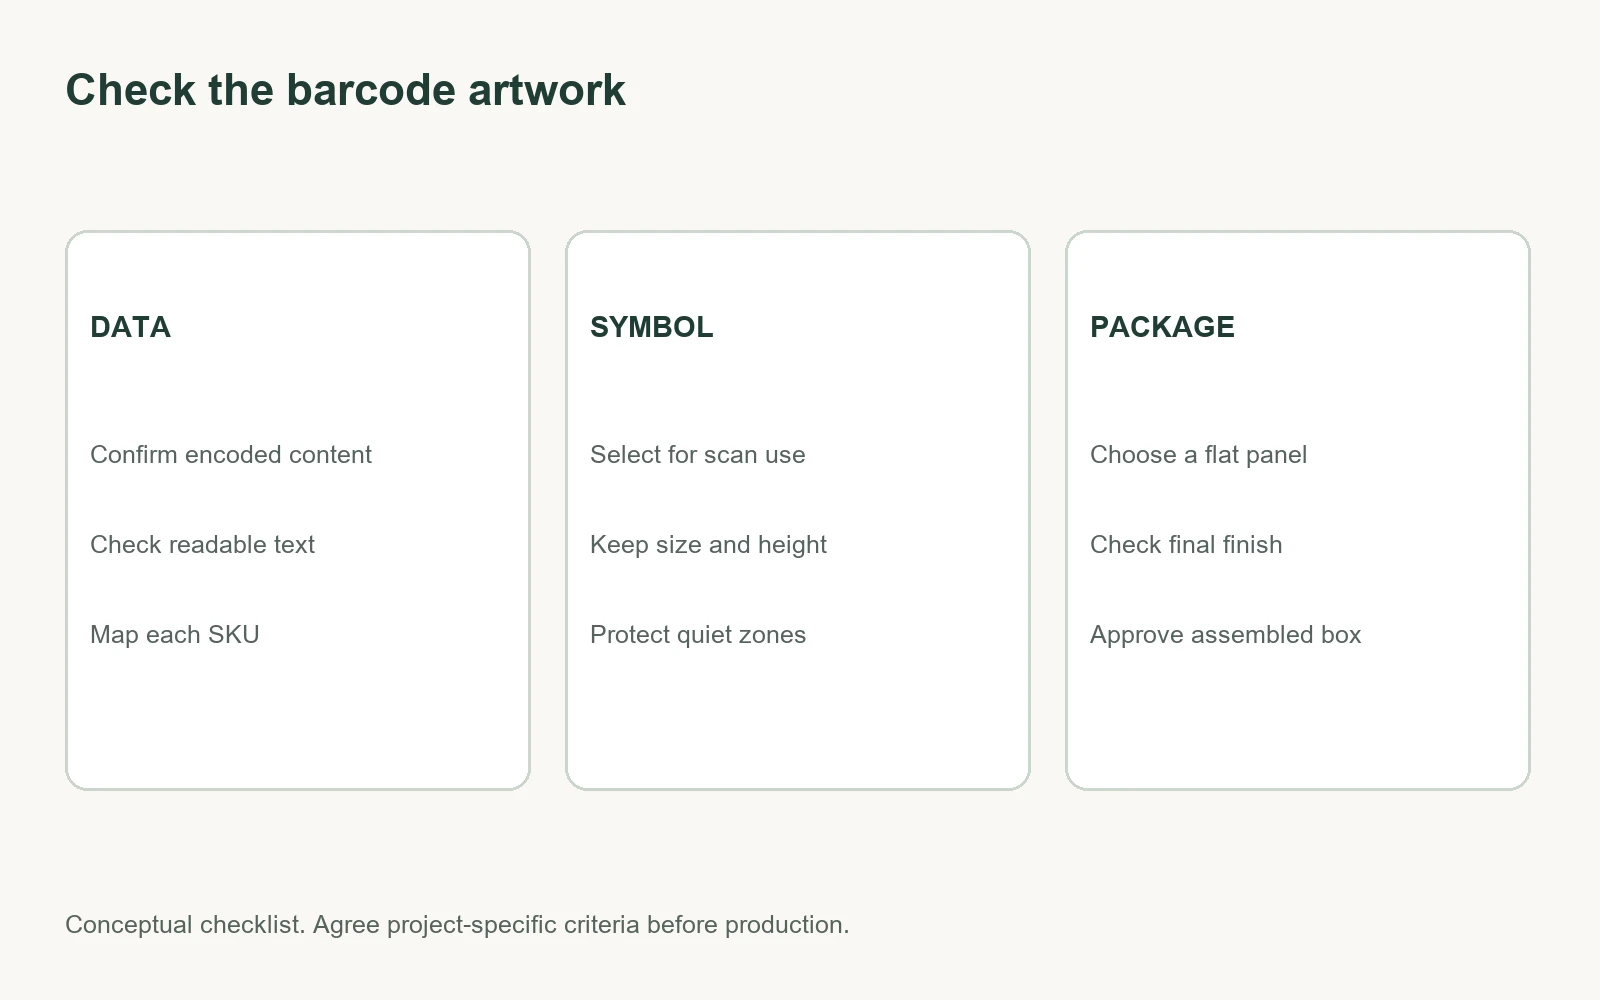
- Choose a symbol for the actual use: retail checkout, warehouse case handling or another agreed workflow.
- Have the brand owner confirm the encoded product identifier and the human-readable text.
- Preserve the symbol’s proportions, required height and quiet zones; do not squeeze it into leftover artwork space.
- Place the code on a flat, accessible panel away from folds, seams, windows and strong surface effects.
- Test the final substrate, print method and finish with a suitable verifier, as specified for the application.
- Record a passing sample and the approved artwork revision for repeat orders.
What the barcode must do
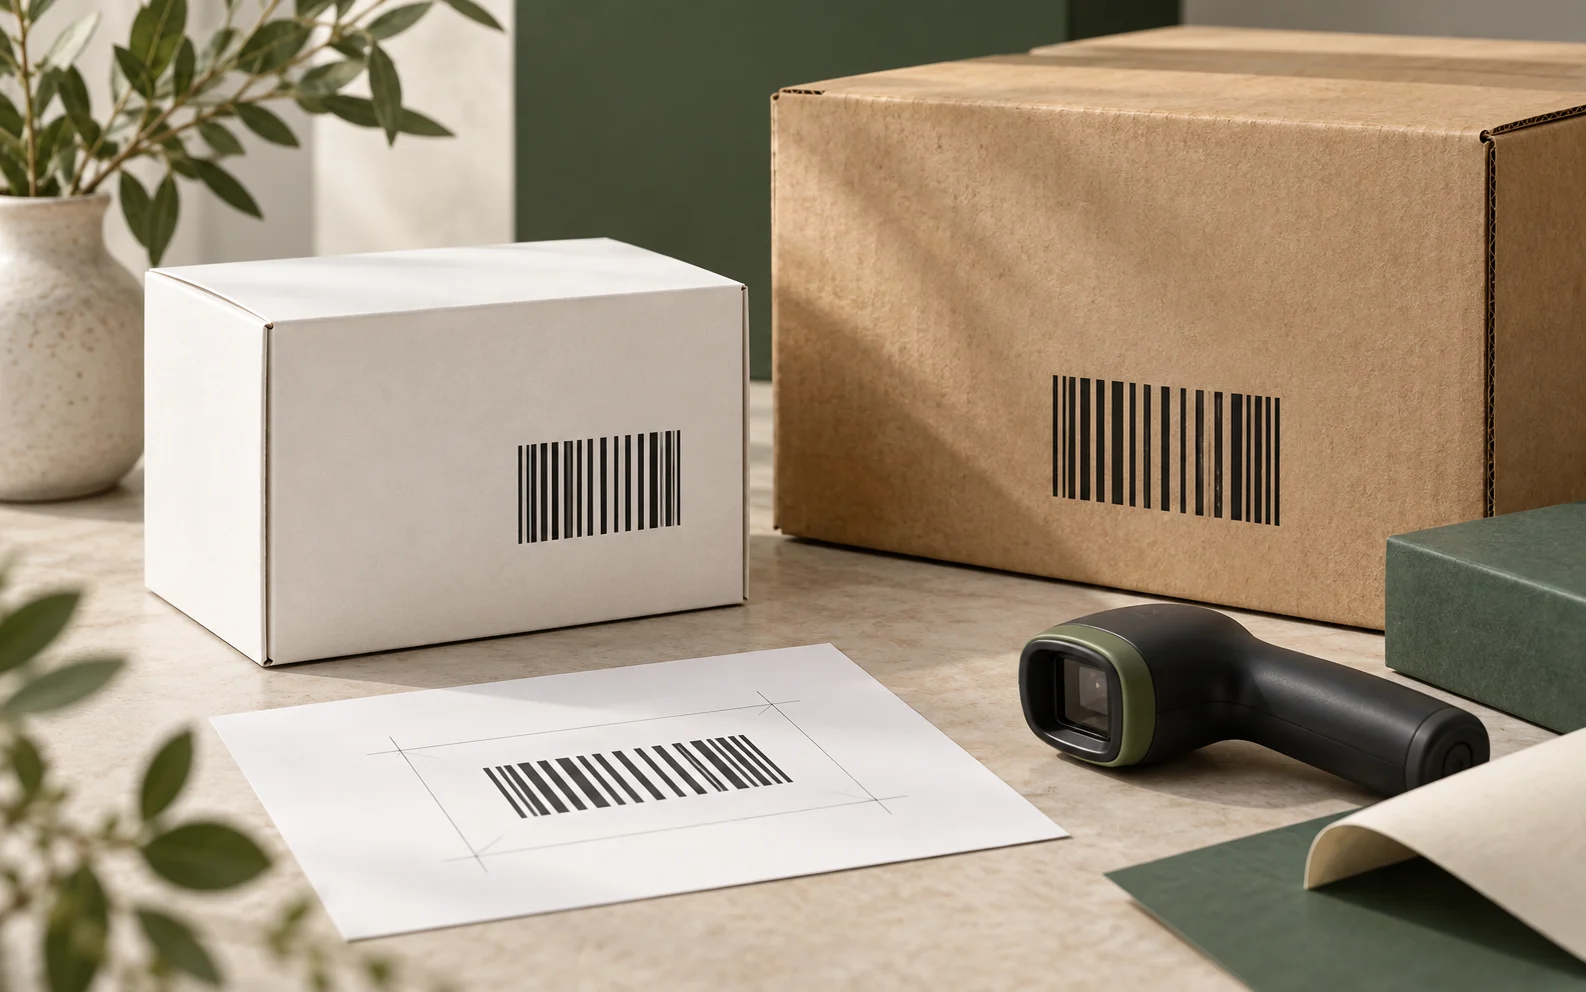
A packaging barcode is a machine-readable carrier for agreed data. Its purpose varies. A consumer unit at retail checkout may need an EAN/UPC symbol; an outer shipping case may need a different GS1 symbol or logistics label; a consumer-facing 2D code may serve a separate purpose. These are not interchangeable design elements. Start with the destination and scanner workflow, then ask the product-identification owner or trading partner which symbology and data are required. GS1 US describes barcode types by application, including checkout and distribution uses.
The packaging supplier can print supplied data, but should not invent a GTIN, infer a product variant’s identifier or decide which trading-partner rule applies. The brand owner should approve the encoded string and the human-readable interpretation beneath or beside the symbol. A proof of the artwork is a data check; it is not proof that a printed package will scan.
Choose the symbol and data owner
| Package and scanning point | Typical discussion | Who must confirm the requirement | Buyer decision |
|---|---|---|---|
| Individual retail product | EAN/UPC or a supported 2D retail program | Brand owner and retailer or market program | Confirm exact identifier, symbol and point-of-sale compatibility |
| Inner pack or trade item | Appropriate GS1 carrier for the unit level | Brand owner and receiving partner | Confirm what data the receiver scans |
| Outer corrugated case | Case-level barcode or label | Brand owner, warehouse and carrier | Decide print-on-case versus applied label |
| Consumer information link | QR-type code linked to a destination | Brand, regulatory and digital-content owners | Keep this separate from a required checkout code unless approved |
The table is a scoping aid, not a substitute for current GS1 specifications or retailer instructions. The same product may need different identifiers at different packaging levels. If the box is sold in multiple markets, confirm market-specific data and artwork with the responsible teams before releasing plates or tooling.
For 2D retail plans, distinguish a generic marketing QR code from a GS1-standardized 2D symbol that carries product data. Scanning capability and transition plans vary by retailer and region. Verify current requirements with the receiving channel rather than assuming a 2D code replaces the existing retail symbol.
Size, height and quiet zones
The symbol’s allowed size depends on its type and scanning environment. GS1 specifies ranges through X-dimension and symbol height, not one universal width for every box. The print process and material also affect the workable size; GS1 notes that lower print quality can call for a larger symbol. See its size guidance and the symbol-specific tables in the current specification.
A quiet zone is the clear area around a code that helps a scanner find it. For common retail linear codes, preserve the required clear space at the sides. Other symbols have their own requirements; a 2D code needs the clear area appropriate to that symbology. Do not put a decorative border, fold line, varnish edge or background pattern into that space. GS1 US specifically warns against reducing UPC height to force a design fit and advises recreating the barcode artwork at its required size instead of stretching a raster image. Its barcode placement and printing guidance is a useful starting point.
The common mistake is to treat a barcode as a decorative block that can be cropped, distorted or placed over texture at the last minute. Reserve its real footprint—including human-readable text and quiet zones—early in the packaging dieline process.
Placement on the assembled package
Approve position on a folded or assembled sample, not only on a flat PDF. The final panel should be accessible to the expected scanner and remain flat enough to avoid bar distortion. Keep codes away from creases, glue seams, lid overlaps, windows, handles and edges where handling or wrapping changes the surface. Orientation also matters for the target scanner; ask the retailer or logistics partner if they have a placement guide.
A rigid box can have a beautifully printed wrap but still put the code on a curved edge or a panel hidden by a sleeve. A folding carton may shift the visible position when erected. A corrugated case can make tiny elements or narrow gaps harder to reproduce, depending on board and printing method. Where direct printing is unsuitable, consider a qualified label or a separate smooth area—but confirm label adhesion, position and scuff resistance through handling. Our custom mailer box specification checklist covers the broader structural details that should be settled before sampling.
| Placement risk | Why it matters | Better review action |
|---|---|---|
| Code crosses a fold or corner | Bars or cells distort after assembly | Move to a single flat panel and test an assembled box |
| Dark or patterned background enters the clear area | Scanner may struggle to identify the symbol | Reserve a clean, high-contrast field |
| Gloss, foil or heavy texture overlays the code | Reflections or uneven ink can impair reading | Test on the final finish or keep the zone untreated |
| Barcode is hidden by a sleeve or label | Access changes in the final packed state | Check the package as shipped and as scanned |
| Code sits on a damaged handling edge | Abrasion can remove critical elements | Move inward and test after normal handling |
Material, printing and finishing decisions
Coated art paper, uncoated kraft, corrugated board and specialty wrap paper print differently. The supplier should assess the smallest reproducible elements for the chosen substrate and method—such as offset, flexography or digital printing—using the current GS1 size requirements for the symbol. Inks can spread, solids can fill gaps and textured fibers can break edges. This is a reason to proof on production-intent material, not a reason to invent a universal minimum size.
High contrast is generally easier to read, but visual contrast to a person is not the complete measure of scanner performance. Avoid assuming metallic ink, red-toned bars, reversed colors or a glossy overlay will work without verification in the intended scanning setup. If the brand design needs special color treatment around the code, print and verify that exact treatment. The board’s weight and thickness are separate specifications; our GSM versus PT guide explains why buyers should confirm both for the proposed stock.
Finishing should be planned with prepress. Foil stamping, embossing and spot UV can create relief or reflection. Keep their boundaries clear of the symbol and quiet zones unless a qualified production test supports the design. See our spot UV packaging guide for artwork-layer considerations. If the package is a natural or recycled stock, test normal material variation rather than judging a single unusually smooth sample.
Artwork-to-production workflow
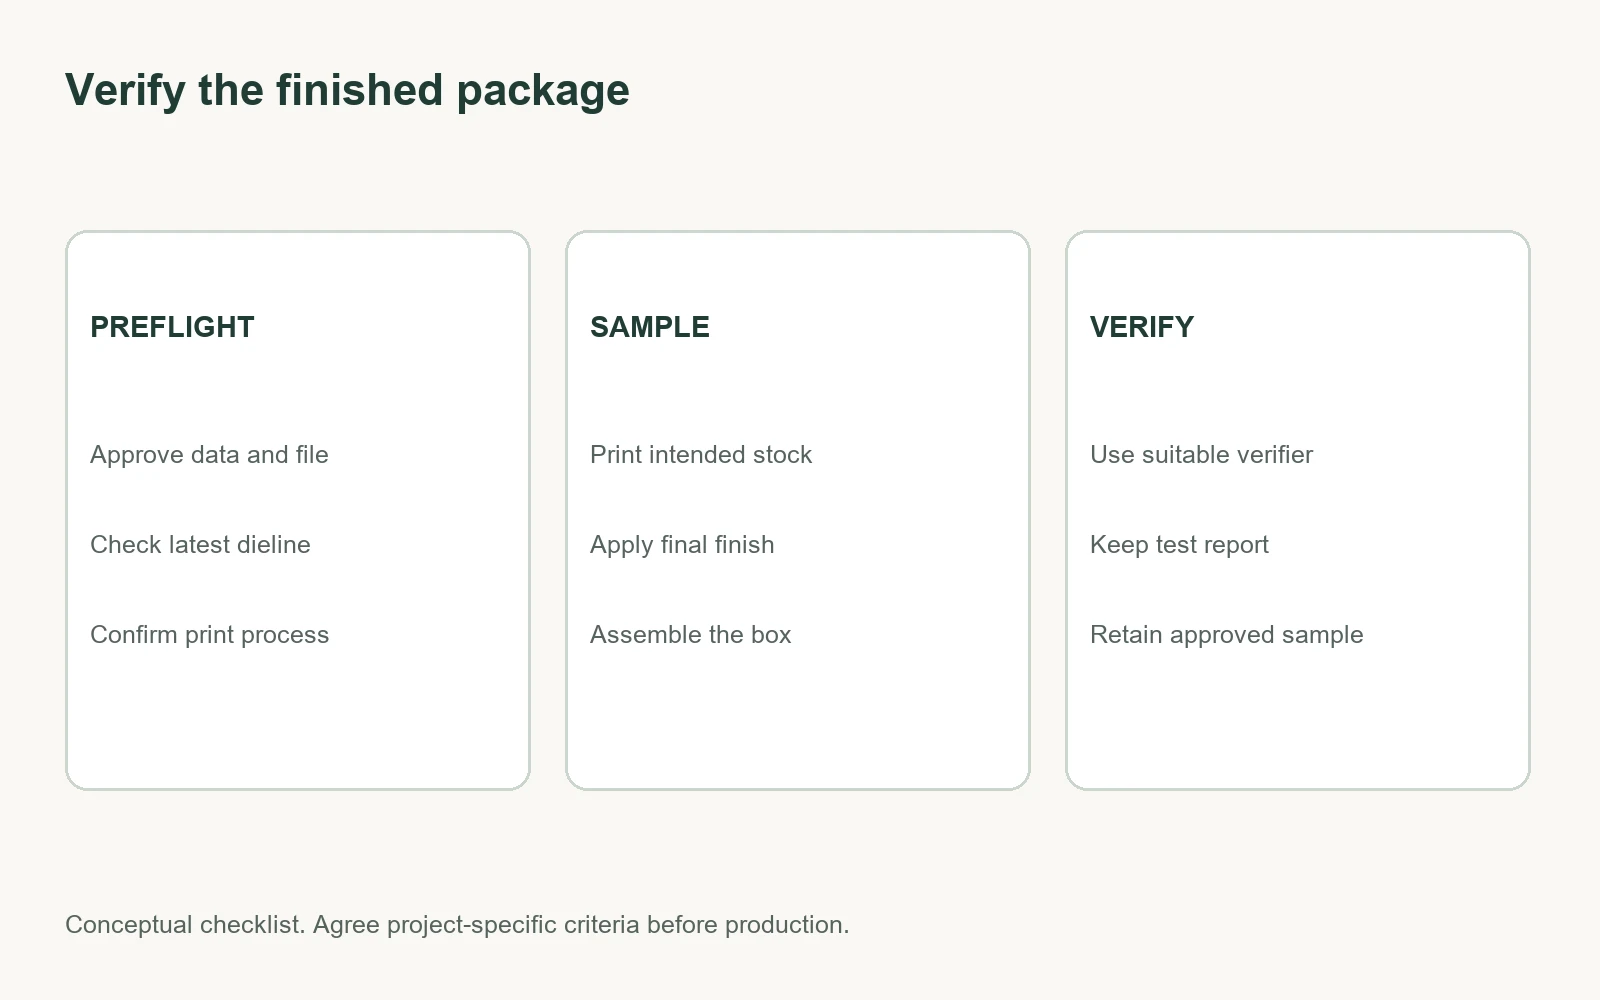
- Confirm the data. Obtain the identifier and human-readable text from the responsible owner. Check unit level and market.
- Select the symbol. Use the receiving channel’s current GS1 and trading-partner requirements.
- Generate production artwork. Create the code with approved software or supplied vector art. Do not redraw bars or scale them disproportionately.
- Reserve the panel. Place the full code footprint on the latest dieline and confirm the assembled position.
- Preflight the file. Check layers, resolution or vector paths, dimensions, contrast, quiet zones, text and revision.
- Print a representative sample. Use the intended stock, ink and finish where feasible; label any difference from production.
- Verify the printed symbol. Use the agreed verifier, aperture and application criteria. Record the data and report.
- Approve production and retain a reference. Compare first-off and later pulls with the approved sample and investigate drift.
If artwork changes after approval, confirm that the barcode itself did not move, scale or get covered by a new graphic or finish. Save the version used for production. This is particularly important for multi-SKU cartons that share a template but encode different identifiers.
Verification and QC
A handheld scan is a useful quick check, but one successful scan does not establish print quality against a standard. Formal verification assesses factors such as decode, dimensions, quiet zones, contrast and defects using a verifier configured for the symbol and application. GS1’s 1D barcode verification guideline explains why reports include the assessed symbol location, height, quiet zones and human-readable interpretation. Ask for the actual verification report when the barcode is critical to checkout or distribution.
Check samples from the finished package, including the first acceptable production piece and later intervals agreed with the printer. Verify encoded data against the approved source. Inspect for missing ink, gain, smear, abrasion, coating misregistration and damage at folds. For a case label, test the label after application to the corrugated surface as well as in its flat state. Record what happens to rejected samples and how a replacement or correction is approved.
Do not quote a generic pass grade without naming the symbology, scanning application, test method and report conditions. The correct acceptance criteria come from the applicable current GS1 specification and trading-partner requirements. If a retailer supplies a separate compliance test, include that in the order brief.
Cost, schedule and supplier questions
Printing a barcode may be part of existing artwork, but its successful reproduction can change design choices. A larger clean panel, additional print control, a separate label, revised tooling or a verification report may affect cost and lead time. Ask the supplier to quote these options separately and state whether the price includes verification of finished production pieces. Avoid assuming that the cheapest one-off print method has the lowest total cost if rejected cases would disrupt receiving.
Supplier questions worth asking: Which print method and material will be used? Can the proposed symbol meet the applicable dimensions on that stock? Is a representative sample available? Who performs verification and with what report? What changes trigger reapproval? How will codes be controlled across SKUs? For broader quote comparison, see how much custom packaging costs.
Quote and approval checklist
Send this information with a custom rigid box or carton enquiry:
| Input | Specify |
|---|---|
| Product and channel | Retail, ecommerce, warehouse or other scan point; destination markets |
| Data | Owner-approved identifier, encoded content, human-readable text and SKU mapping |
| Symbol | Required type and current applicable standard or retailer instruction |
| Structure | Latest dieline, box style, dimensions and proposed barcode panel |
| Material and print | Substrate, print process, ink colors and finish near the code |
| Proof | Physical sample requirements and whether the final assembled form is needed |
| Quality | Verification method, report, production sampling and correction process |
| Quantity and packing | Order volume, carton packing and any case-level label requirement |
The packaging supplier can then respond with a feasible panel and proof plan, while the brand and trading partner retain ownership of the identifier and application requirements.
Frequently asked questions
Can I shrink a UPC to fit the box?
Only within the permitted size range for the application, maintaining the required proportions, height and clear areas. Ask for the current GS1 specifications and test a production-intent sample. Do not simply compress the image in a layout program.
Is a QR code enough for retail checkout?
Not automatically. A generic marketing QR code and a GS1-standardized 2D retail symbol serve different purposes. Confirm the retailer’s present scanner capability and acceptance rules before replacing any required checkout code.
Who should supply the barcode number?
The brand owner or authorized product-data team should supply and approve it. A packaging printer should not guess the number from another SKU or invent one for the customer.
Why does a barcode scan on paper but fail on the box?
Folding, texture, ink spread, coating, curvature or a changed position may affect the finished symbol. Verify a representative assembled package made with the planned material and process.
Can I print white bars on a dark background?
Do not assume it will pass. Scanner contrast and reflectance depend on the symbol and equipment. Ask a qualified verifier to test the exact production design and material.
Is a phone scan test sufficient?
No. It can catch an obvious failure, but it does not replace standards-based verification or show whether the symbol has enough margin for different readers and normal production variation.
Should the outer shipping case use the same code as the retail box?
Often the unit level and scan application differ. Confirm the identifier and carrier expected by the warehouse or trading partner for each packaging level.
What records should be kept for repeat orders?
Retain the approved data file, artwork and dieline revision, verification report, material and print specification, and a labeled production reference sample where practical. Recheck after any material or print-process change.
Approve the printed package, not just the file
Reserve barcode space before artwork is finalized, then confirm the data and verify the finished package under the requirements of its scanning environment. If you are preparing a custom box order, contact Packaza for a quote with the checklist above and request a production-intent sample when scanning reliability is critical.