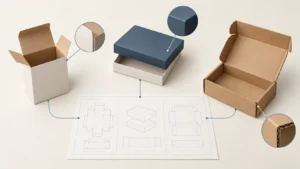

Quick answer: Custom counter display boxes are open retail units that hold products at a checkout or service counter. Start with the real product, available counter footprint, number of facings, replenishment method and distribution route—not a generic box size. Confirm the proposed layout on a sample before approving artwork or production.
Counter displays look simple, but they combine retail presentation, product access and transport planning in one unit. A display that fits the products may still be unsuitable if its header is blocked, its footprint exceeds the available counter space, or it becomes unstable as products are removed.
This guide helps a brand, retailer or packaging buyer turn a broad request—“we need a countertop display”—into information a structural designer and supplier can assess. It is not a promise of a particular material, price, production time or test result. Those details depend on the actual project and should be confirmed in writing.
What is a custom counter display box?
A custom counter display box, sometimes called a counter display unit (CDU), countertop display or point-of-purchase tray, presents multiple sale units at a checkout, service desk or compact shelf area. It commonly uses an open front for access and a taller back panel or header for messaging, but its exact construction should follow the product and retail environment.
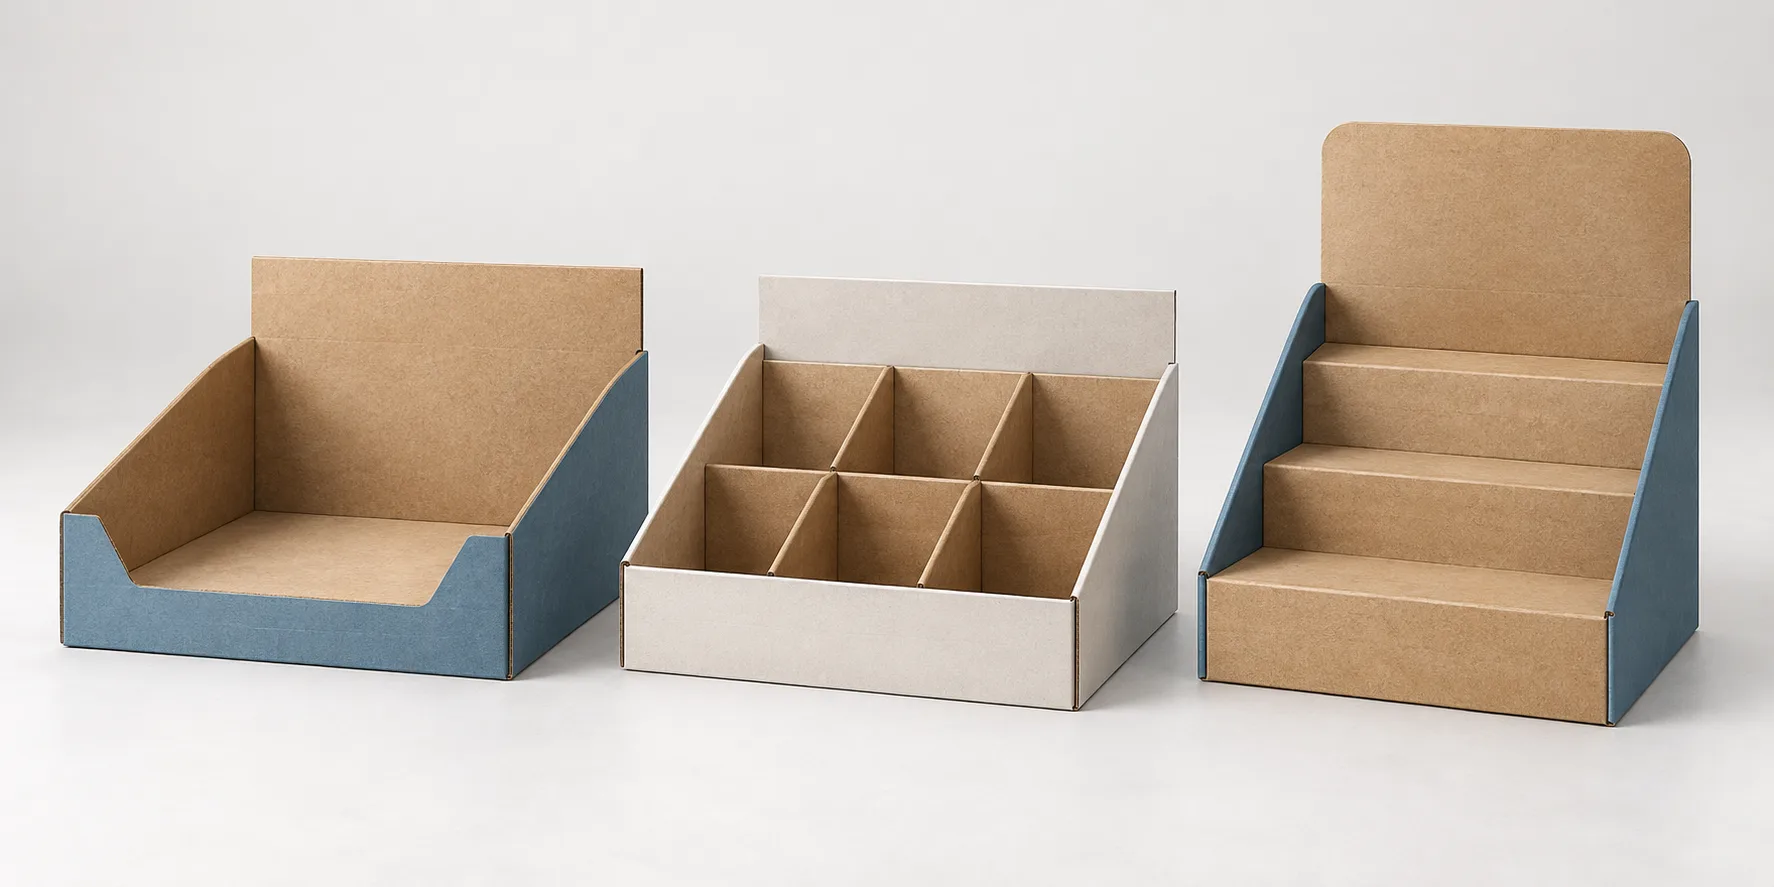
The term can describe several structures: an open tray, a tray with a header, a divided unit for several SKUs, a stepped display, or a display supplied in an outer shipping case. Ask the retailer how the unit will be placed, replenished and removed. “Counter display” describes a use case; it is not one universal dieline.
Counter display, PDQ and shelf-ready case: do not treat them as synonyms
| Term | Main job | Buyer question to settle first |
|---|---|---|
| Counter display / CDU | Presents products at a counter or compact retail space | What counter width, depth and total height are available? |
| PDQ / display-ready unit | Often used commercially for a ready-to-place retail display | Does the retailer define a specific format, pack-out or terminology? |
| Shelf-ready packaging (SRP) | Ships products to store, then opens or tears away for shelf presentation | Must the shipping case become the display, or is it only an outer case? |
| Individual retail carton | Protects and brands one sale unit | Does the product need a separate display unit at all? |
Terms vary by retailer and market. Put the retailer’s own definition, drawing and dimensional limits into the project brief. If an outer case must convert into a retail display, treat the shipping and display functions as separate approval questions. The related Packaza guide on folding carton versus corrugated box can help frame the structure decision.
Start with the retail environment, not a standard size
The right size for custom counter display boxes begins with the retail space and the packed product. Record the maximum usable width, depth and height, nearby fixtures, shopper approach direction and any retailer restrictions before selecting a tray, header or divider layout.
Measure the area where the display will actually sit. A card reader, till screen, menu stand or protective barrier can make a nominally available area unusable. Record whether the retailer measures a display in its closed shipping state, opened retail state, or both. GS1’s data guidance illustrates that retail-display dimensions may need to be distinguished from the closed-pack dimensions; use the retailer’s own requirements for the actual listing or rollout.1
| Input to capture | Why it changes the design | Evidence to request or create |
|---|---|---|
| Usable counter width × depth × height | Sets the footprint and protects clearance around fixtures | Retailer sketch, fixture drawing or measured photo with dimensions |
| Product’s packed L × W × H and weight | Determines fit, visible facings, divider need and loaded mass | Product sample or controlled product drawing |
| Product count and SKU mix | Changes the tray layout and replenishment method | SKU list and target facing arrangement |
| Shopper access | Influences front-wall height, finger clearance and product orientation | Simple removal trial with representative products |
| Display life and environment | May affect material and finish selection | Retail location and exposure notes |
| Store delivery and replenishment | Determines whether the unit ships flat, assembled, filled or inside an outer case | Pack-out and distribution plan |
Choose the structure from product access and pack-out
Choose a structure after you know how products arrive, where they sit and how staff replenish them. An open tray can be efficient for one product type, while dividers or stepped rows may be helpful for mixed SKUs. A taller header creates a messaging zone but also changes total height and case packing.
| Structure approach | Often useful when | Questions to resolve before approval |
|---|---|---|
| Open-front tray | One product or a simple assortment needs fast access | Does the front wall hold products while leaving them easy to remove? |
| Tray with header | A compact unit needs a visible brand or product message | Is the header still visible when the display is full and when stock is low? |
| Divided tray | Multiple SKUs or product rows must stay separated | Are compartments sized for the real packed products and replenishment motion? |
| Stepped display | Several rows need visibility from the front | Is the unit stable and accessible at full, partial and uneven fill levels? |
| Shipper-display / tear-away case | Store labor should be reduced by converting an outer case into a display | Can removal actions, perforations and remaining tray strength be sampled in the proposed pack-out? |
Avoid specifying board, thickness or load performance from a generic online table. The needed structure depends on dimensions, product mass, loading pattern, distribution route and exposure. If the display will be shipped with product inside, document both the retail unit and the outer transport configuration. The Packaza articles on ECT versus BCT and ISTA 3A for shipping boxes provide context for asking project-specific questions about corrugated transport packaging.

Design for full, partial and depleted displays
A counter display should be reviewed at more than one inventory level. A unit can look stable when full but expose weak access, awkward reach or poor header visibility after customers remove products. Define the states that the sample must represent before artwork is treated as approved.
Use representative finished product samples wherever possible. Try normal customer removal, front and top replenishment, partial depletion and an intentionally uneven assortment. Observe whether products lean, dividers shift, graphics become obscured or the unit interferes with nearby counter equipment. If a retailer has a placement or load requirement, make that document—not an assumption—the acceptance reference.
A practical sample-approval checklist
| Check | What to observe | Record as approval evidence |
|---|---|---|
| Product fit | Each unit fits without forced insertion or unintended movement | Photos, dimensions and an agreed sample note |
| Product access | A customer or staff member can remove and replace products as intended | Short handling trial and issue list |
| Footprint | The display stays within the defined retail space | Measured placement photo or retailer sign-off |
| Header/message visibility | Key information remains visible at the agreed inventory states | Full and depleted display photos |
| Stability | The proposed unit remains suitable through expected handling states | Agreed test method, observations and limits |
| Pack-out | The shipping configuration protects the display and contents as planned | Pack-out drawing, outer-carton details and sample result |
| Artwork identity | SKU, revision, barcode and required copy match the controlled files | Signed proof or controlled approval record |
Do not describe an untested display as “retail-ready,” “stable” or “tested” merely because a sample has been folded. Define what was checked, on which sample, under what conditions and against which acceptance criteria. For a broader production-acceptance approach, see Packaza’s custom packaging inspection checklist.
Plan graphics around the surfaces that remain visible
Artwork should follow the final structure and retail viewing conditions. Reserve the header, front lip, side panels and any tear-away areas for content only after the dieline, product position and opening actions are understood. A graphic that looks correct on a flat file can be blocked once products fill the tray.
At minimum, ask which surfaces are seen first, what must remain visible when the display is full, where a barcode or product identifier belongs, and whether retailer-required text has a controlled source. Keep any tear line, glue area, crease, finger cut-out or product-contact zone clear of critical copy unless the structural file expressly allows it. Use a controlled production file; do not treat a web mock-up as the manufacturing dieline. Read what a packaging dieline is and barcode printing placement and verification before releasing artwork.
What to include in a quote request
A quote request for custom counter display boxes should let suppliers evaluate the same project assumptions. Supply the product and retail constraints first, then state the quantities, artwork state and timing requirements. A supplier may need more information before quoting; that is a useful signal that the brief has not yet captured a structural decision.
Counter-display RFQ fields
- Retail channel, placement and available counter footprint.
- Product samples or controlled packed dimensions and unit weights.
- Number of SKUs, units per display and desired visible facings.
- Proposed display use: counter tray, header unit, divided tray, stepped unit or shipper-display.
- Delivery condition: flat, assembled, prefilled, in an outer case or another defined configuration.
- Artwork files, required languages, barcode/identifier requirements and revision number.
- Quantity, destination, requested in-store date and any retailer-provided specifications.
- Requested sample stages and acceptance checks, including full and partially depleted display views.
When your brief is ready, contact Packaza with the product information, retail setting, desired display count and approval criteria. This makes an initial packaging discussion more specific without assuming a standard construction or commercial term.
For a general way to make supplier quotes comparable, use the published supplier qualification checklist. Keep commercial assumptions, structural assumptions and approval evidence in the same version-controlled brief.
Questions to answer before a production release
Before releasing a display for production, make sure the approved sample, artwork and pack-out refer to the same revision. A mismatch between product count, product dimensions, dieline or carton marks can undo otherwise good design work.
- Which retailer fixture or counter location is the reference for the footprint?
- Which exact product sizes, SKU mix and unit count did the sample represent?
- Is the proposed display supplied empty, filled, flat or in a transport case?
- Which visible surfaces carry required brand, product, barcode and legal information?
- What did the sample approval include—and what did it not include?
- Who controls artwork and structural revisions after the sample is approved?
When those answers are documented, the resulting request is easier to compare, sample and approve. A counter display is then treated as a retail system with product, people, graphics and transport constraints—not only as a printed tray.
FAQs about custom counter display boxes
What is the difference between a counter display box and shelf-ready packaging?
A counter display box is primarily designed to present products in a compact retail location, while shelf-ready packaging is designed to travel to store and open into a shelf presentation. One project can combine both functions, but its shipping, opening and display conditions should be specified separately.
What size should a counter display box be?
There is no universal standard size. Start with the available retail footprint, packed product dimensions, desired facing count, product access and nearby fixtures; then confirm the proposed dimensions on a representative sample.
How many products can a counter display hold?
Capacity depends on the packed product, layout, divider design, accessible front-wall height and validated structure. State a target unit count in the brief, then verify the full and partly depleted arrangement on a sample rather than relying on a generic capacity claim.
Do counter displays need dividers?
No. Dividers are useful when SKUs need assigned positions or products must stay separated, but an open tray can be appropriate for a simple, stable assortment. The choice should follow the actual products and replenishment method.
What information should go on a counter-display header?
Use the header for information that must remain visible from the shopper’s approach, subject to retailer requirements and the final product fill level. Confirm its visibility on the physical sample; do not place critical information on a surface that stock or a tear-away action will obscure.
Should a display ship flat or preassembled?
Either may be considered, depending on store labor, pack-out, product loading and distribution. Define the intended delivery condition early, then validate the relevant assembly, loading and transport steps with the proposed sample configuration.
What should be checked on a sample?
Check fit, product access, footprint, header visibility, stability at agreed inventory states, pack-out and controlled artwork identity. Record the sample version and the conditions observed so later production approval refers to the same evidence.
Specify the retail job before you specify the box
The best custom counter display boxes are specified from the retail job: product, counter space, shopper access, replenishment, transport and approval evidence. A clear brief reduces avoidable assumptions and makes sample feedback more useful. When requesting a packaging discussion, provide the product information, target retail setting, desired display count and approval criteria rather than relying on a generic display size.
Source
- GS1 Global Data Model Attribute Implementation Guideline — retail-display dimension example.