Window box packaging uses an opening in a carton or presentation box to show part of the product, often with a transparent film patch behind it. Choose the opening, board, film and product support as one system. Approve a representative assembled sample for visibility, structural behavior, patch attachment and handling; a clear window alone does not establish shipping protection, barrier performance or suitability for a particular product.
Key takeaways
- Define what the customer should see before choosing the window size.
- Distinguish an open aperture from a film-covered window.
- Specify the board, film and adhesive combination rather than only the box style.
- Review folds, panel borders and patching clearance with the manufacturer.
- Keep the product positioned without relying on the window film as an insert.
- Include patching, tooling, samples and protective packing in the quotation.
- Inspect the complete package under its intended handling conditions.
Contents
- What is window box packaging?
- Which window format should you choose?
- Which board and window materials matter?
- How should you design the opening and product support?
- How does window patching work?
- What should artwork and decoration account for?
- What affects cost and supplier selection?
- What should sample approval cover?
- Frequently asked questions
- Prepare a window box quotation request
What is window box packaging?
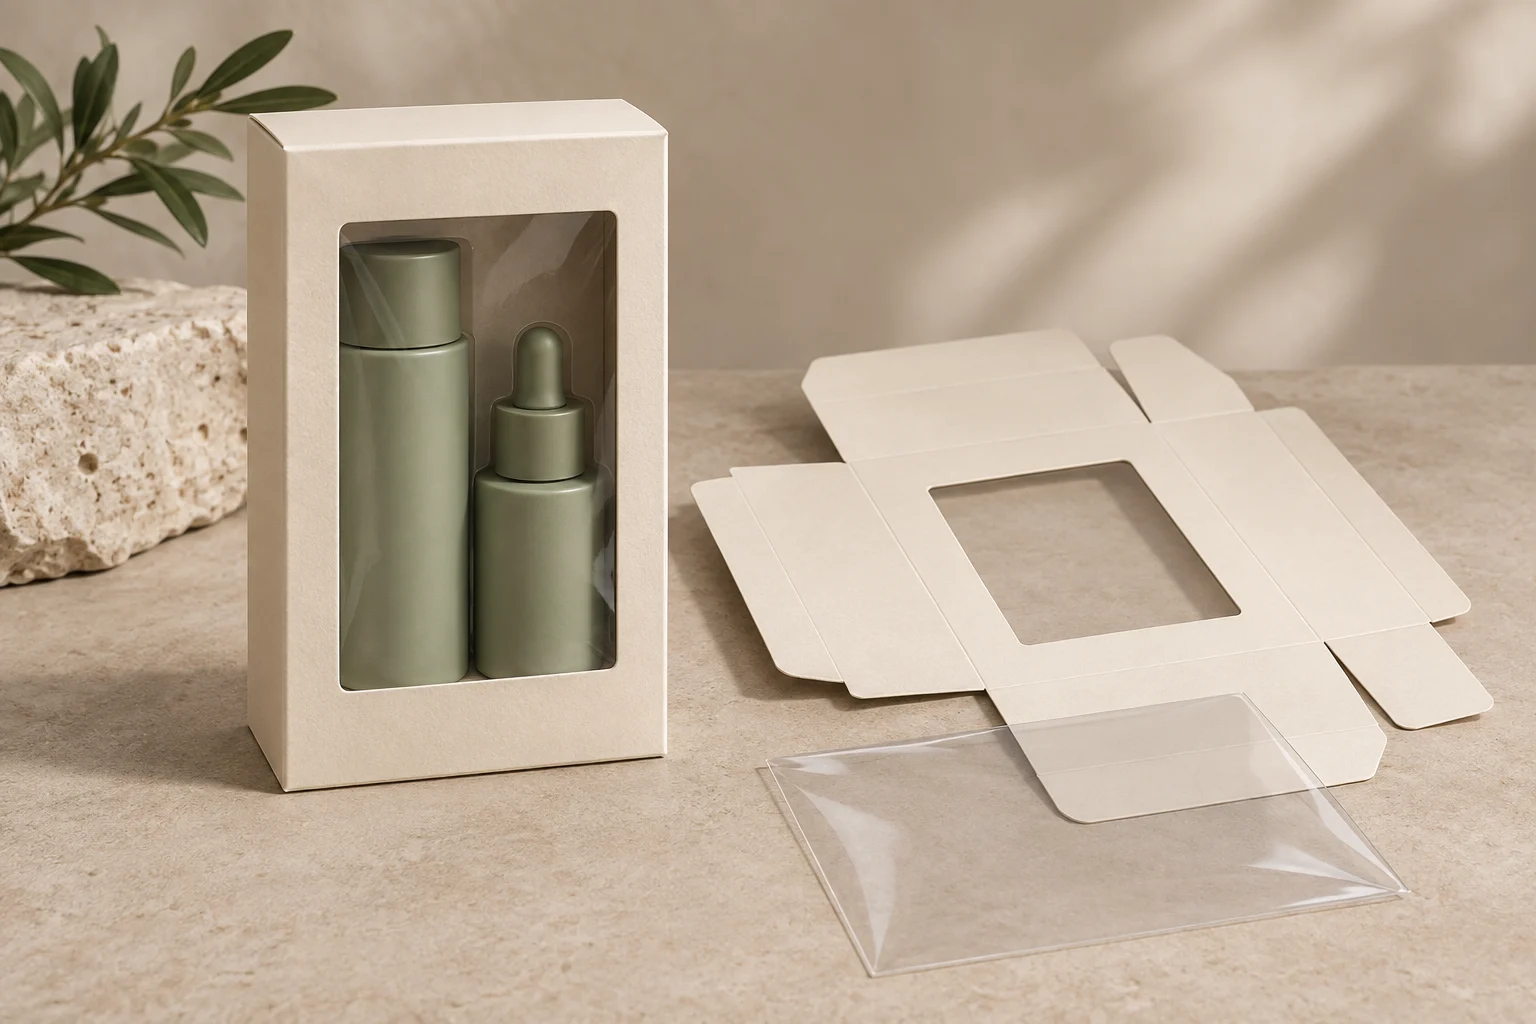
A window box has an opening positioned to reveal the product or an inner package. The opening may remain uncovered or receive a transparent patch attached behind the panel. Folding cartons, rigid presentation boxes and some corrugated structures can use windows, but each requires its own construction review.
This guide concerns product packaging, rather than display furniture or garden window boxes. It also distinguishes a display window from the primary packaging that may be required to contain or protect the product.
Avoid treating visibility as a guaranteed sales increase. The useful design objective is a clear and accurate view of the intended product feature while retaining the packaging functions the project requires.
Which window format should you choose?
| Format | What it offers | What to assess |
|---|---|---|
| Open die-cut aperture | Direct visibility without a film patch | Product exposure, access and remaining panel strength |
| Film-patched front window | Visibility through a transparent covering | Film clarity, attachment and contact risks |
| Shaped decorative window | A distinctive view of a selected feature | Cut-edge quality, patching geometry and waste |
| Corner or multi-panel window | A broader viewing angle | Fold interaction, film behavior and assembly |
| Windowed rigid lid | Display within a presentation structure | Lid stiffness, patch attachment and interior support |
Do not select the largest opening automatically. A smaller view of a useful feature may communicate the product more clearly while leaving more uninterrupted board. Discuss the trade-off with the structural designer and verify the assembled result.
For a premium presentation project, compare custom rigid box formats before fixing the lid construction. A windowed lid and a folding carton front panel are different designs, even if their openings look similar in a photograph.
Which board and window materials matter?
Specify the paperboard or box construction first. Grade, caliper, stiffness, printing surface and folding behavior all matter. A gsm value alone does not fully define how a panel will behave after an opening is removed.
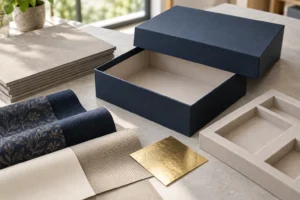
For wrapped rigid boxes, describe the supporting board and covering paper separately. The rigid box materials guide identifies those components. Review the window’s attachment to the actual layered construction rather than assuming a folding-carton patching method transfers unchanged.
Window films can differ in resin, thickness, clarity, stiffness and surface treatment. Ask the supplier for the exact material specification and its intended application. If recycled content or a different film family is proposed, review evidence for that particular grade rather than assuming an identical appearance or performance.
Tamarack’s window-film selection discussion highlights window size and exposure conditions as selection factors. For your project, assess the proposed film against the actual opening, product contact and distribution environment instead of choosing by material name alone.
Include the adhesive in the specification. Confirm compatibility with the board surface, film and production process. The attachment needs to remain acceptable during converting, storage and intended handling; a transparent sheet’s properties alone do not establish that.
For direct product contact or application-specific requirements, obtain relevant documentation for the exact materials and use conditions. Do not assume that a generic transparent film designation establishes suitability.
Material rule: approve the board, film, adhesive and surface treatment together. Any substitution that can affect appearance, attachment or construction should trigger a review of the relevant approval.
How should you design the opening and product support?
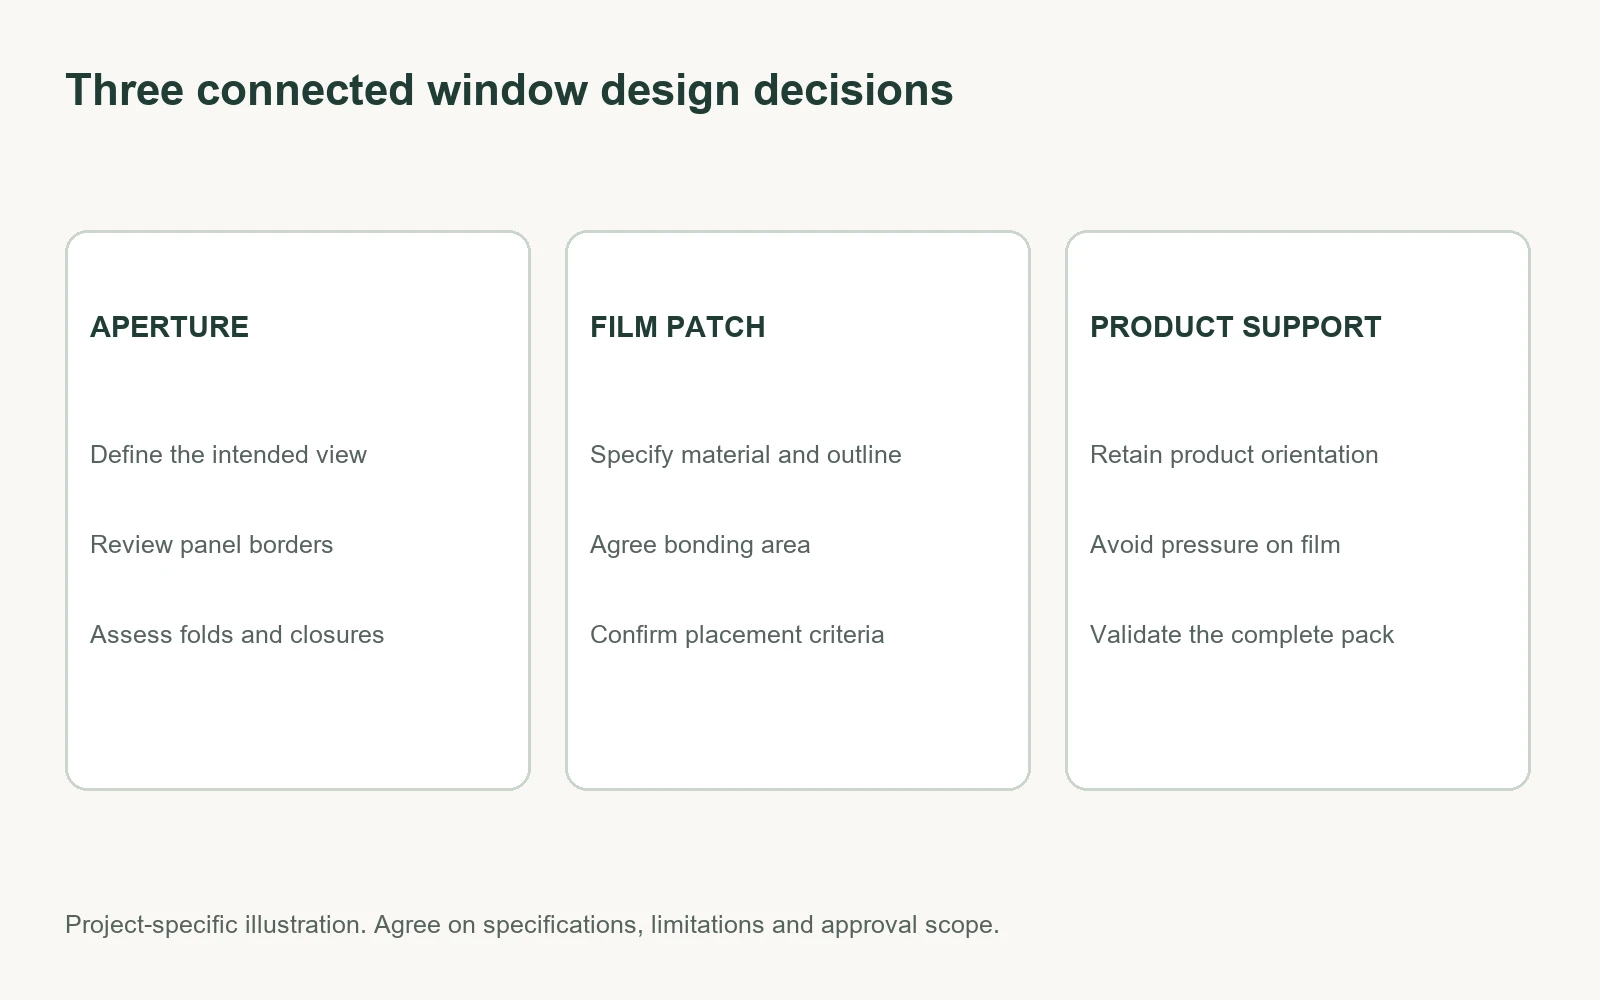
Start with the viewing objective. Identify the product face, viewing direction and position inside the box. A window that reveals only a blank side or an insert can disappoint even if its dimensions are correct.
Position the opening on the structural drawing. Ask the manufacturer to assess the remaining panel borders, proximity to folds, closure features and any hanging or stacking loads. There is no universal window-to-panel ratio suitable for all grades and structures.
Keep aperture size separate from patch size. The transparent patch normally extends beyond the opening so it can be attached to the surrounding panel. Agree on the patch outline, bonding area and placement tolerances with the manufacturer rather than adding an arbitrary margin.
Where a window crosses a corner or fold, review the film’s behavior through assembly. A flat sample cannot resolve every crease or corner interaction. Require a constructed sample made with the relevant materials.
Use an insert, tray or other appropriate support to establish product position. Avoid letting the product bear against the window in a way that causes scratching, bulging or puncture. The existing packaging insert guide helps identify support options to discuss.
For more than one item, check every position and the arrangement after handling. A clean initial display does not establish that the products will remain behind the opening. Define the retention function and validate it in the complete pack.
How does window patching work?
Window patching attaches a film over a prepared opening, commonly on the inside of the carton panel. The production route can involve printing and finishing the board, die cutting the aperture, applying adhesive and placing the film before completing the carton assembly. Confirm the actual sequence for the quoted box.
Netpak’s window patching resource discusses windows alongside carton structure, finishing and production control. The practical purchasing point is that patching is part of the converting specification, not merely a graphic element in the artwork.
Ask whether samples are manually patched or made through the proposed production process. A manually assembled prototype can help evaluate appearance while leaving production consistency unresolved. Record those limitations rather than treating every prototype as a finished production reference.
Review adhesive placement, patch alignment and the surface that will receive the bond. The supplier should identify process-specific clearance around folds and glue areas, and confirm whether other coatings or films affect attachment.
For rigid boxes, ask how the aperture, wrapping and window attachment are coordinated. Review cut edges and the inside presentation as well as the exterior. A neat front image does not establish the construction quality behind it.
What should artwork and decoration account for?
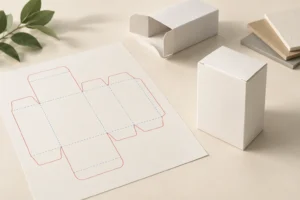
Use the approved packaging dieline to distinguish the cut opening, fold lines, glue areas and printed graphics. Keep technical marks from appearing in the finished print.
Check that product information remains readable after cutting and assembly. Avoid placing essential text where the opening removes it, the product obscures it, or a fold interrupts it. Review the artwork with the actual product loaded.
If foil, embossing or selective coating frames the window, ask the manufacturer to evaluate registration and edge clearance. A decoration intended to follow a narrow border closely may make positional variation more visible. Choose a design compatible with the production method.
For formed effects, consult the embossing and debossing guide. Decoration must be reviewed with the cutout and structural panel rather than approved as an unrelated print sample.
Inspect the window for glare and unwanted distortion under the intended display conditions. Photos can help assess the view, but a physical sample remains useful for clarity, surface marks and the interaction of print with the visible product.
Keep print, dieline and window revisions synchronized. If the opening moves, recheck both the patch layout and the visible product position.
What affects cost and supplier selection?
A window changes the material and converting requirements of the base box. It does not automatically reduce cost because less board or ink appears in the opening. Compare complete proposals against the same specification.
| Quote component | What to confirm | Comparison risk |
|---|---|---|
| Base structure | Board, size, closure and insert | Different boxes disguised as equivalent quotes |
| Aperture tooling | Shape and approved drawing | Unclear tooling or revision scope |
| Film | Grade, thickness, patch size and quantity | Substituted material or appearance |
| Patching | Attachment method and included operations | Omitted converting costs |
| Printing and finishing | Artwork versions and decorative effects | Different finishing requirements |
| Samples and validation | Material representation and review scope | Paying for a prototype that leaves key checks pending |
| Packing and delivery | Surface protection, cartons and shipping terms | Unspecified handling and landed cost |
Request an itemized quotation and, if useful, a comparable no-window option. Keep the rest of the construction constant so the trade-off is visible. The custom packaging cost guide covers broader order factors.
Include sample preparation, revisions and delivery in the schedule. A production estimate may not include the time required to confirm materials and approve the patching result.
Ask suppliers how they control patch position, adhesive application and material substitutions. Relevant samples and clear specifications are more useful than a generic promise of a premium display effect.
For master-carton packing and container loading, review finished shipping dimensions and CBM. Also confirm how the windows are protected from contact during storage and transport; the aperture does not remove the need for a sound outer pack.
What should window box sample approval cover?
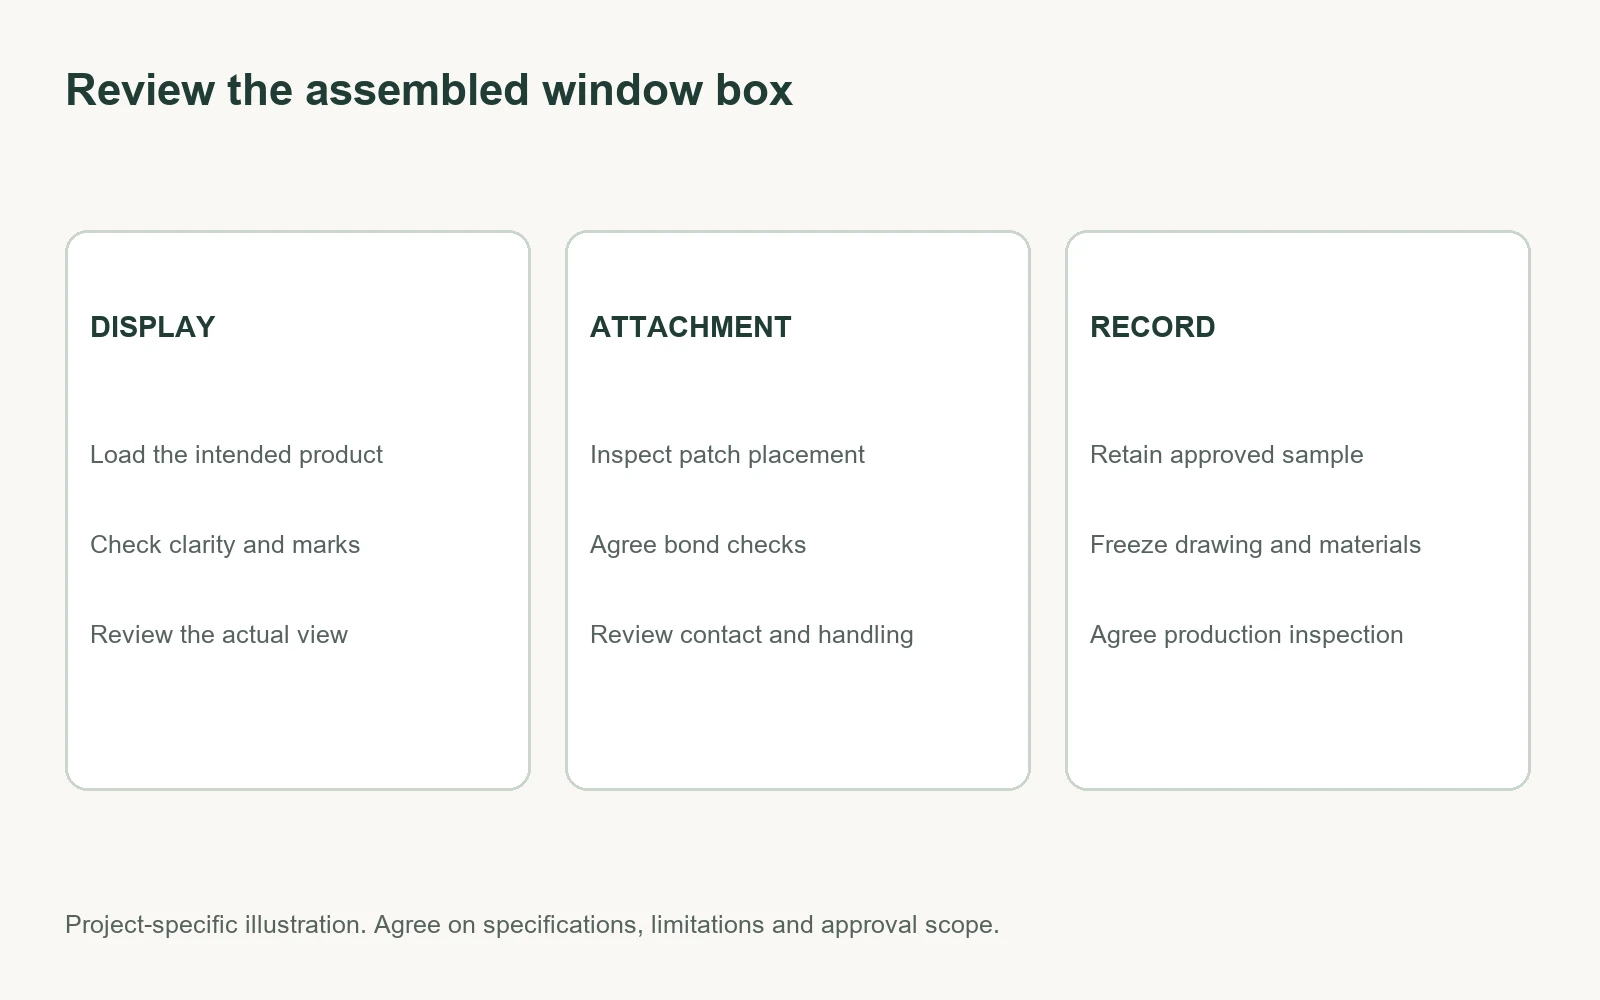
Review the assembled package with the intended product, insert and closure. Assign a sample ID and link it to the drawing, artwork and material specifications. Define what the sample represents before approving it.
| Review area | What to inspect | Record before approval |
|---|---|---|
| Visibility | Intended feature, orientation and display view | Product and insert revision |
| Panel behavior | Bowing, folds and closure operation | Board specification and structural findings |
| Film appearance | Clarity, marks, wrinkles and distortion | Film grade and physical reference |
| Attachment | Patch coverage and agreed bond checks | Method, criteria and results |
| Product contact | Movement, pressure and contact with film | Approved support configuration |
| Handling and packing | Intended handling and complete-pack validation | Pack revision and test scope |
Agree on practical checks for the intended application with the supplier or a competent laboratory. Inspect both the package and product afterward. Avoid treating a window as an airtight barrier, a tamper-evident feature or transport protection without corresponding evidence.
Where recycling or disposal instructions matter, assess the complete mixed-material package and destination collection options. Do not label the whole box recyclable or compostable based only on the board or one film component.
Retain approved references and document changes. Film, adhesive, board, surface treatment and window geometry can all affect the result. Reopen the relevant review if any of those changes, and agree on bulk inspection separately from sample approval.
Frequently asked questions
Does a window box always need plastic film?
No. Some packages use an open aperture. Decide whether exposure and access are acceptable for the intended product, then specify the format clearly.
Is a larger window better for display?
Not necessarily. Choose the view needed and review the remaining structure. More visibility can introduce additional design and handling requirements.
Which film should I choose for a packaging window?
Ask for a grade suitable for the opening, product and exposure conditions. Confirm its specification and inspect the actual material combination rather than choosing by resin name alone.
Can a window cross a carton fold?
Some designs do, but they require specific construction review. Approve a folded sample that demonstrates the actual film and attachment method.
Will the window keep the product in place?
Do not rely on it as an insert unless that function is intentionally designed and validated. Use appropriate internal support to control the product’s position.
Are window cartons airtight?
A film-covered opening does not establish airtightness or barrier performance of the whole carton. Specify any containment or preservation requirements separately.
Are window boxes recyclable?
That depends on the complete material combination and local collection system. Obtain relevant information before making a disposal claim.
What should I provide for a quotation?
Send the box structure and dimensions, product details, desired view, window sketch, material preferences, quantities, artwork, sample requirements and delivery destination.
Prepare a window box packaging quotation request
Include these details in your Packaza inquiry:
- Product dimensions, weight and required viewing orientation.
- Box type, usable size and internal support requirements.
- Window location, shape and coverage sketch.
- Board, wrap paper, film and surface-treatment preferences.
- Printing, decoration and artwork revisions.
- Order quantities and variants.
- Application-specific evidence and validation requirements.
- Packing method, destination and target delivery date.
Send the brief through Packaza’s inquiry form to discuss a defined box-and-window proposal. For premium presentation options, use the rigid packaging guide as a starting point. Confirm the structural view, material combination and physical sample before production, then keep the approved references together for inspection and repeat orders.